Local Indexes
A Local Index is essentially a collection of content which has been indexed and aggregated from either the entire site, or specified areas of the site, based on desired filter criteria. Once created, these Local Indexes can be used as Collection display objects in one or more areas of the site.
These built-in, customizable Collection display objects are generally a listing of content items which typically include the title, associated image, summary text, official release date, author, and a hyperlink to the full version of the page.
Mura CMS also gives you the ability to publish a Local Index as a RSS feed (http://en.wikipedia.org/wiki/RSS) to syndicate content automatically.
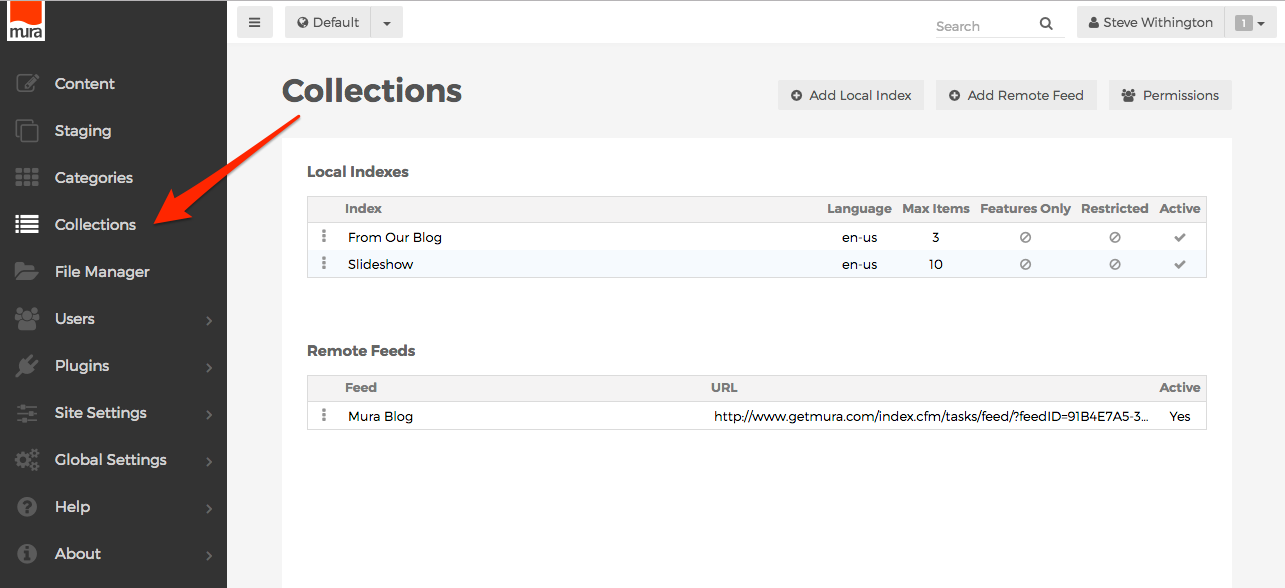
Collections are managed via the back-end administration area of Mura CMS. From the admin navigation menu, select Collections to view the Collections screen.
How to Create a Local Index
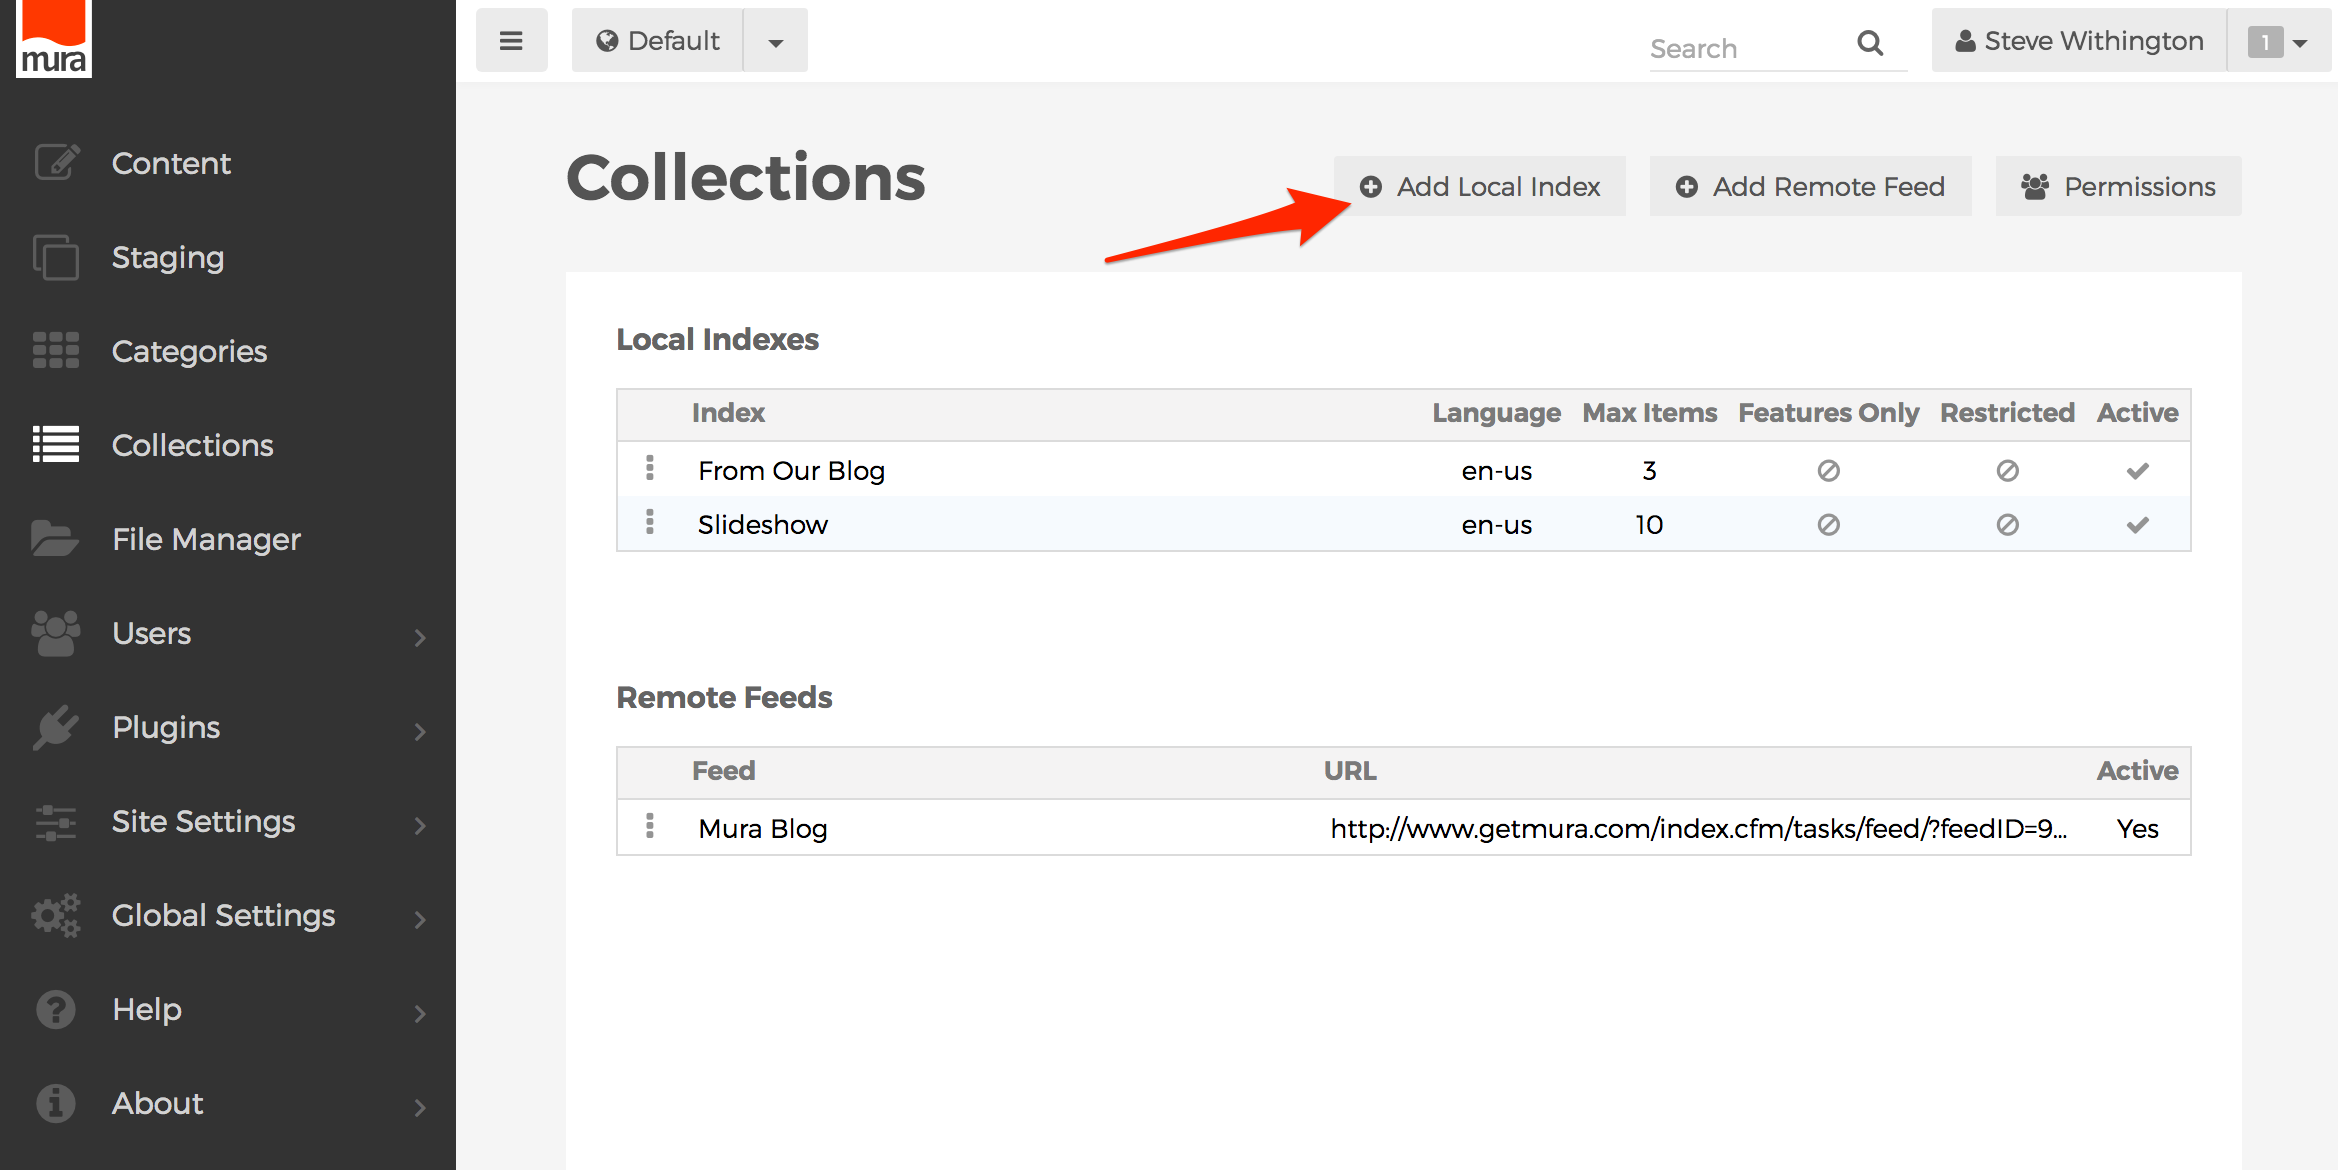
- From the Collections screen, click the Add Local Index button.
- The Create Local Index screen should appear. Take a look at the default settings. These are the default "filters" that control which content items get indexed.
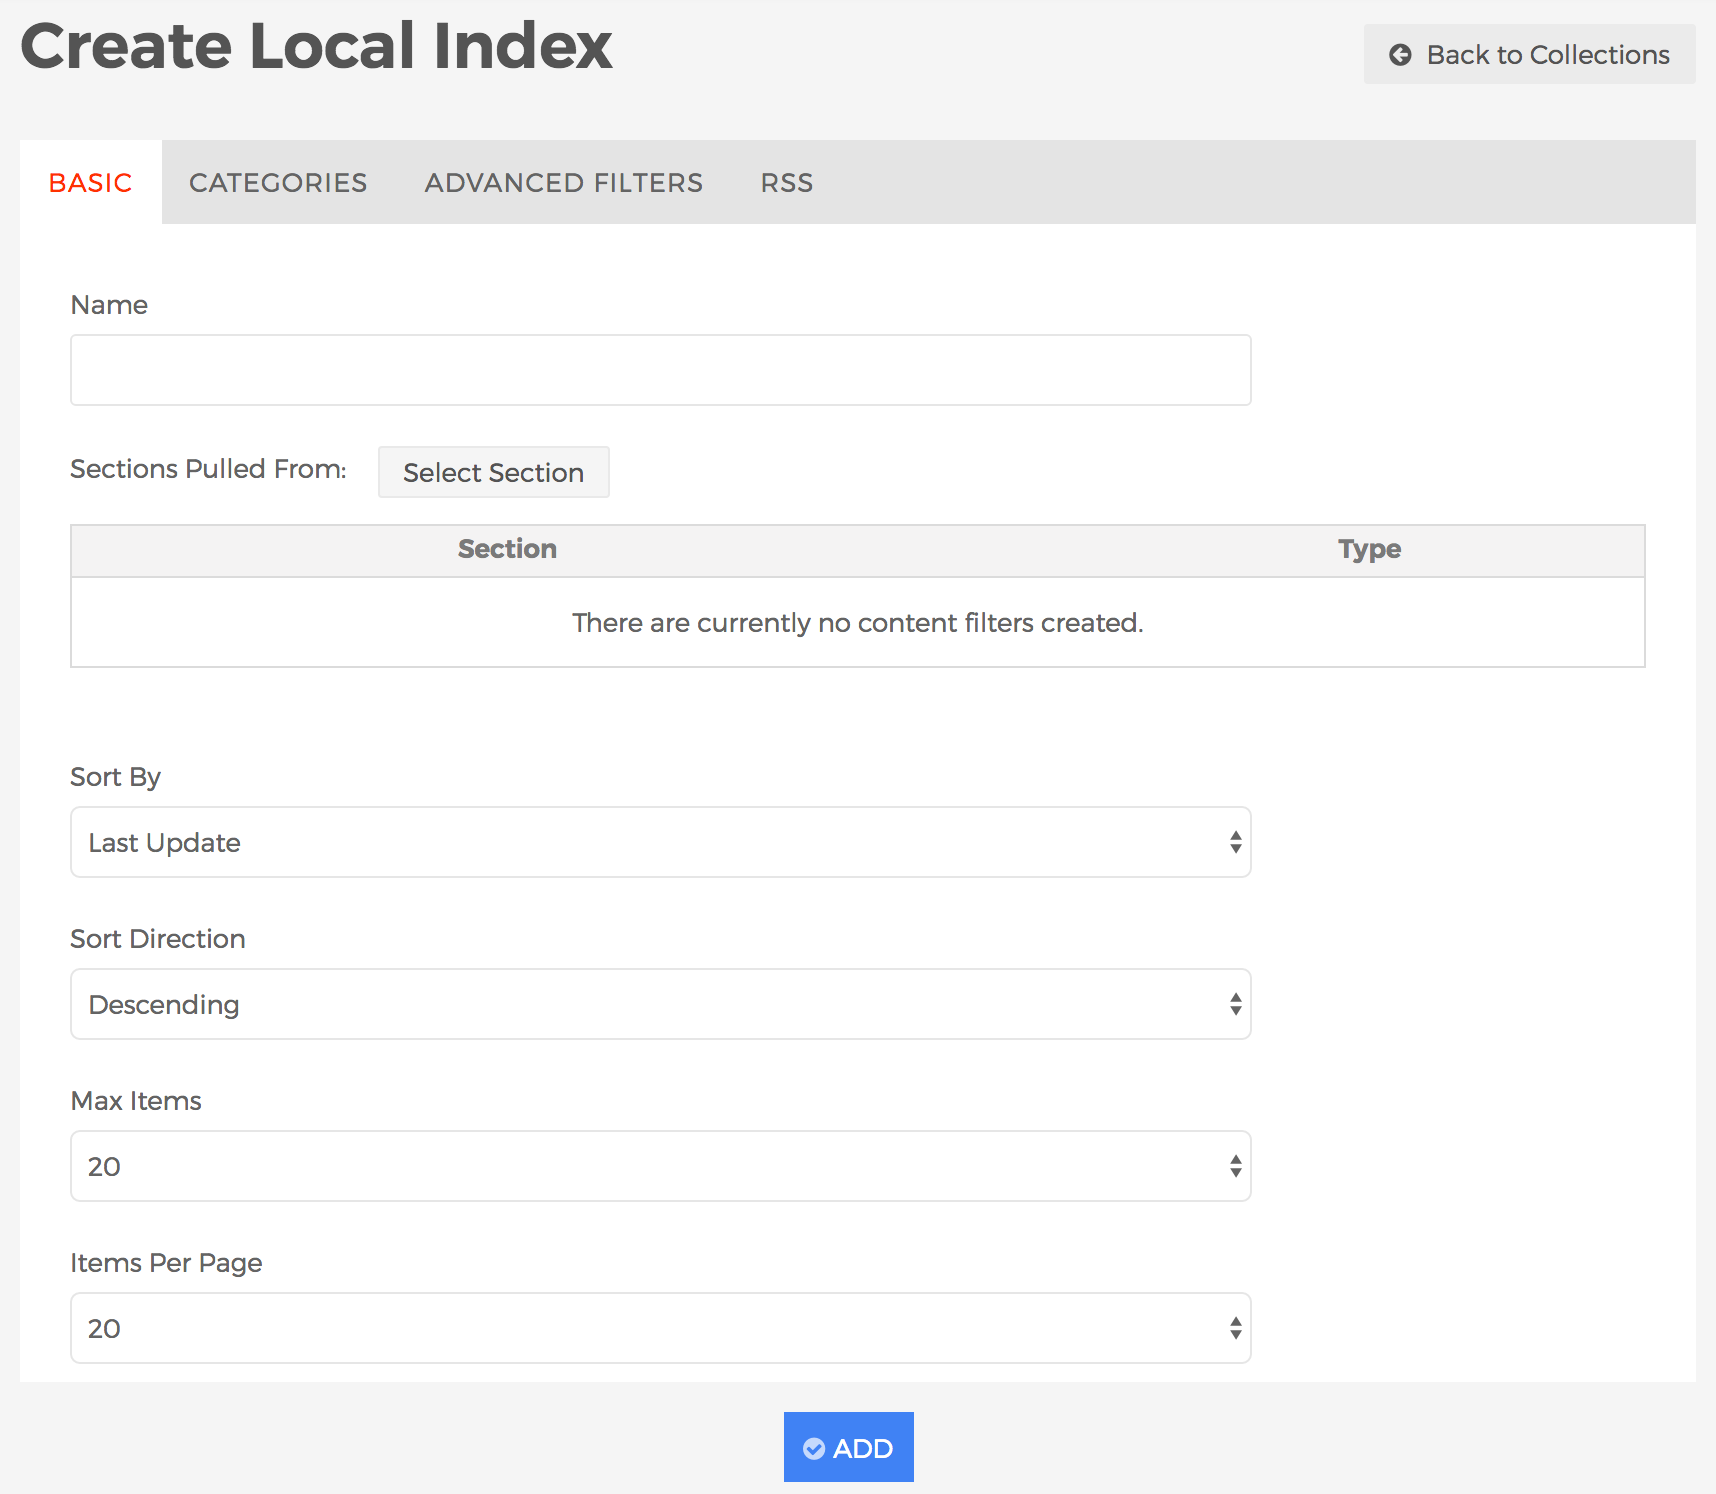
- Basic Tab
- Name (required)
- Enter a name for the Collection.
- Sections Pulled From
- You may optionally select zero, one, or more section(s) to narrow down where you want content items to be searched for. If you leave this blank, Mura CMS will automatically search the entire site. Follow the steps below to apply one or more section(s) to the Local Index:
- Click the "Select Section" button to review a search box.
- Enter your desired section title (e.g., "News"), then click the spyglass button.
- Results will be displayed below the search box. Click the plus sign next to the section you would like to include in the Local Index. Once you click the plus sign icon, the selected section should then appear under the Section area.
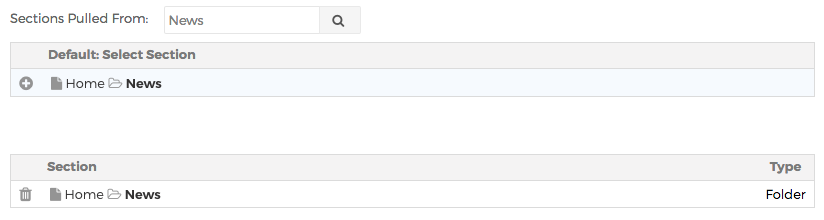
- If you select the wrong section, click the trash can icon to remove it.
- Repeat these steps for each section you would like to include in the Local Index.
- You may optionally select zero, one, or more section(s) to narrow down where you want content items to be searched for. If you leave this blank, Mura CMS will automatically search the entire site. Follow the steps below to apply one or more section(s) to the Local Index:
- Sort By
You can sort your Local Index by a variety of fields, or explicitly "Do Not Apply Sort".
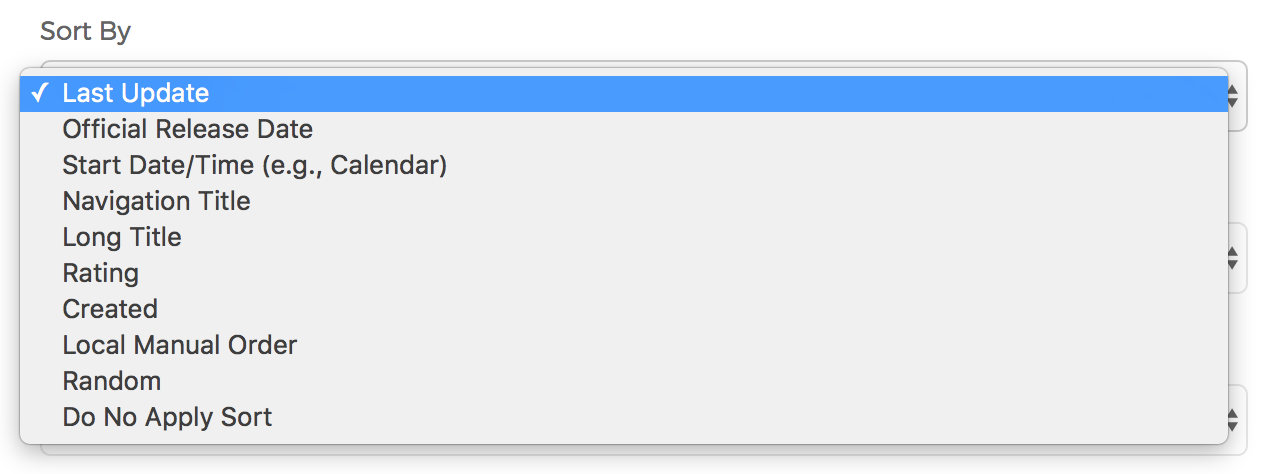
- Last Update
- Official Release Date
- Start Date/Time (e.g., Calendar)
- Navigation Title
- Long Title
- Rating
- Created
- Local Manual Order
- Random
- Do Not Apply Sort
- Sort Direction
- Once you choose your Sort By option, you can choose to sort the Local Index by Ascending or Descending.
- Max Items
- Limit the number of content items returned by making a selection here.
- Items Per Page
- Limit the number of content items to be displayed on the page at a time. If more content items are returned than the number selected here, pagination will display.
- Include features only?
- If Yes, Mura will only include content items where the "Feature in this section" field has been enabled.
- If No (default), Mura will ignore this field.
- Include navigation items only?
- If Yes, Mura will only include content items where the "Include in Site Navigation" field has been enabled.
- If No (default), Mura will ignore this field.
- Include items that have been excluded from site search?
- If Yes, Mura will include items that have "Exclude from Site Search" enabled on the Publishing tab.
- If No (default), Mura will not include items that have "Exclude from Site Search" enabled on the Publishing tab.
- Lock name?
- If Yes, Mura will prevent the "Name" of the Collection from being changed, rendering the field as a read-only field. This is useful for developers who reference the specific Collection via code.
- If No (default), the "Name" of the Collection is editable.
- Name (required)
- Categories Tab
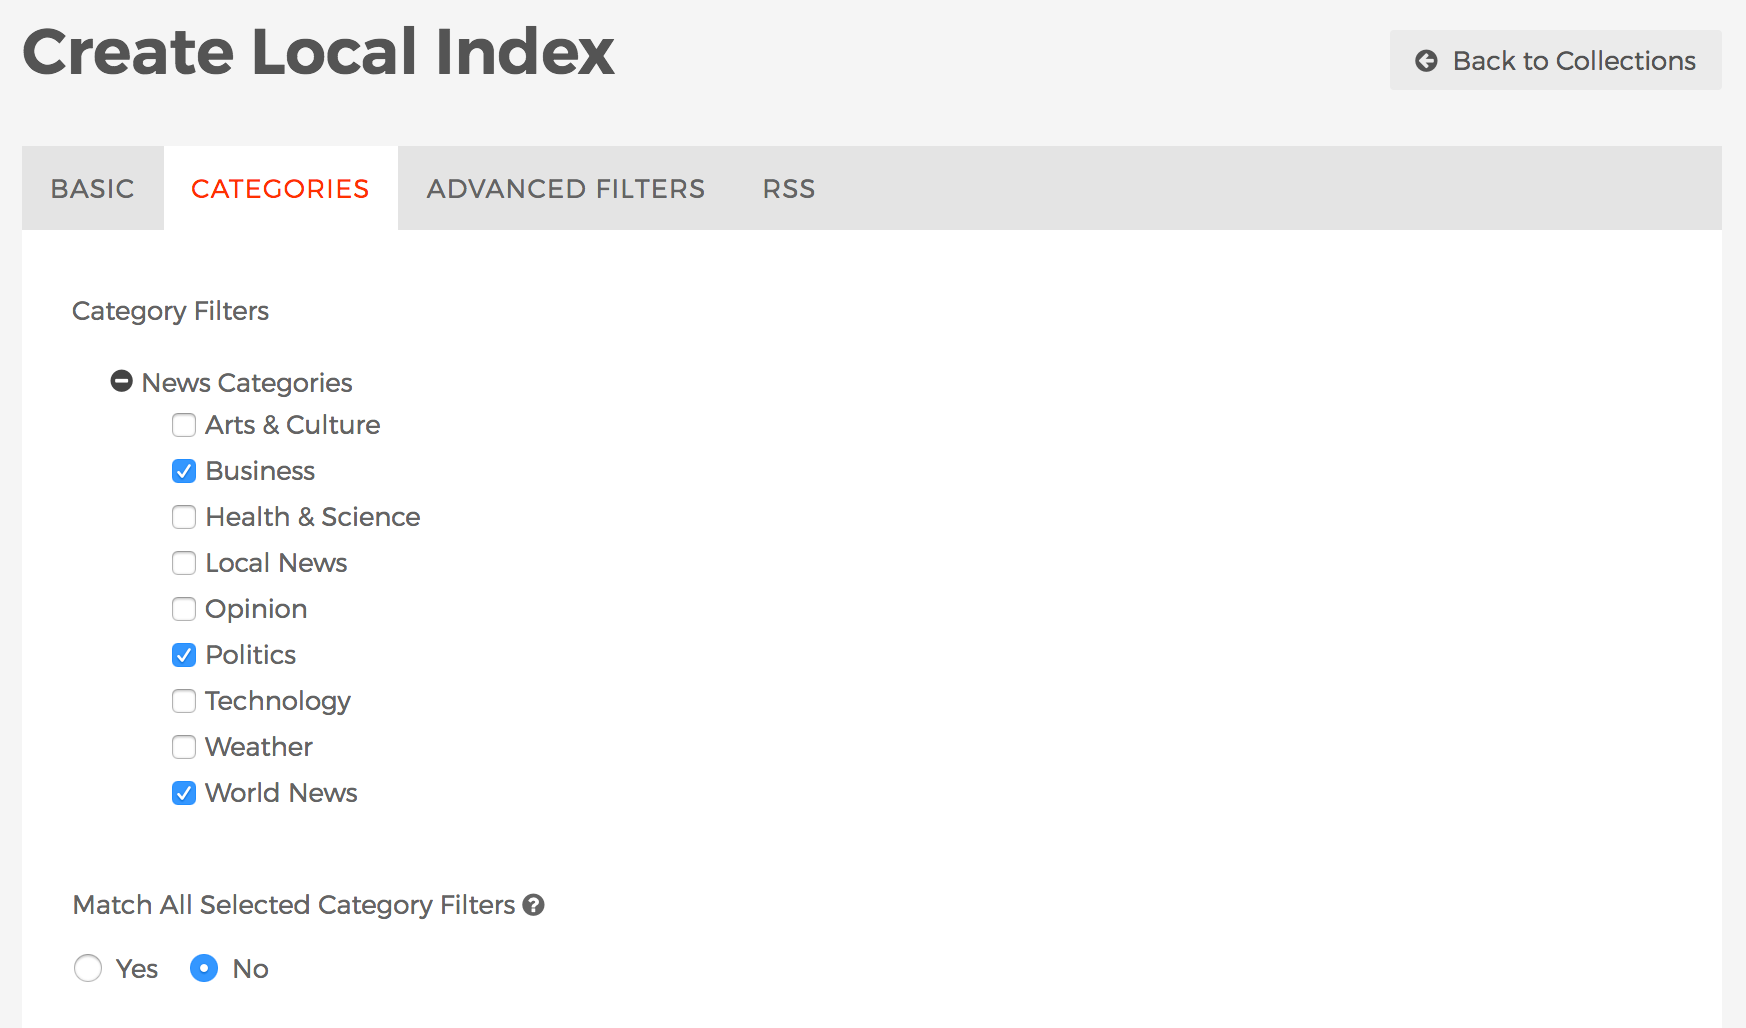
- Category Filters
- Select any desired categories you wish content items to match in order to be included in the Collection.
- Match All Selected Category Filters
- If Yes, then content items must be categorized as all selected/applied Category Filters to be included in the Collection.
- If No, then content items can be categorized as any of the selected/applied Category Filters to be included in the Collection.
- Category Filters
- Advanced Filters Tab
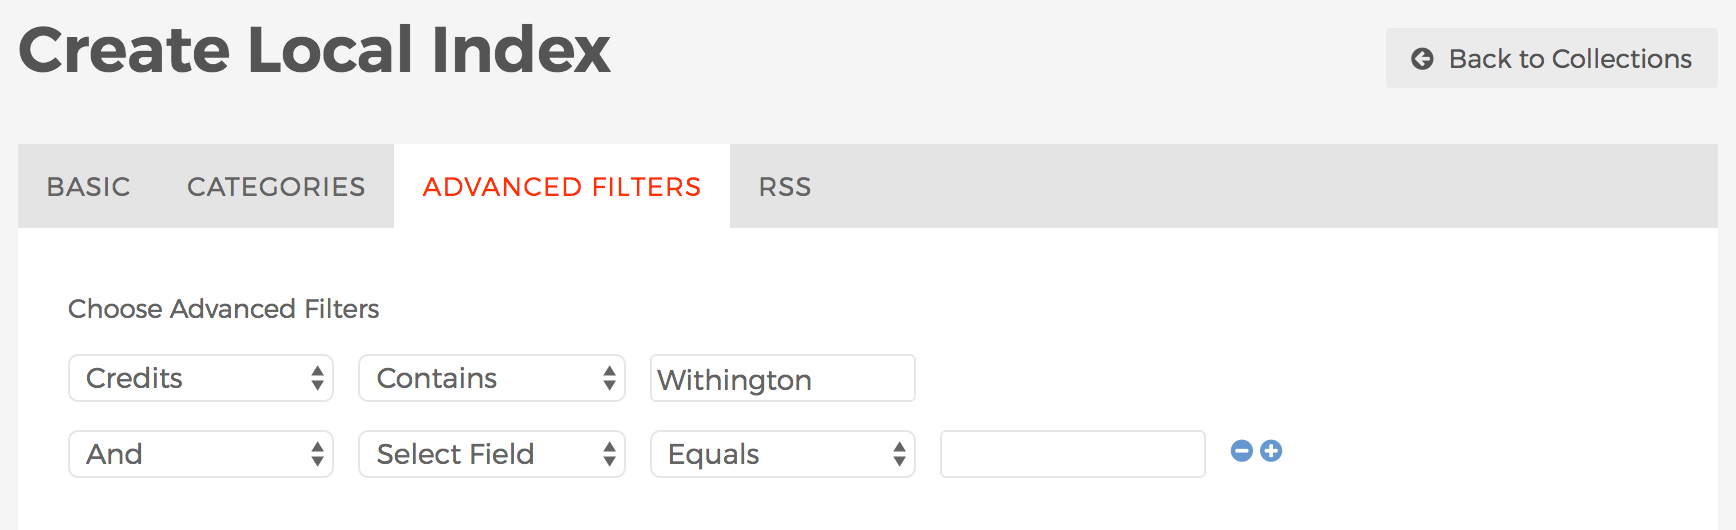
- Choose Advanced Filters
- This section allows you to apply filters based on various form fields, including custom attributes created using Class Extensions. You can then filter based on a number of options pertaining to that field and criteria. For example, whether or not a field such as Credits "Contains" a particular value, as shown in the example above.
- Choose Advanced Filters
- RSS Tab
Most information on this tab is used by experienced developers and/or site administrators.
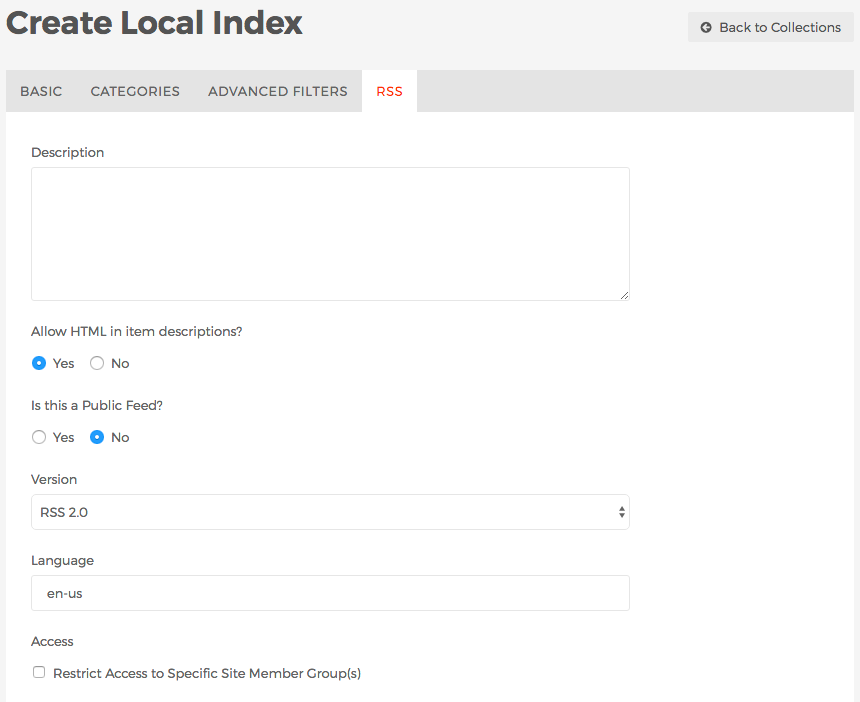
- Description
- Text entered here will be included in the description node of the XML file automatically created by Mura CMS so RSS parsers can display the information to their users.
- Allow HTML in item descriptions?
- If Yes, HTML will be allowed in the item descriptions.
- If No, HTML will not be allowed in the item descriptions, and will be parsed out when being broadcast.
- Is this a Public Feed?
- If Yes, a link to the collection's RSS feed can be included in the layout templates by your developers.
- If No, a public link will not be generated.
- Version
- Select your desired format to broadcast the RSS feed in. Options include RSS 2.0, and RSS 0.920.
- Language
- You may choose to enter a specific language and country code to be included in the RSS feed.
- Access: Restrict Access to Specific Site Member Group(s)?
- If enabled, you can choose which group(s) you wish to allow access.
- Description
- Basic Tab
- Once you have applied all of your desired filters and criteria, click Add to save the new Local Index.
- Your Local Index should appear in the list of available Local Indexes.
- Whenever you create or edit a Local Index, you should click the three-dot menu to the left of your Local Index, and select View RSS and examine the results.
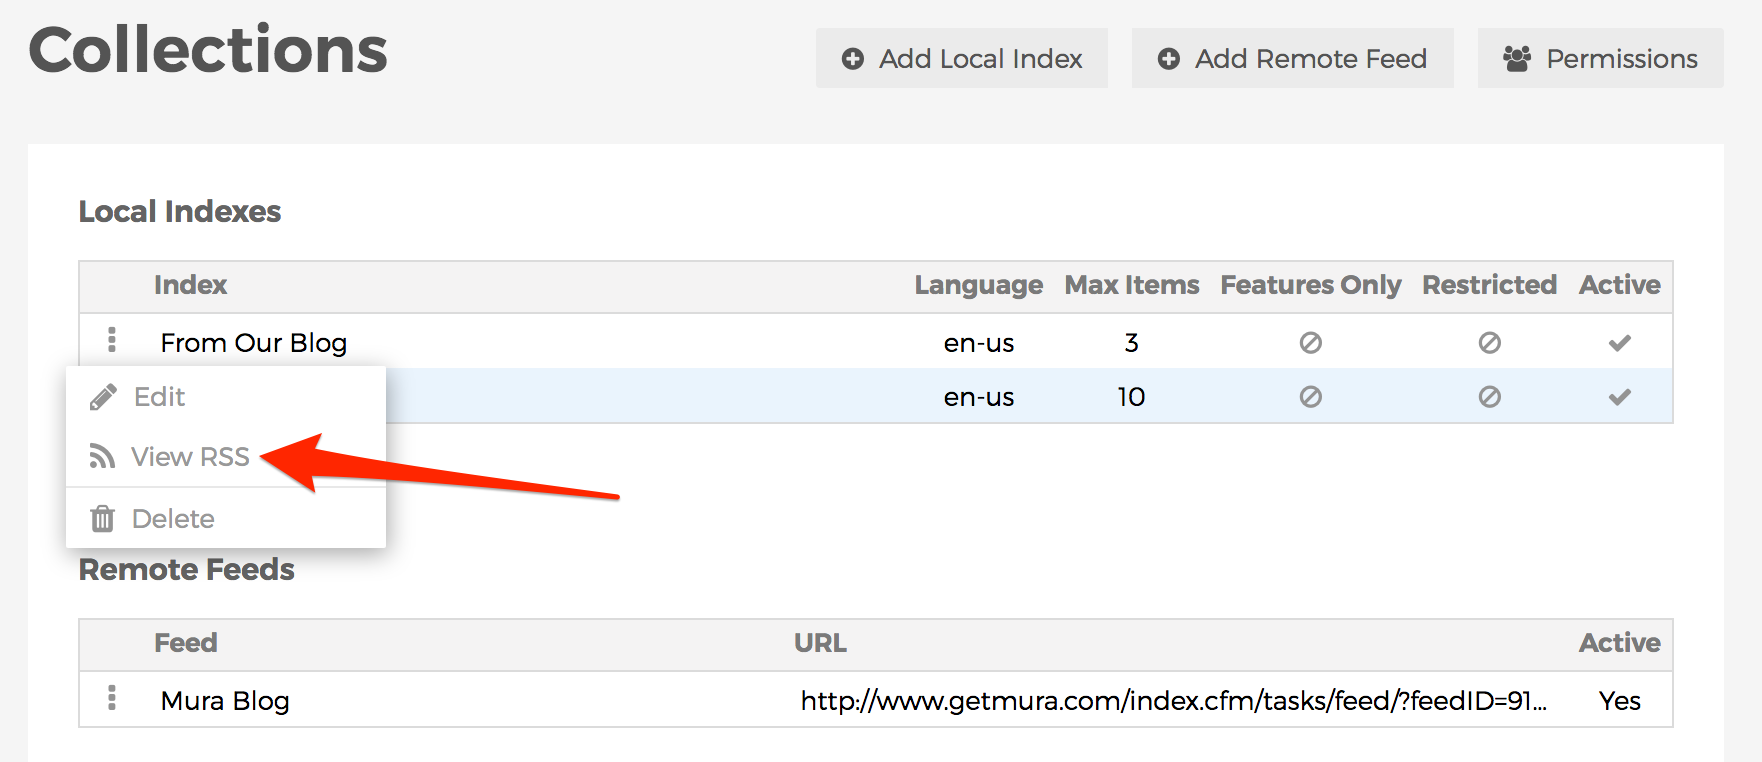
- Depending on your browser's capabilities, you should be able to view either an XML output or nicely formatted output of the Local Index displaying the content items which match your desired filters.
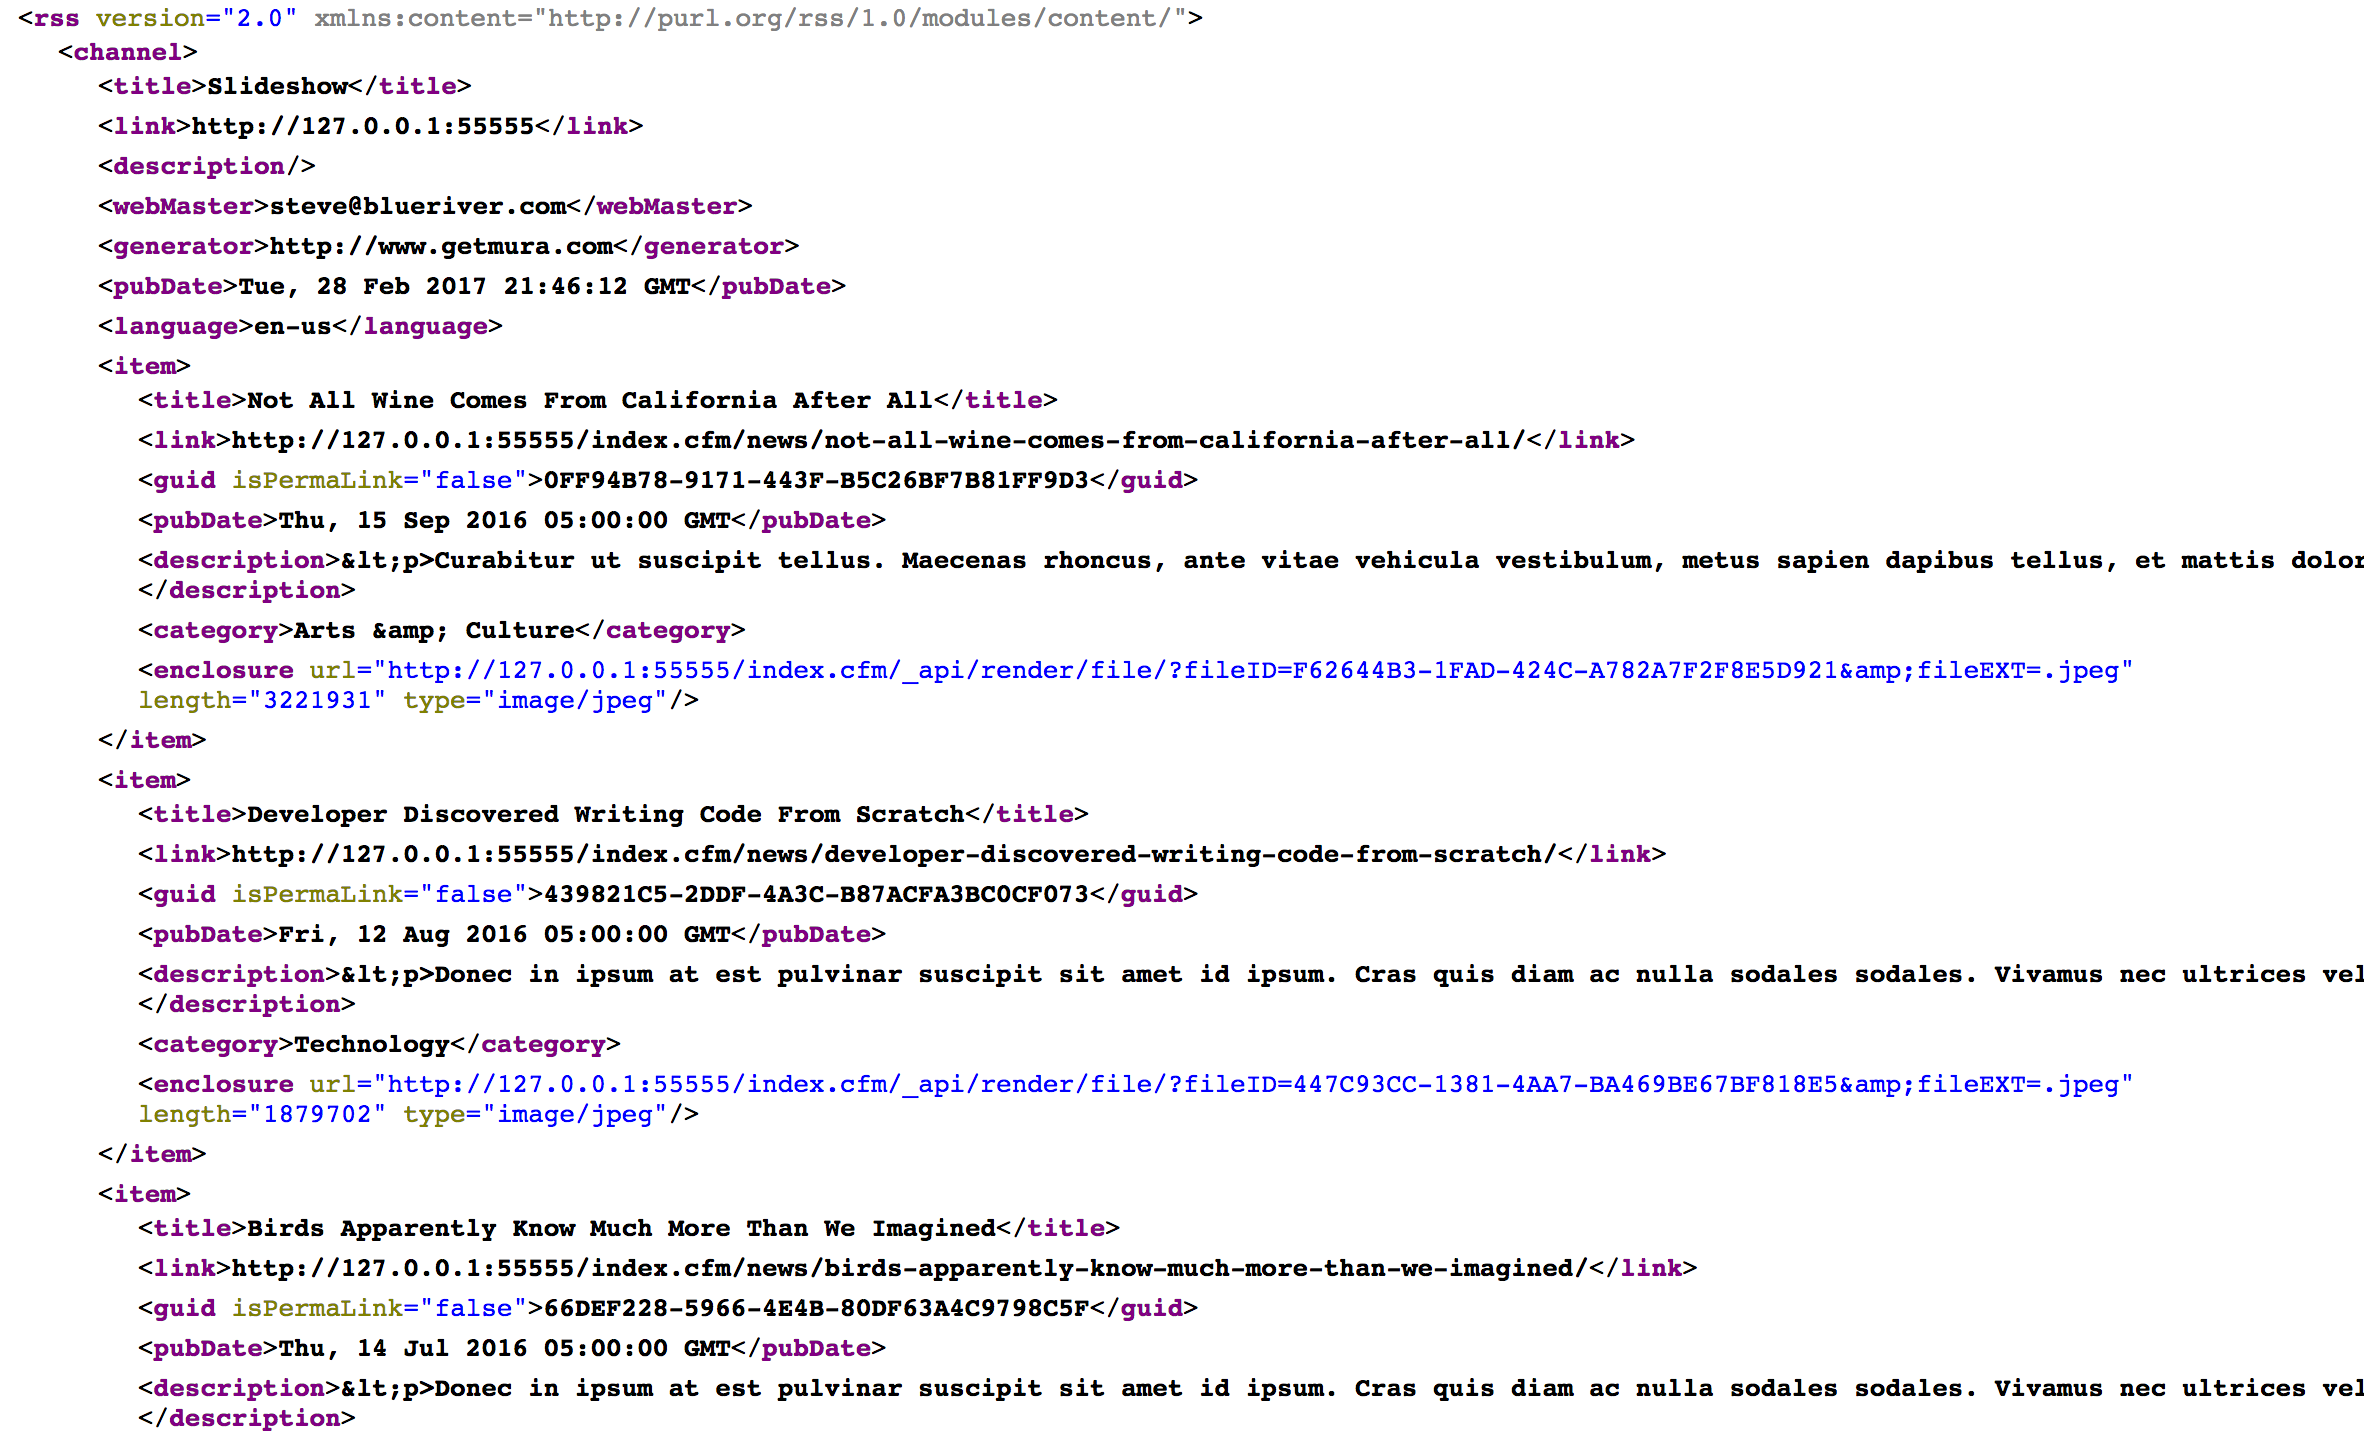
- If you don't see any items listed, it doesn't mean you did anything wrong, it only means there are no content items which match all of the selected filters you've applied when creating/editing your Local Index.