Front-End Editing
With Mura CMS, most content managers tend to make content edits using the front-end editing options listed below.
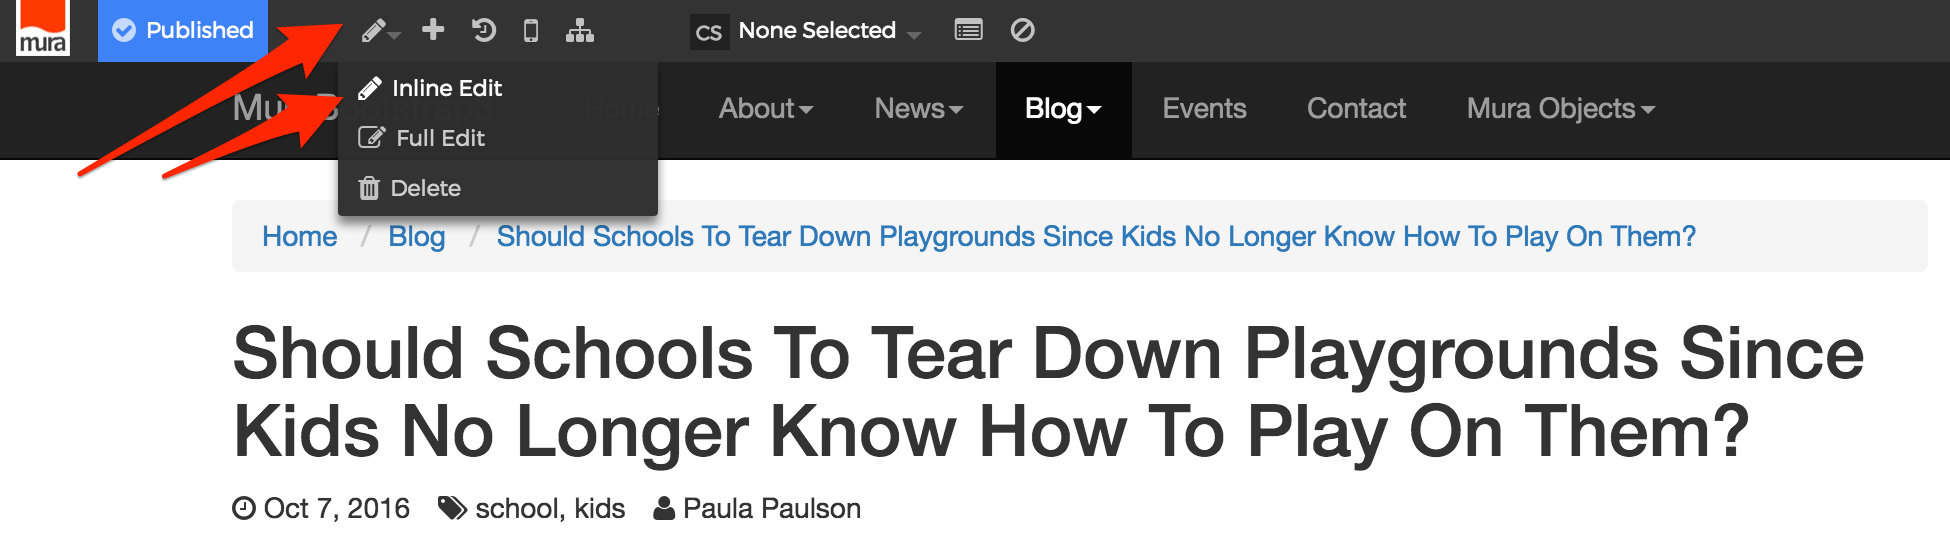
Inline Edit
Inline editing is useful for content managers who wish to see how their content will appear in context to the rest of the page. As you'll see in another section, you can also add various display objects to different display regions using inline editing. For basic inline editing, follow the steps below.
- From the Front-End Toolbar, hover over the pencil icon, and select "inline edit"
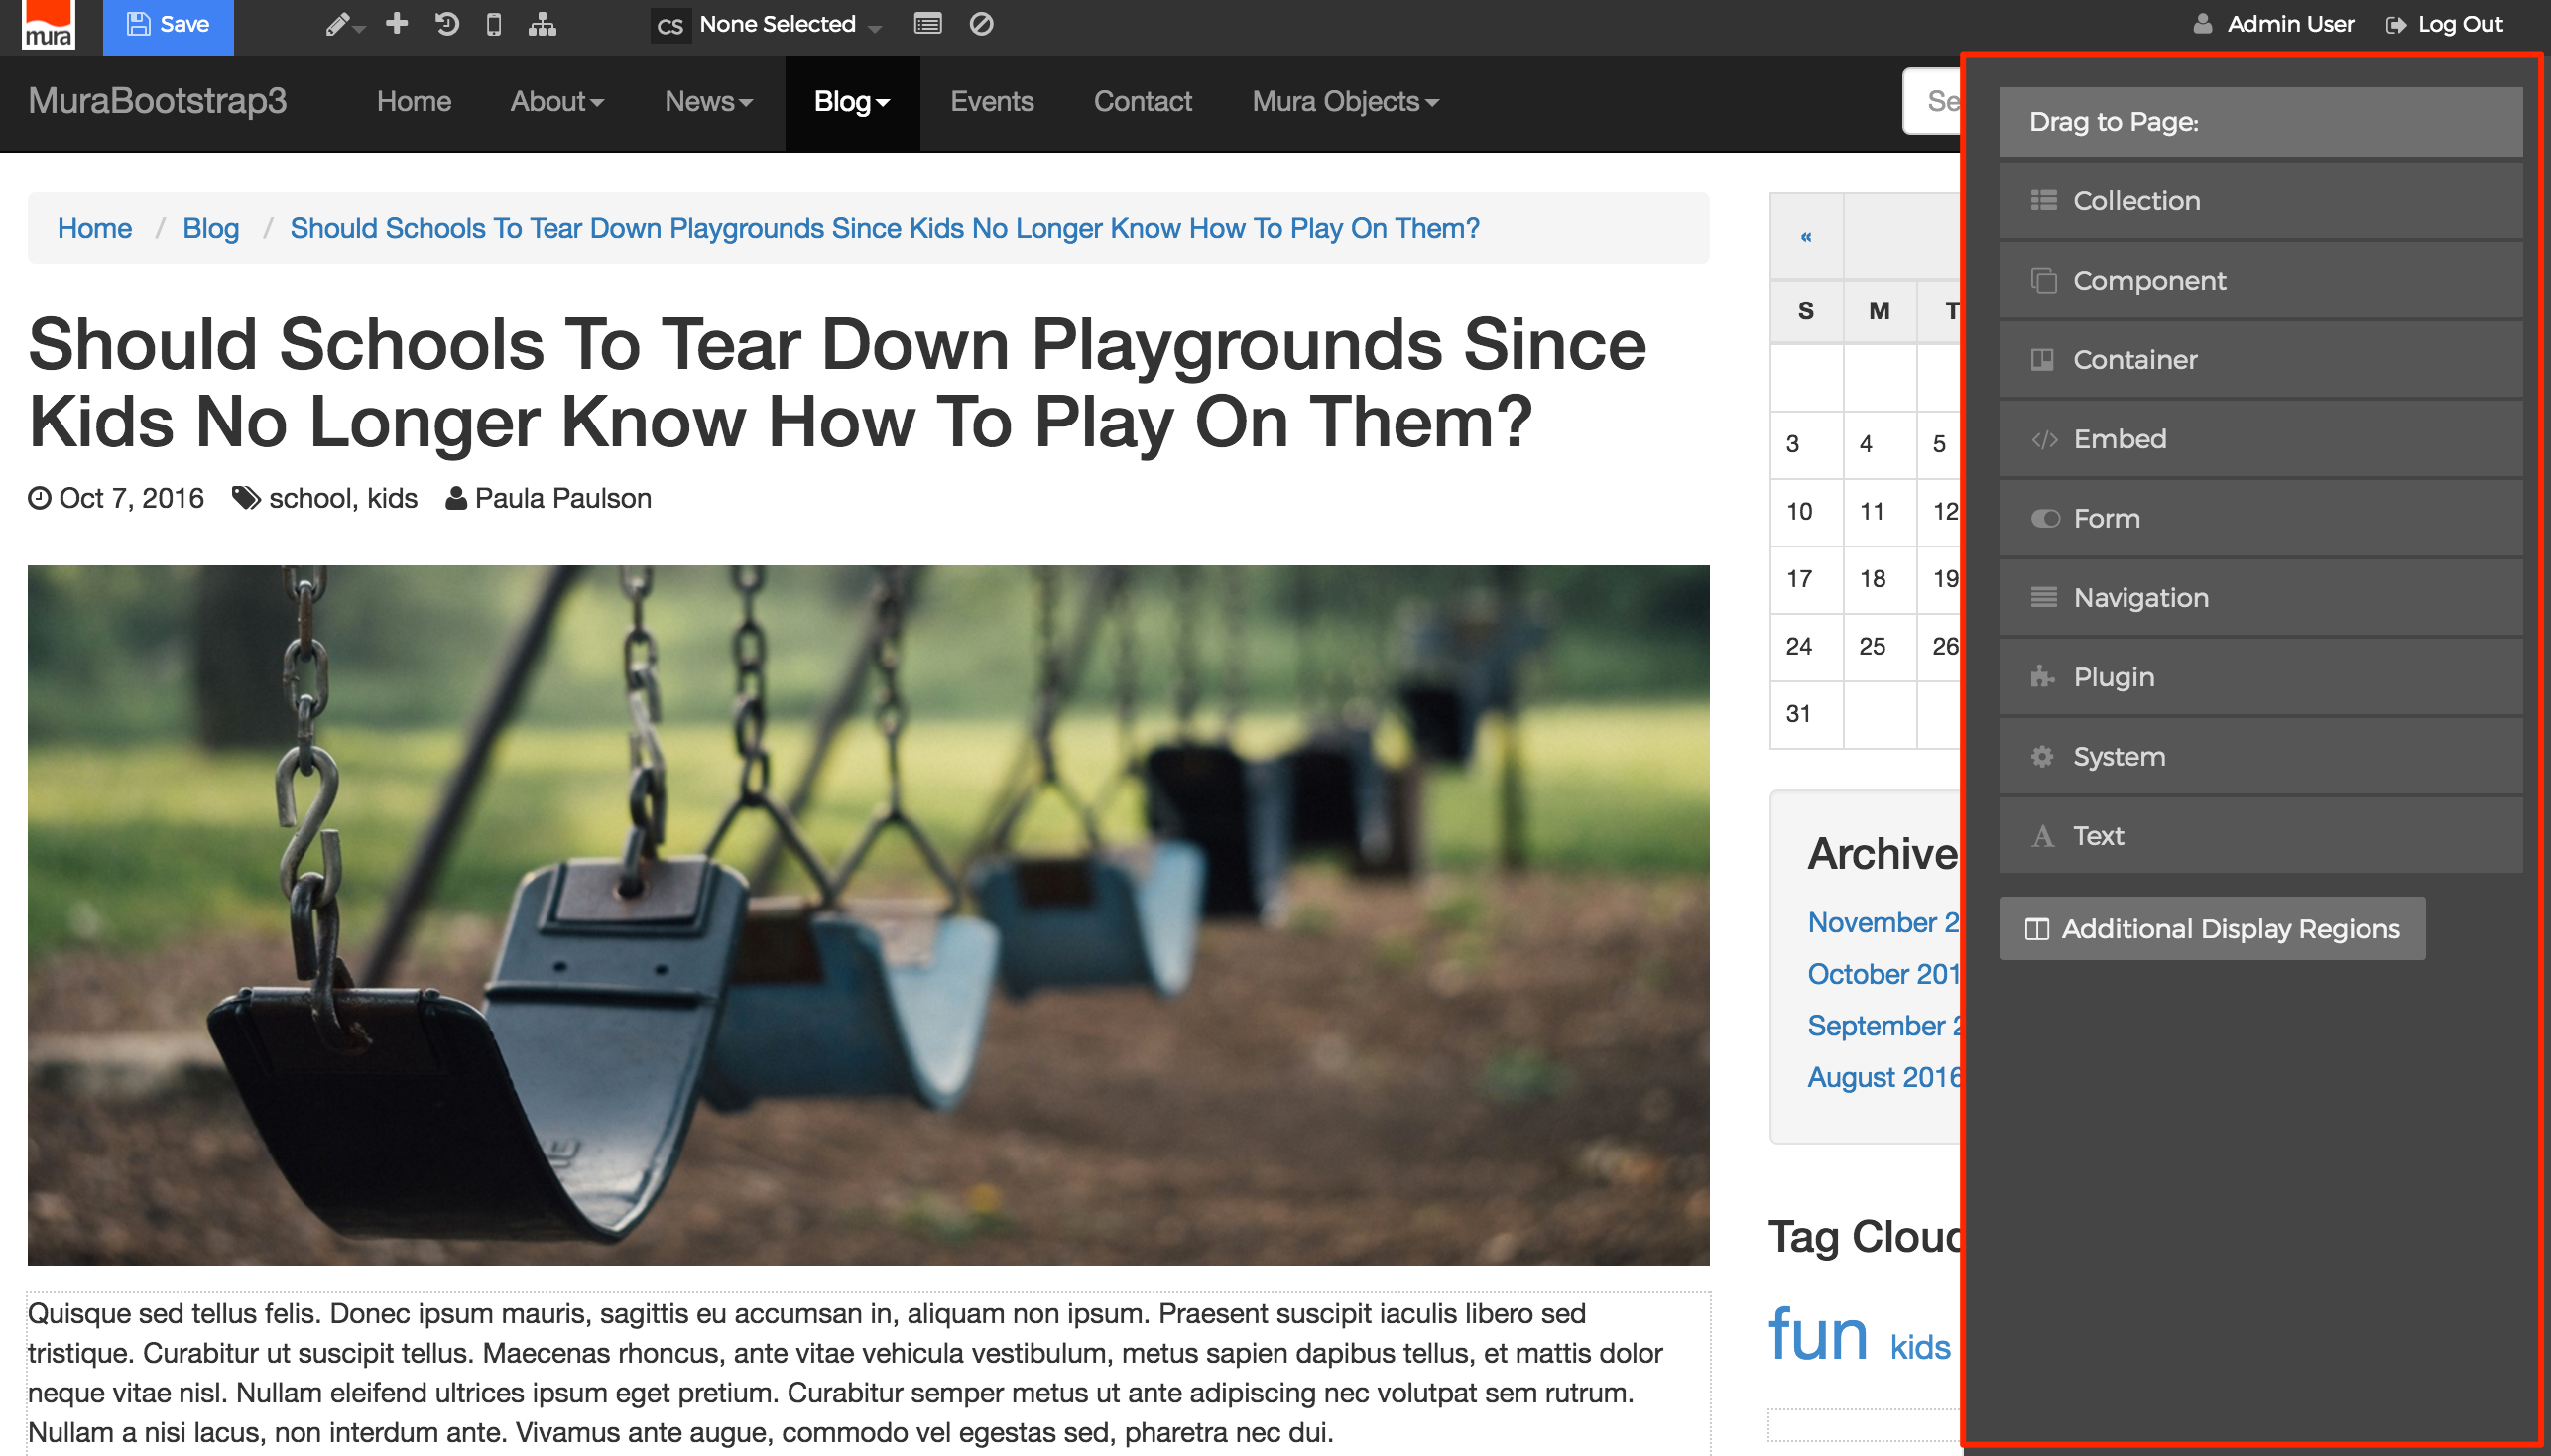
- While in "inline edit" mode, a utility panel will open on the right hand side of your browser window. The utility panel contains several types of display objects that can be added to the various display regions throughout the page.
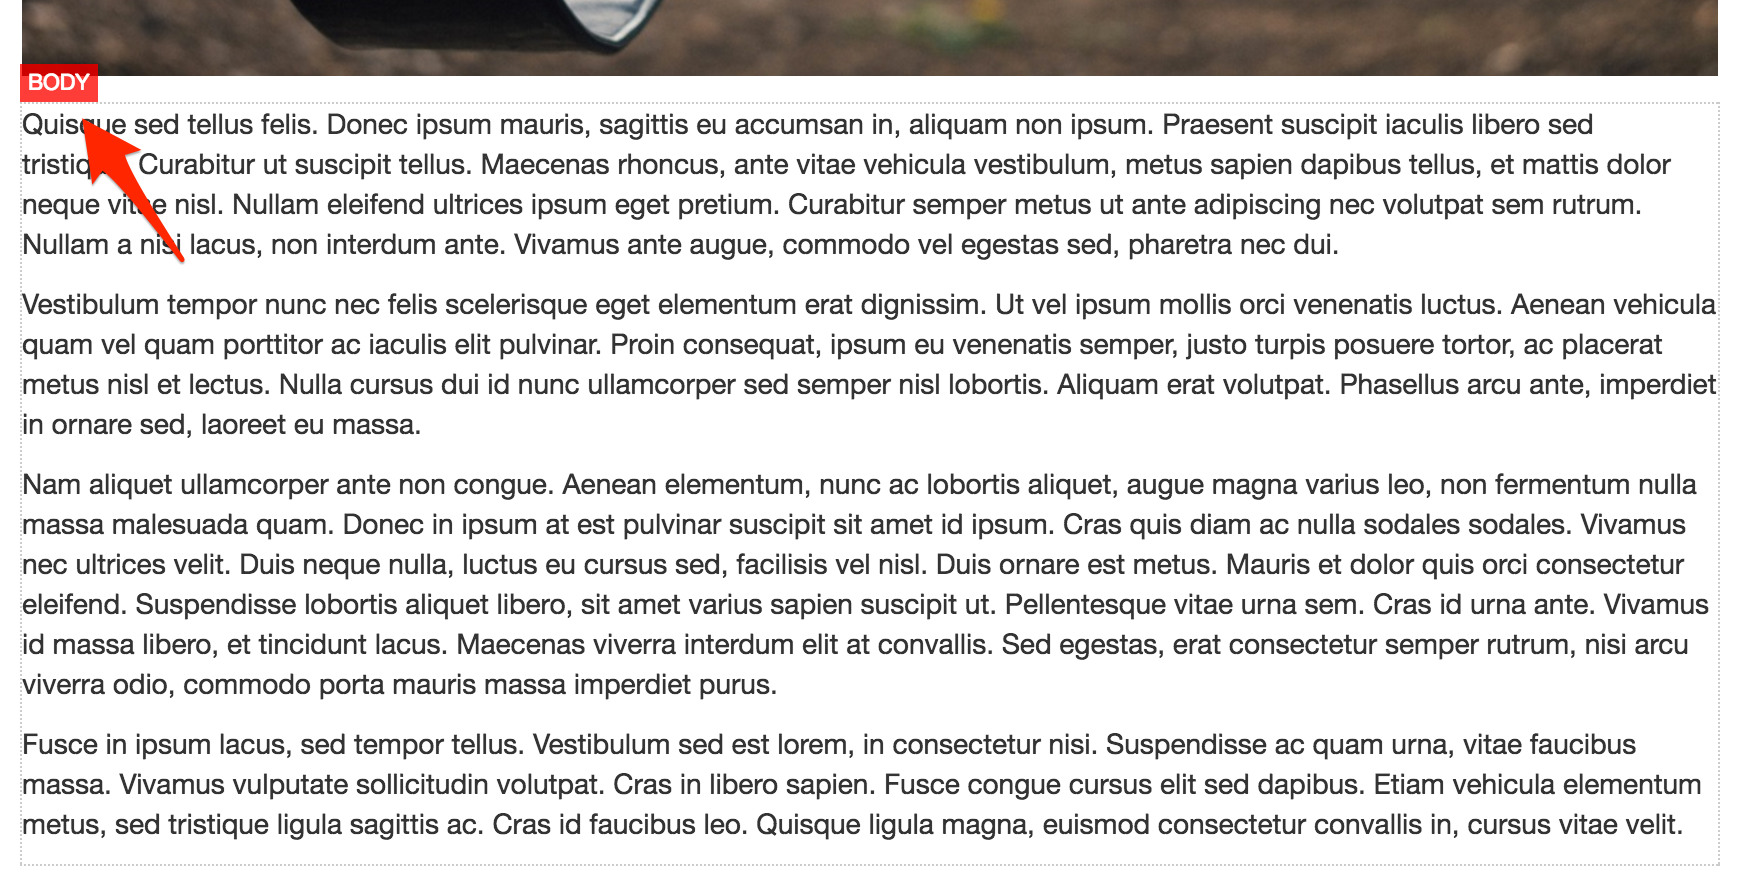
- As you move your mouse around the browser window, the "Body" and other editable display regions will highlight. For example, if you hover over the "Body" region, a label will appear around it.
- If you double-click inside the "Body" region, the utility panel will change to "Editing Content" and a content formatting toolbar will appear above the content region. So, you can make a change and apply any desired formatting.
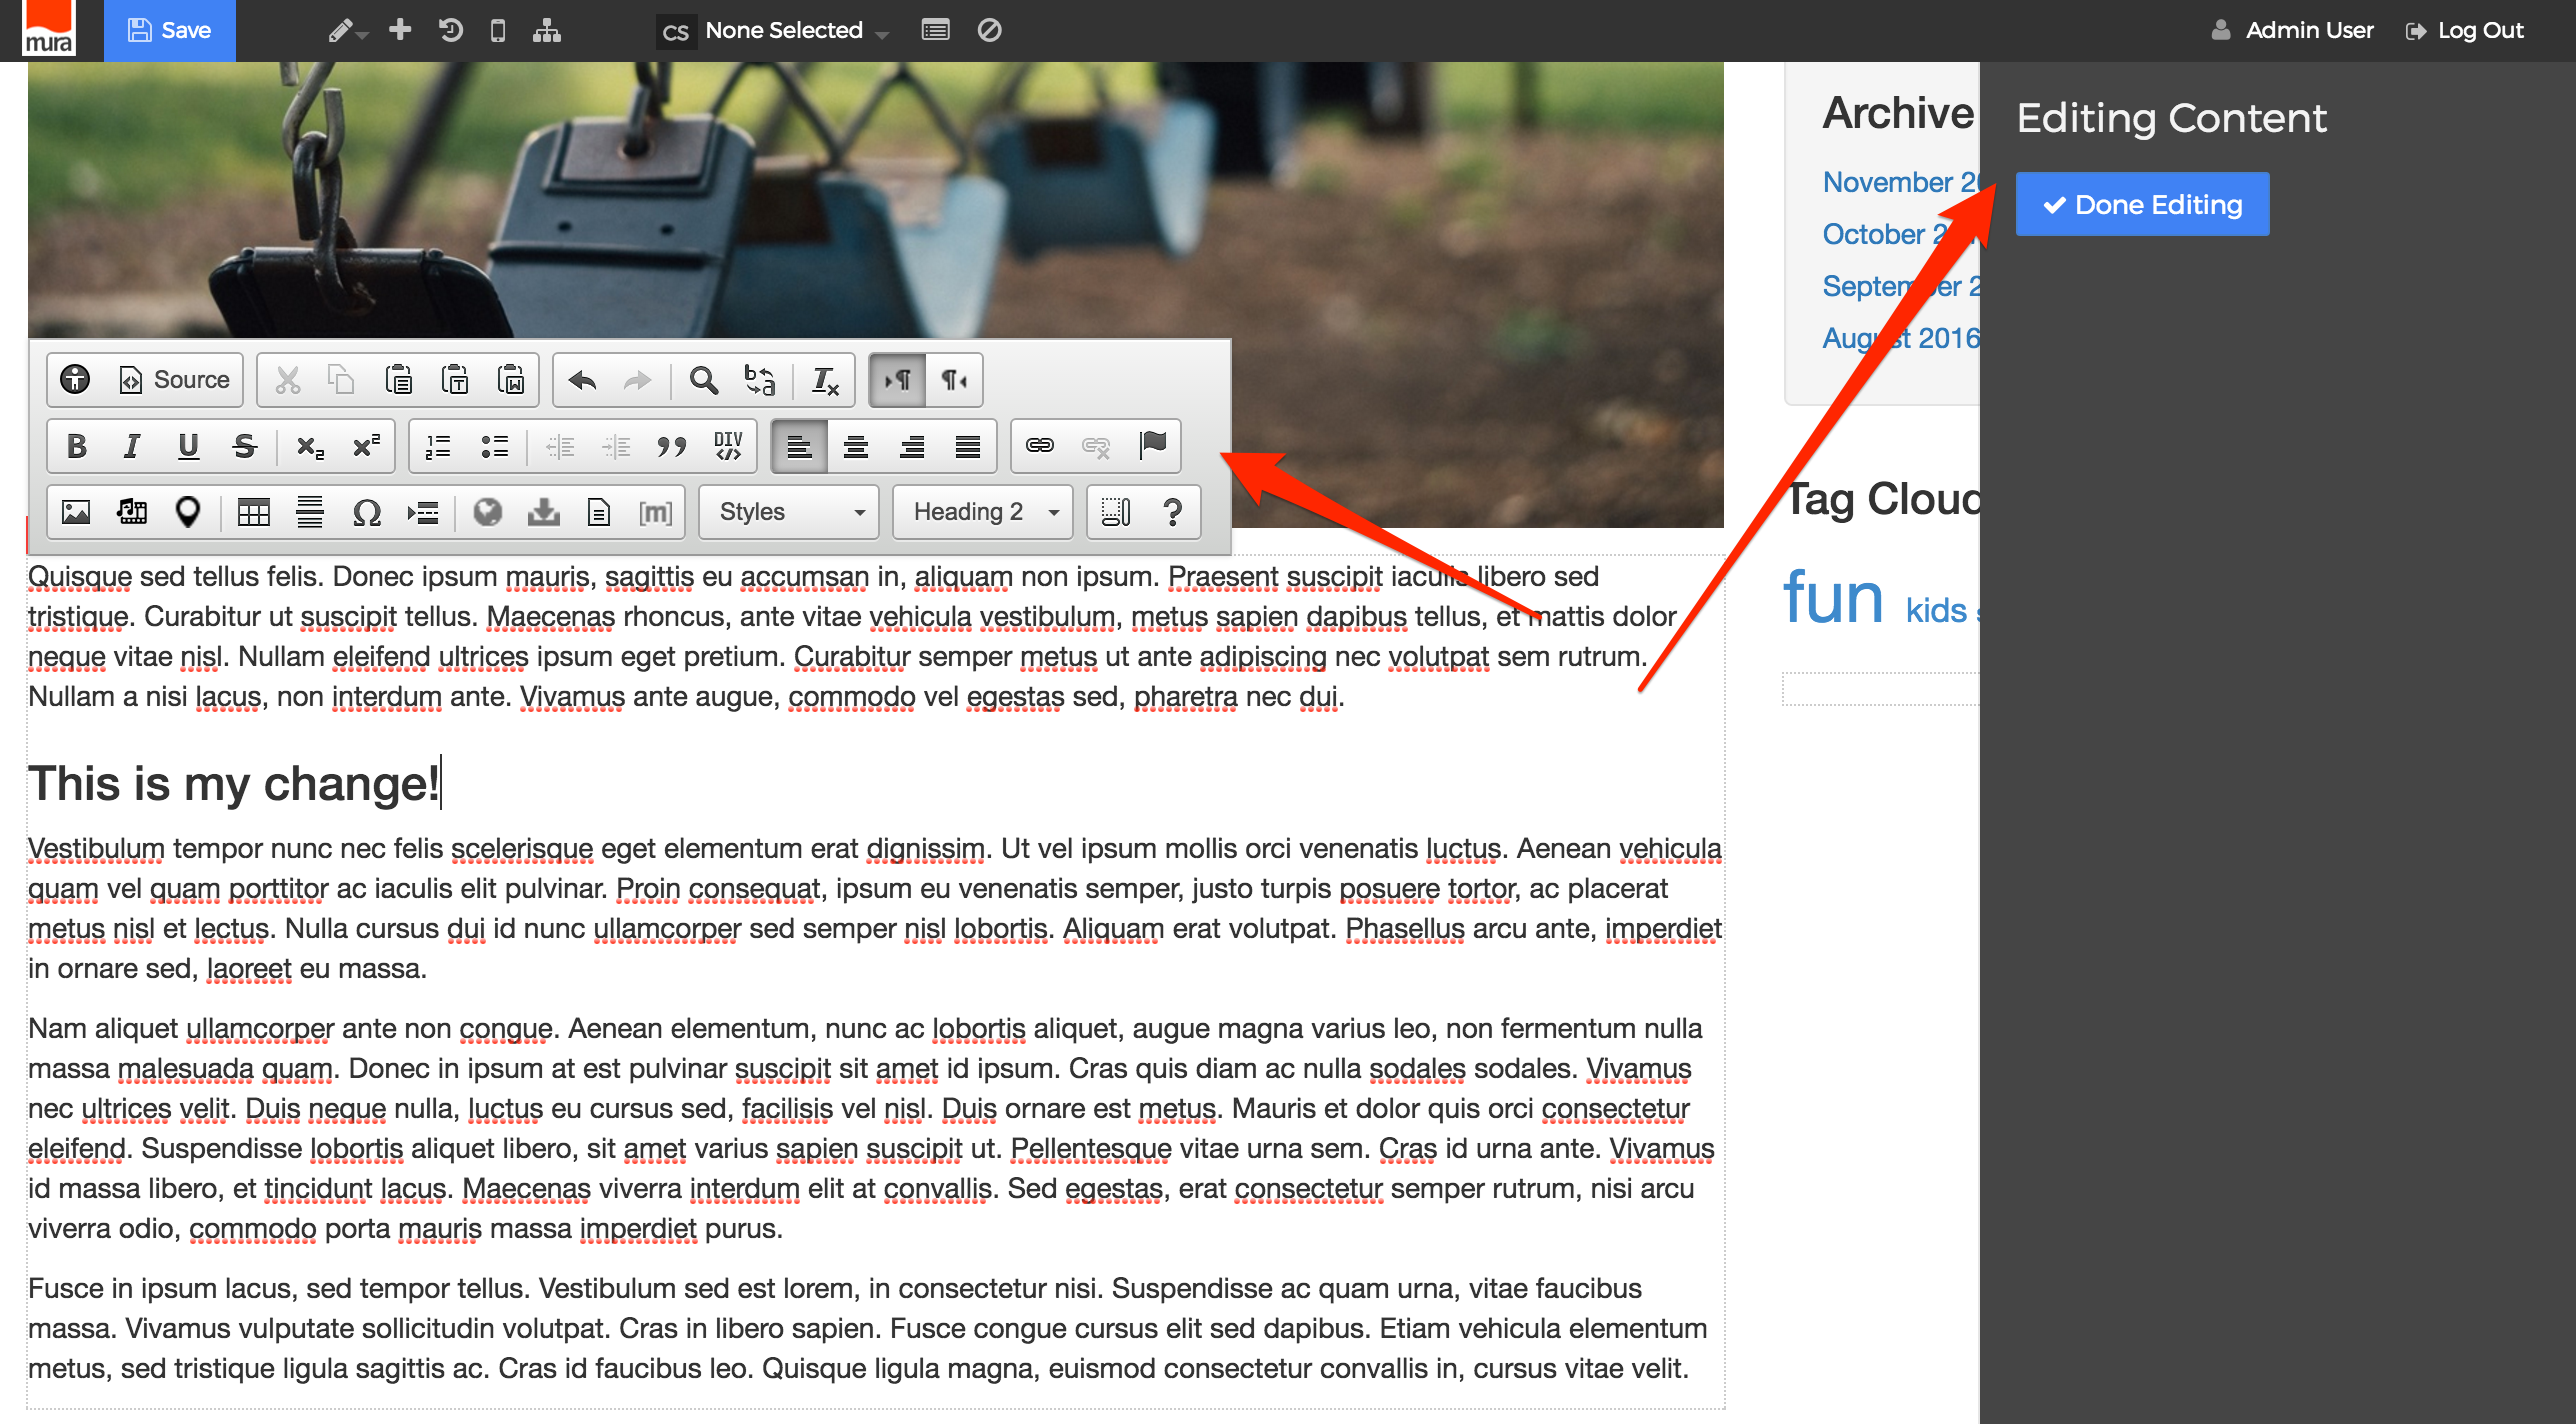
- When finished making your content change(s), move your mouse to the Front-End Toolbar, hover over "Save" and select your desired publishing option (e.g., "Publish"). Please note that "Publish" will only appear for groups that have been given "Editor" privileges.

- Congratulations! You've just edited content using "inline edit" mode.
Full Edit
When you need to edit something more than basic content and display objects, you will need to use "full edit" mode. In full edit mode, you have complete control over a vast number of attributes and options that will be discussed in future sections. However, let's at least get familiar with how to make a simple content edit in "full edit" mode.
- From the Front-End Toolbar, hover over the pencil icon, and select "full edit"
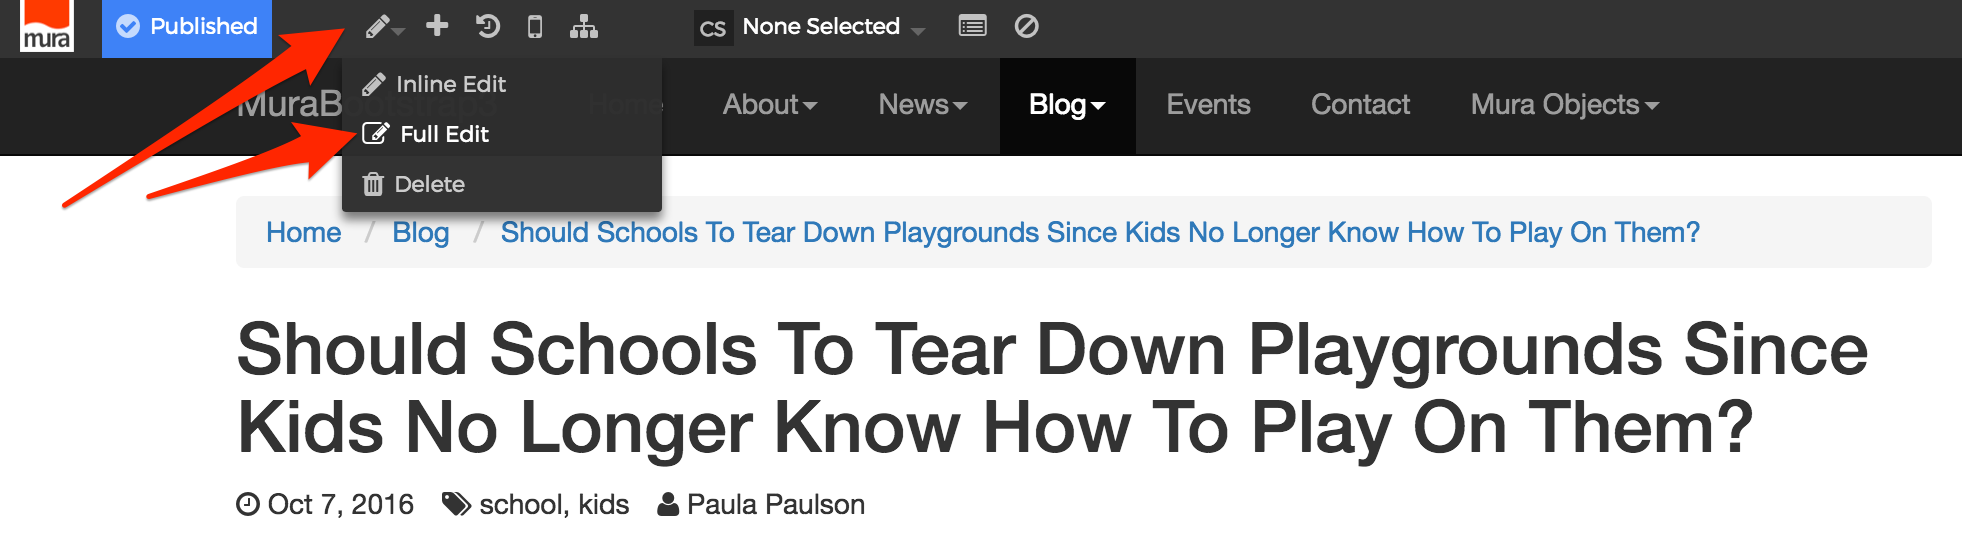
- The "Edit Content" modal window will appear.
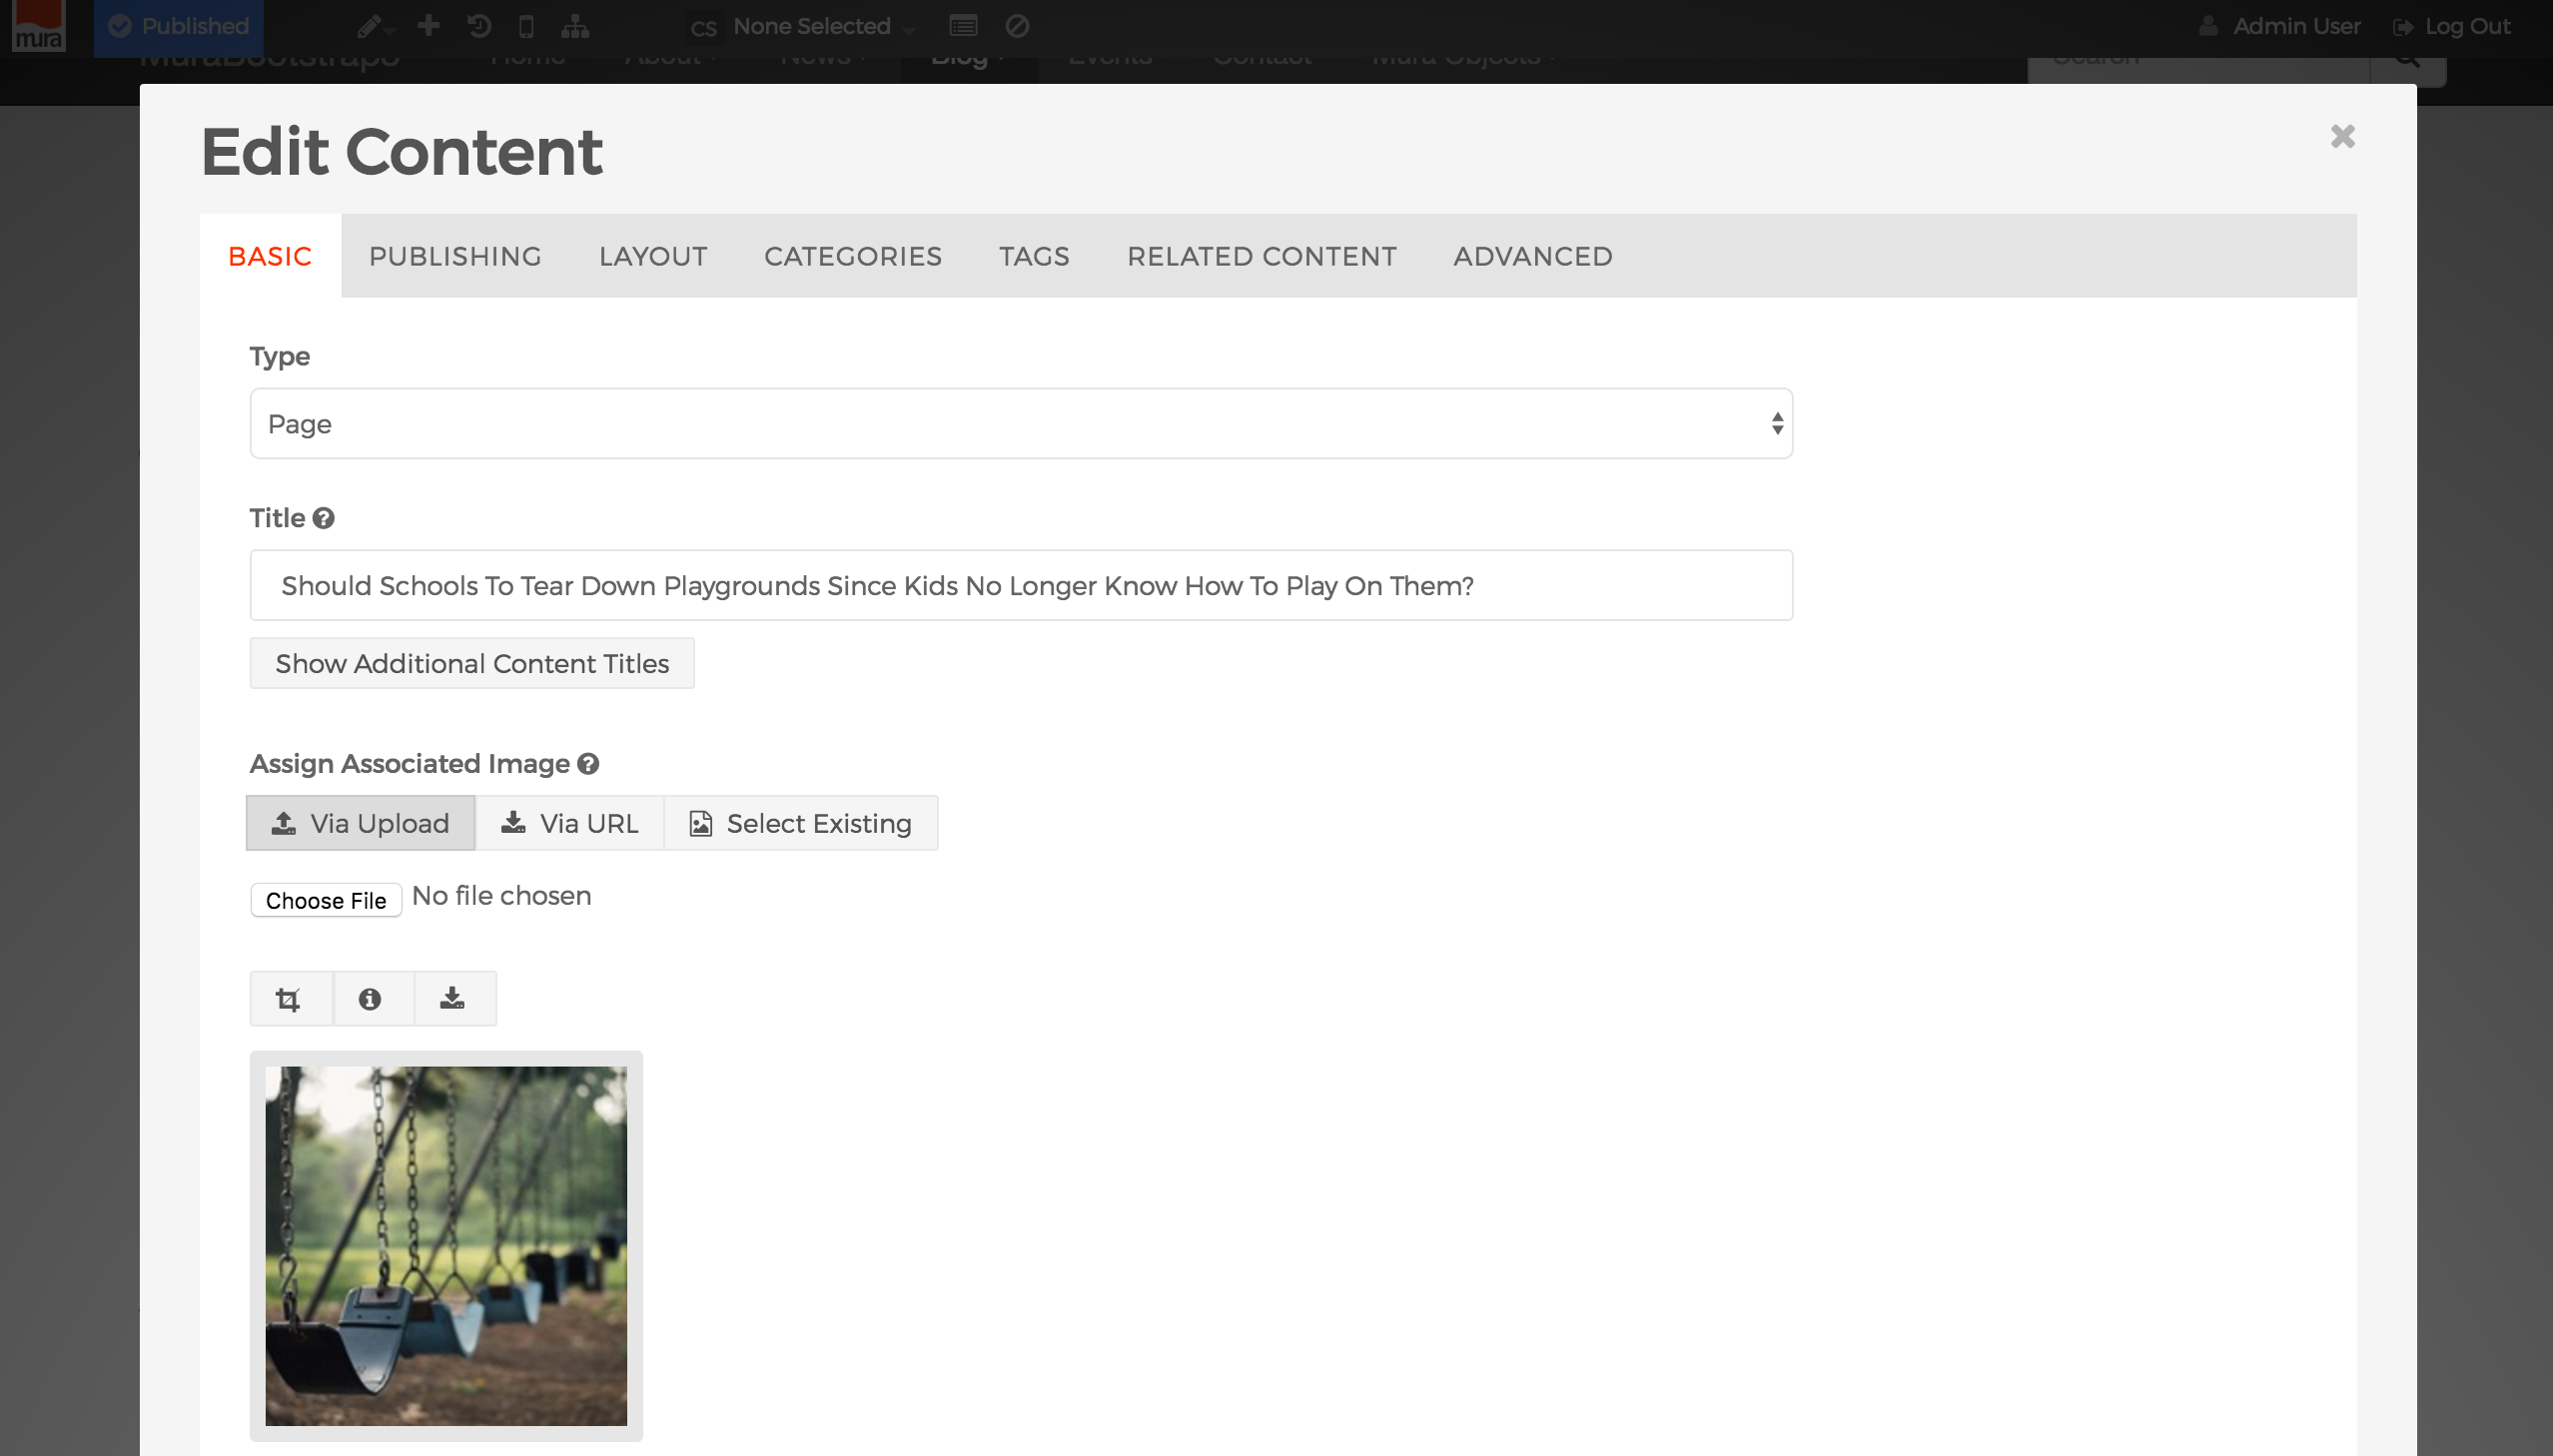
- You'll see that it contains a number of tabs which are display across the top of the window that will be discussed later. However, if you scroll down, you should be able to located the "Content" region and a familiar formatting toolbar.
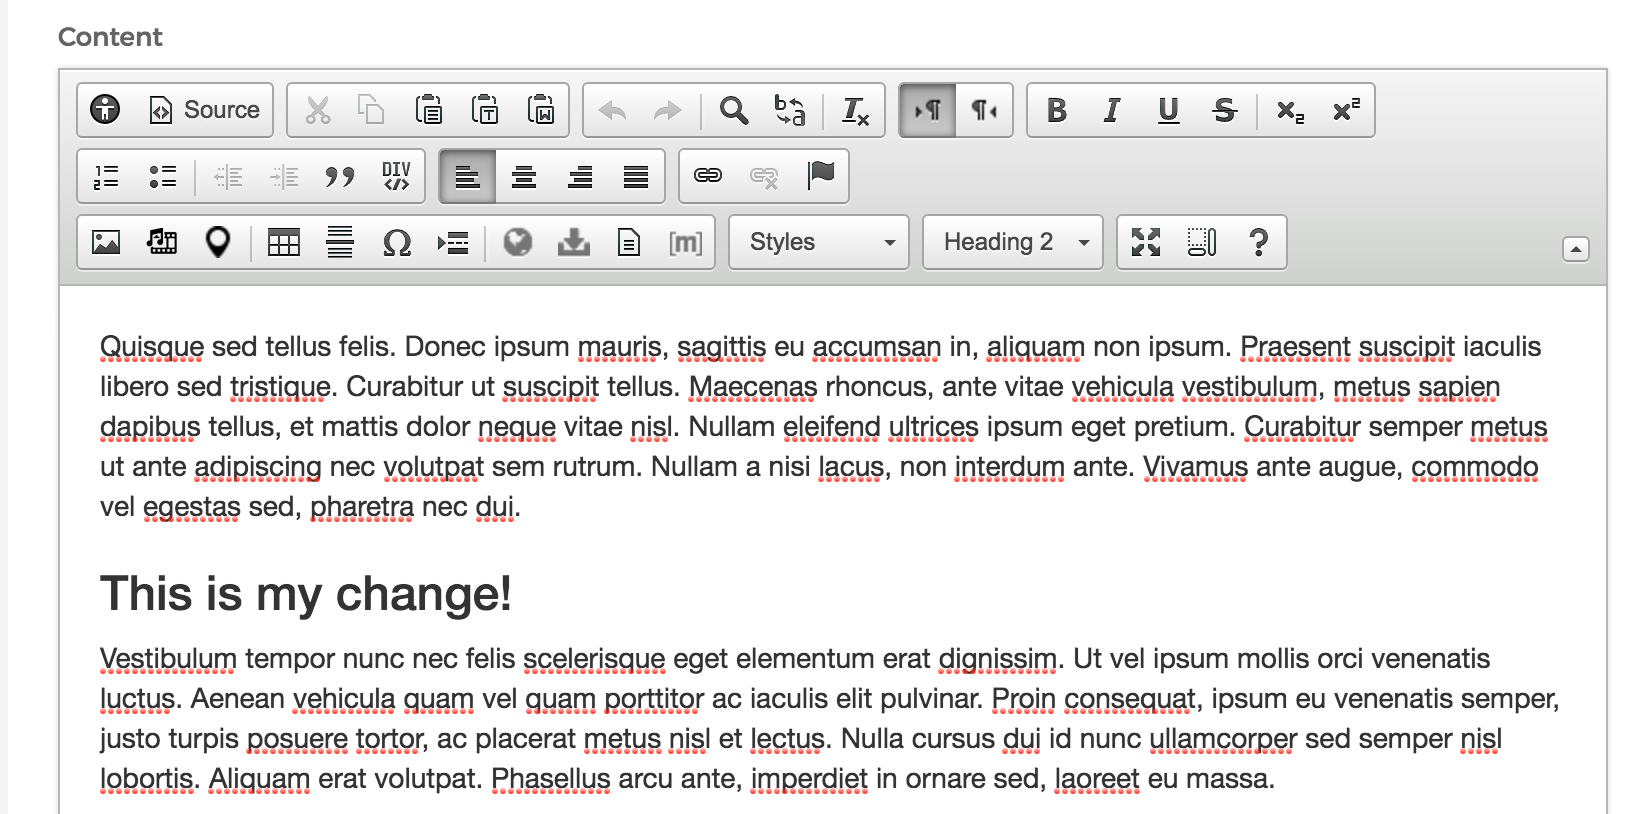
- From this window, you can simply click inside of it, make your change(s), and apply your desired formatting. When you're done, you can select your desired publishing option (e.g., "Publish"). Please note that "Publish" will only appear for groups that have been given "Editor" privileges.
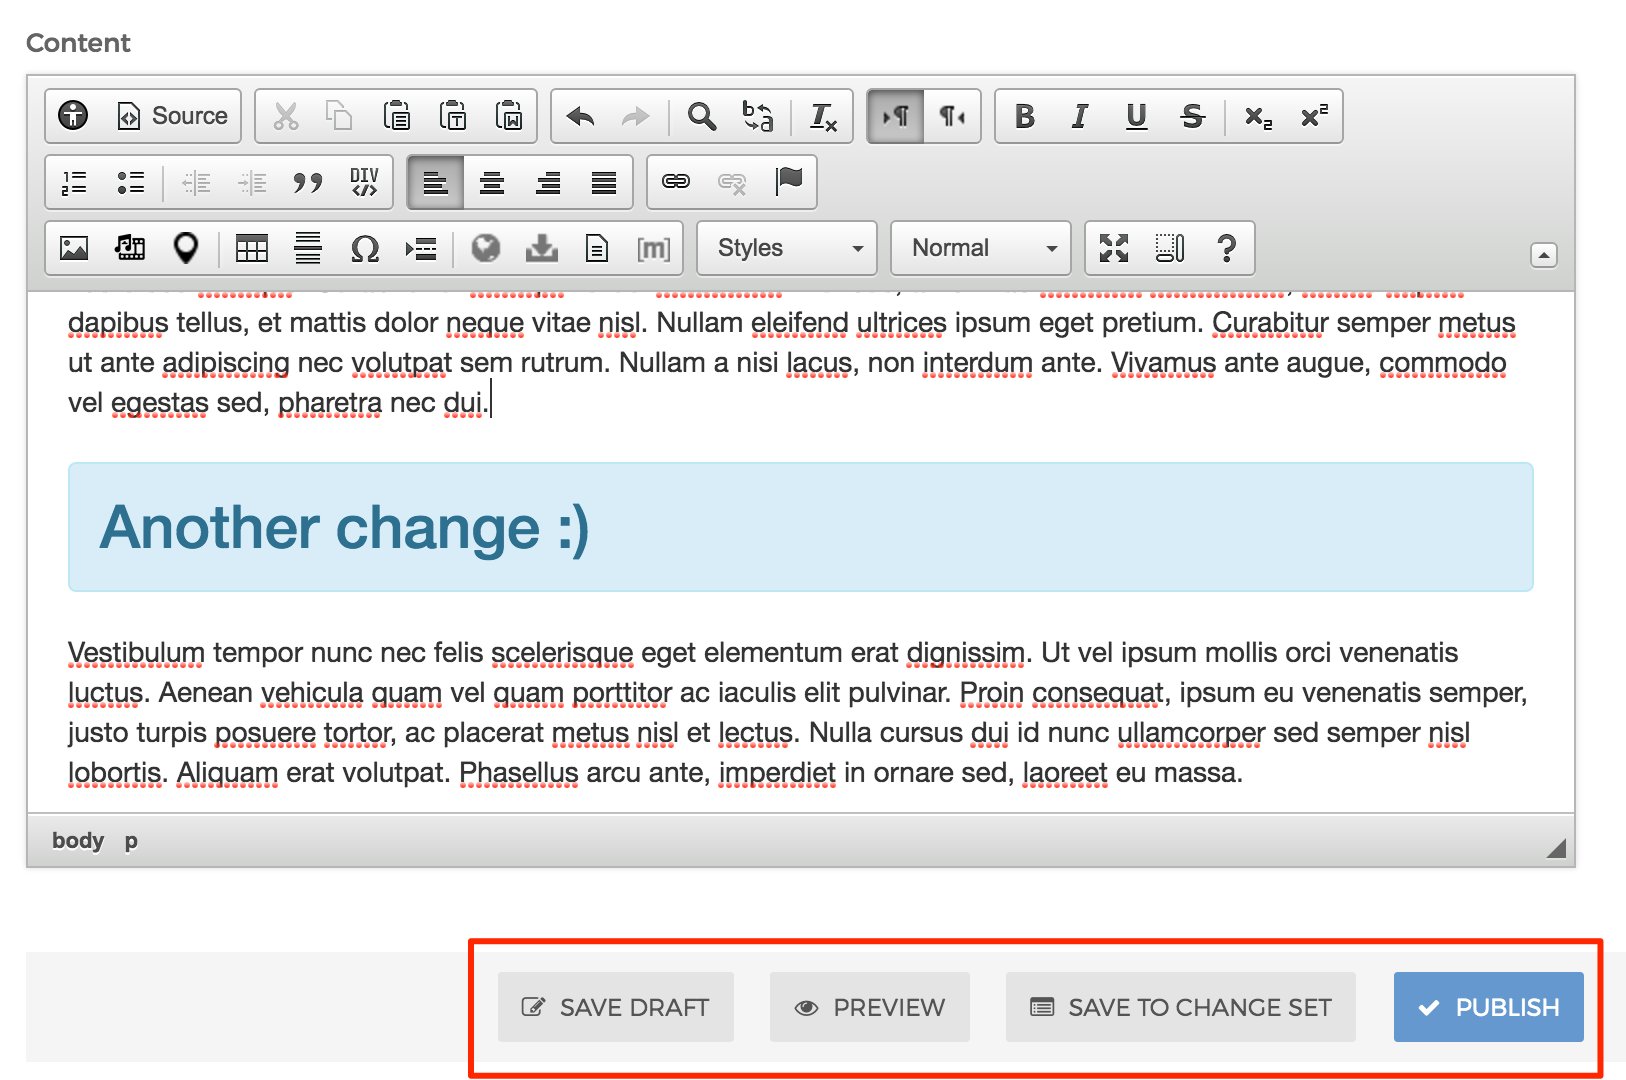
- Congratulations! You've just edited content using "full edit" mode.