Creating a Calendar
To create a calendar in Mura, simply follow the steps below.
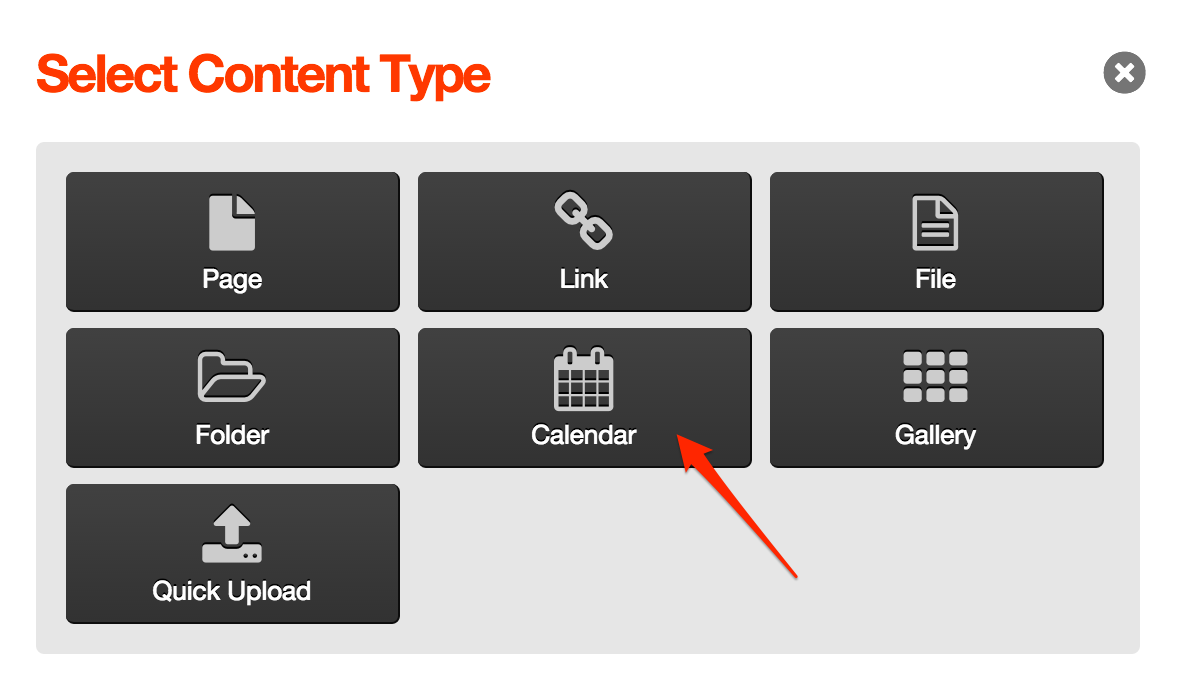
- From the Site Manager, select Add Content, and then from the Select Content Type dialog window, select Calendar.
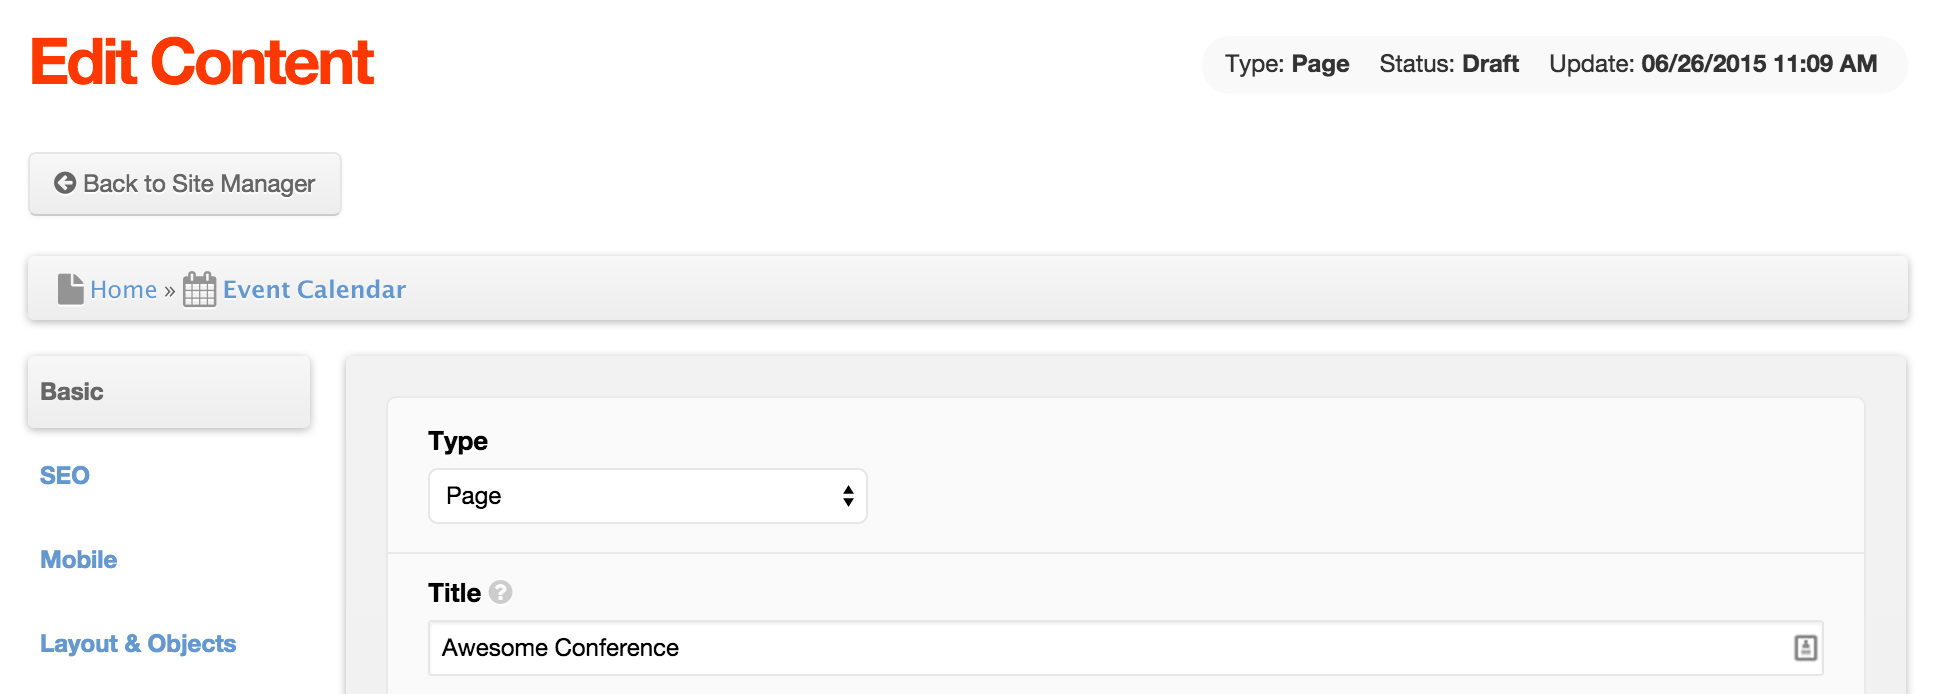
- From the Edit Content screen, on the Basic tab, enter a Title for your calendar.

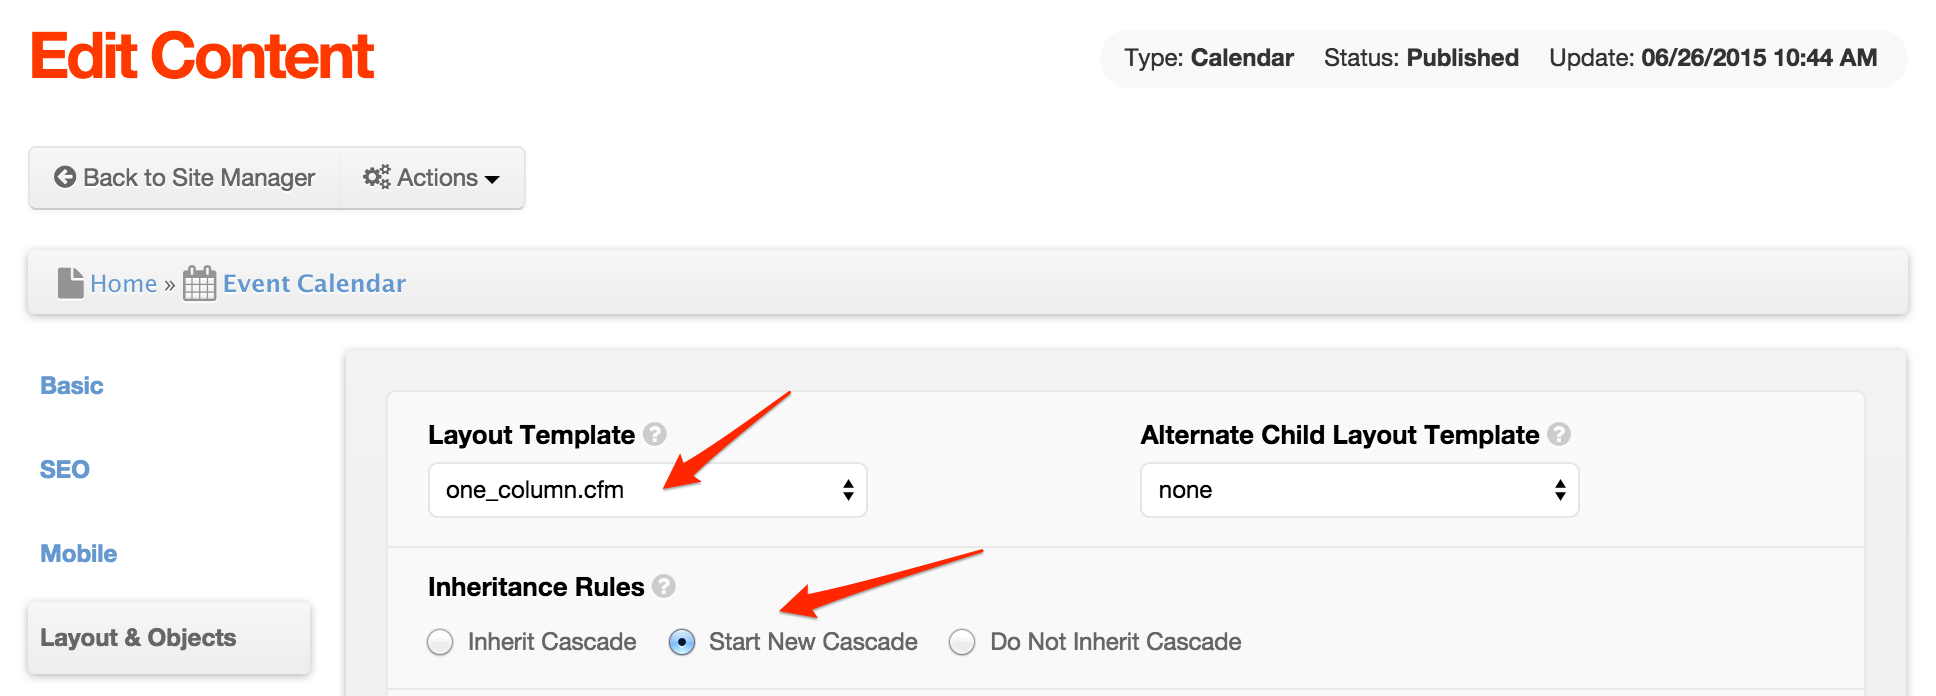
- On the Layout & Objects tab, select your desired Layout Template (e.g., one_column.cfm), and under Inheritance Rules, you may want to select Start New Cascade to prevent any display objects that have been assigned to the parent content item from displaying in your calendar's layout.
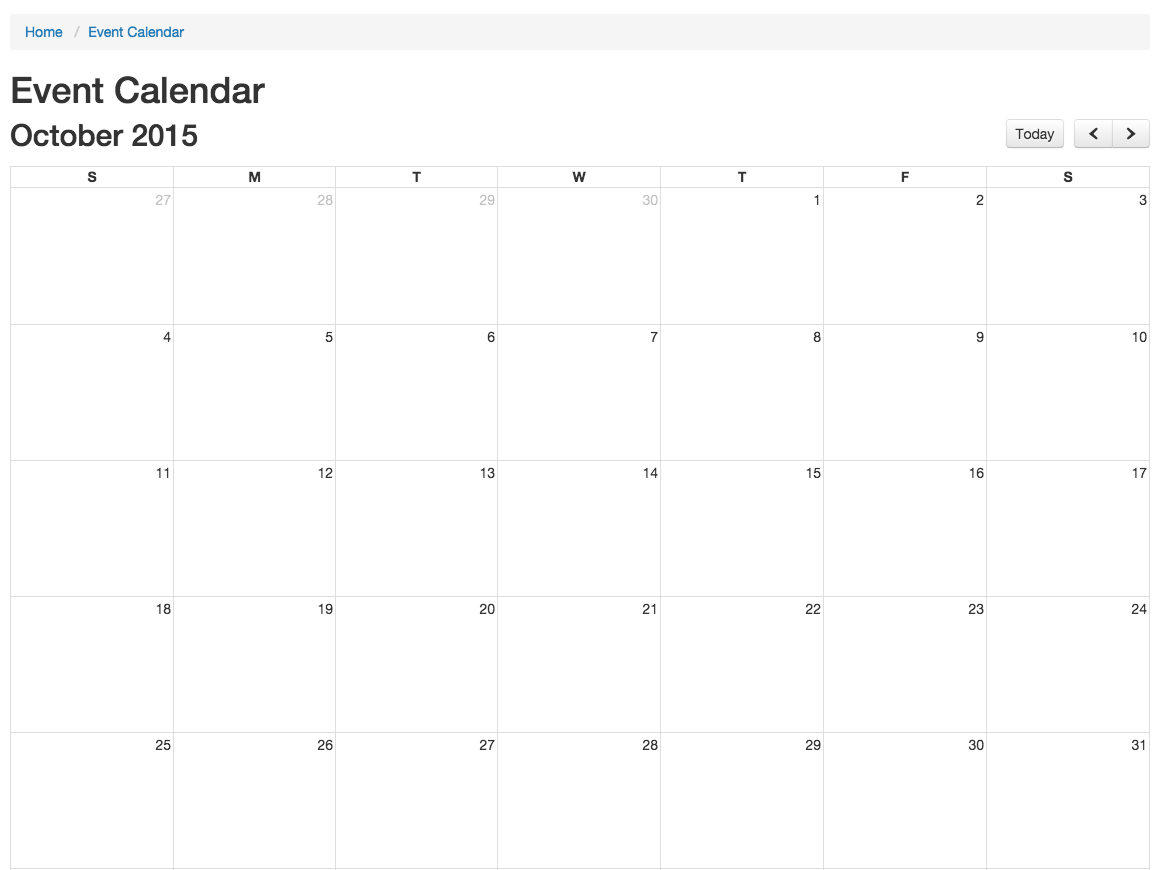
- Click Publish and preview your calendar. You should see a basic calendar display.
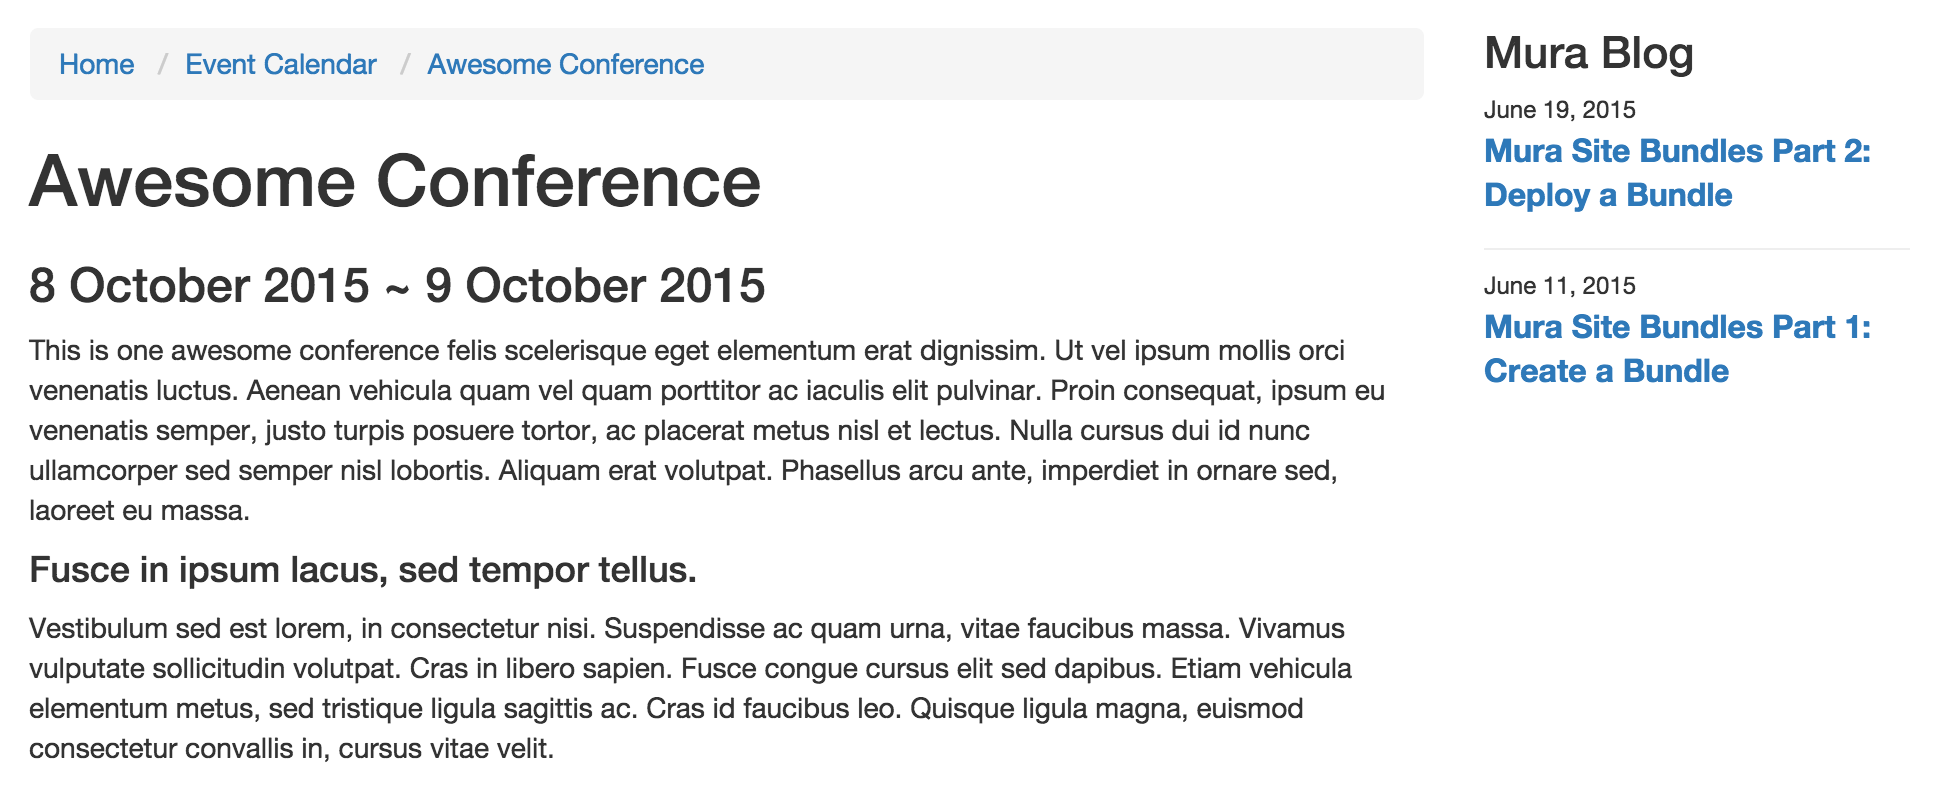
- To add an event to the calendar, simply add a content item to the Calendar. For example, add a Page, and give it a title of Awesome Conference.
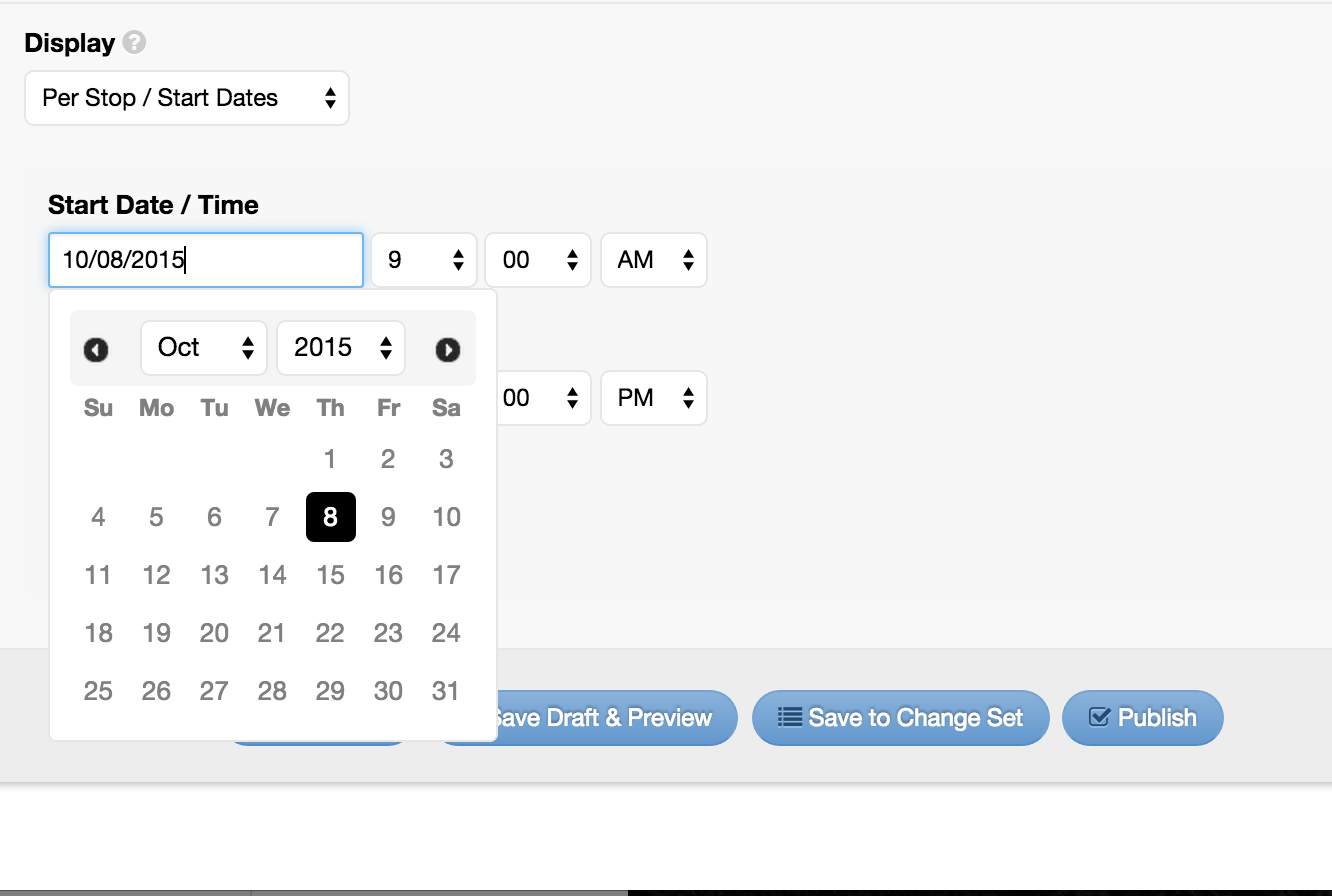
- On the Basic tab, scroll down to the Display section, and enter a Start Date / Time for the event.
- Assuming your event has an end date, also enter a Stop Date / Time.
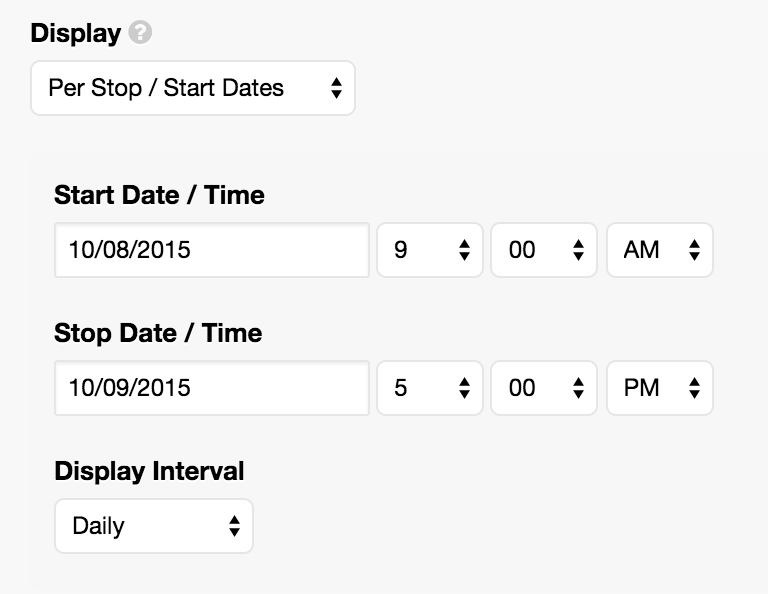
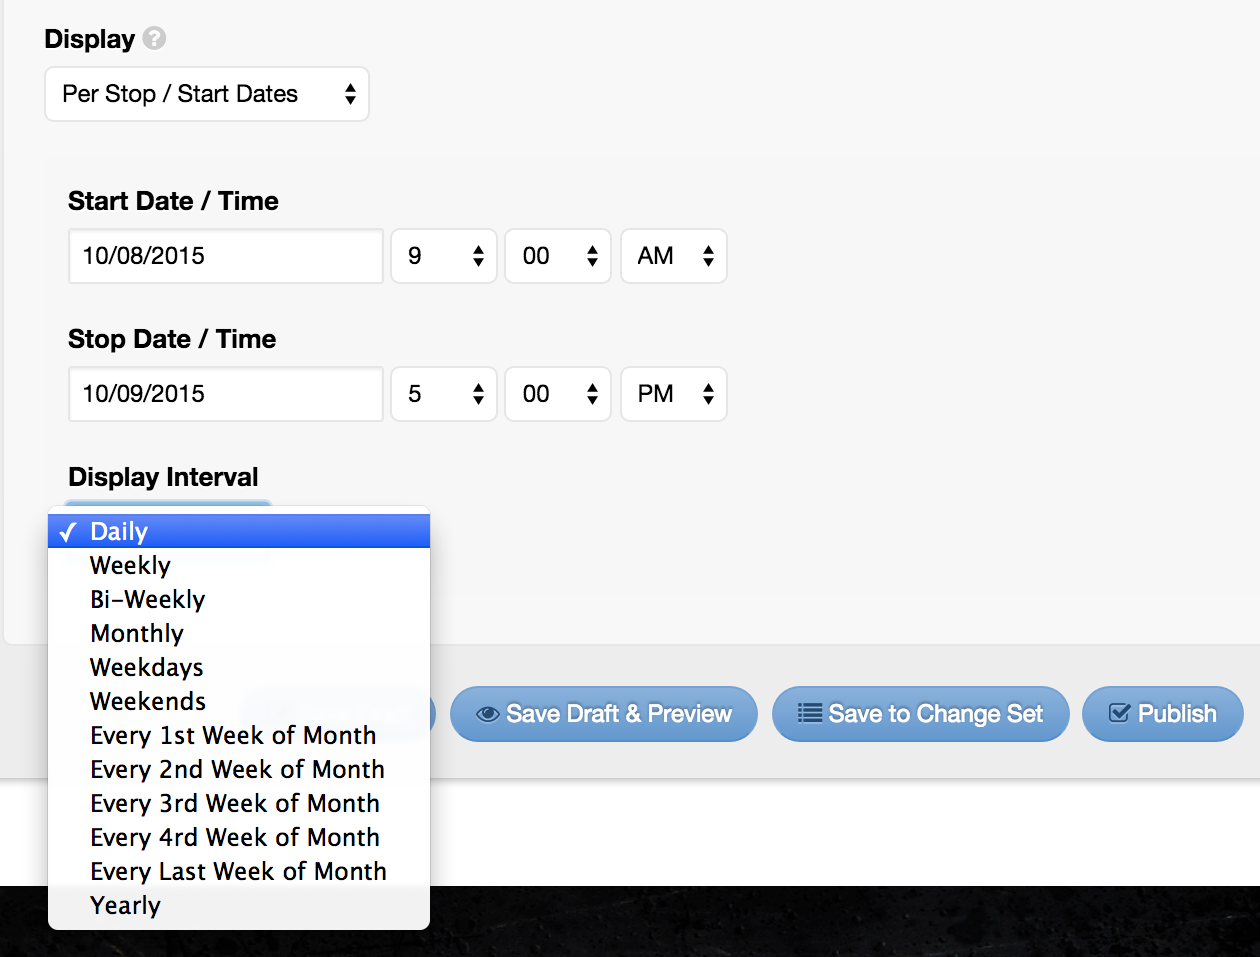
- You also have the option to select a Display Interval, such as Daily, Weekly, Bi-Weekly, Monthly, Weekdays, Weekends, Every 1st/2nd/3rd/4th/Last week of the Month, or Yearly. In this example, use the default of Daily.
- Publish the event, and then preview your calendar again. Navigate to the month and year of the event you published, and the event should now appear on the calendar for each date and interval you specified when creating the event.
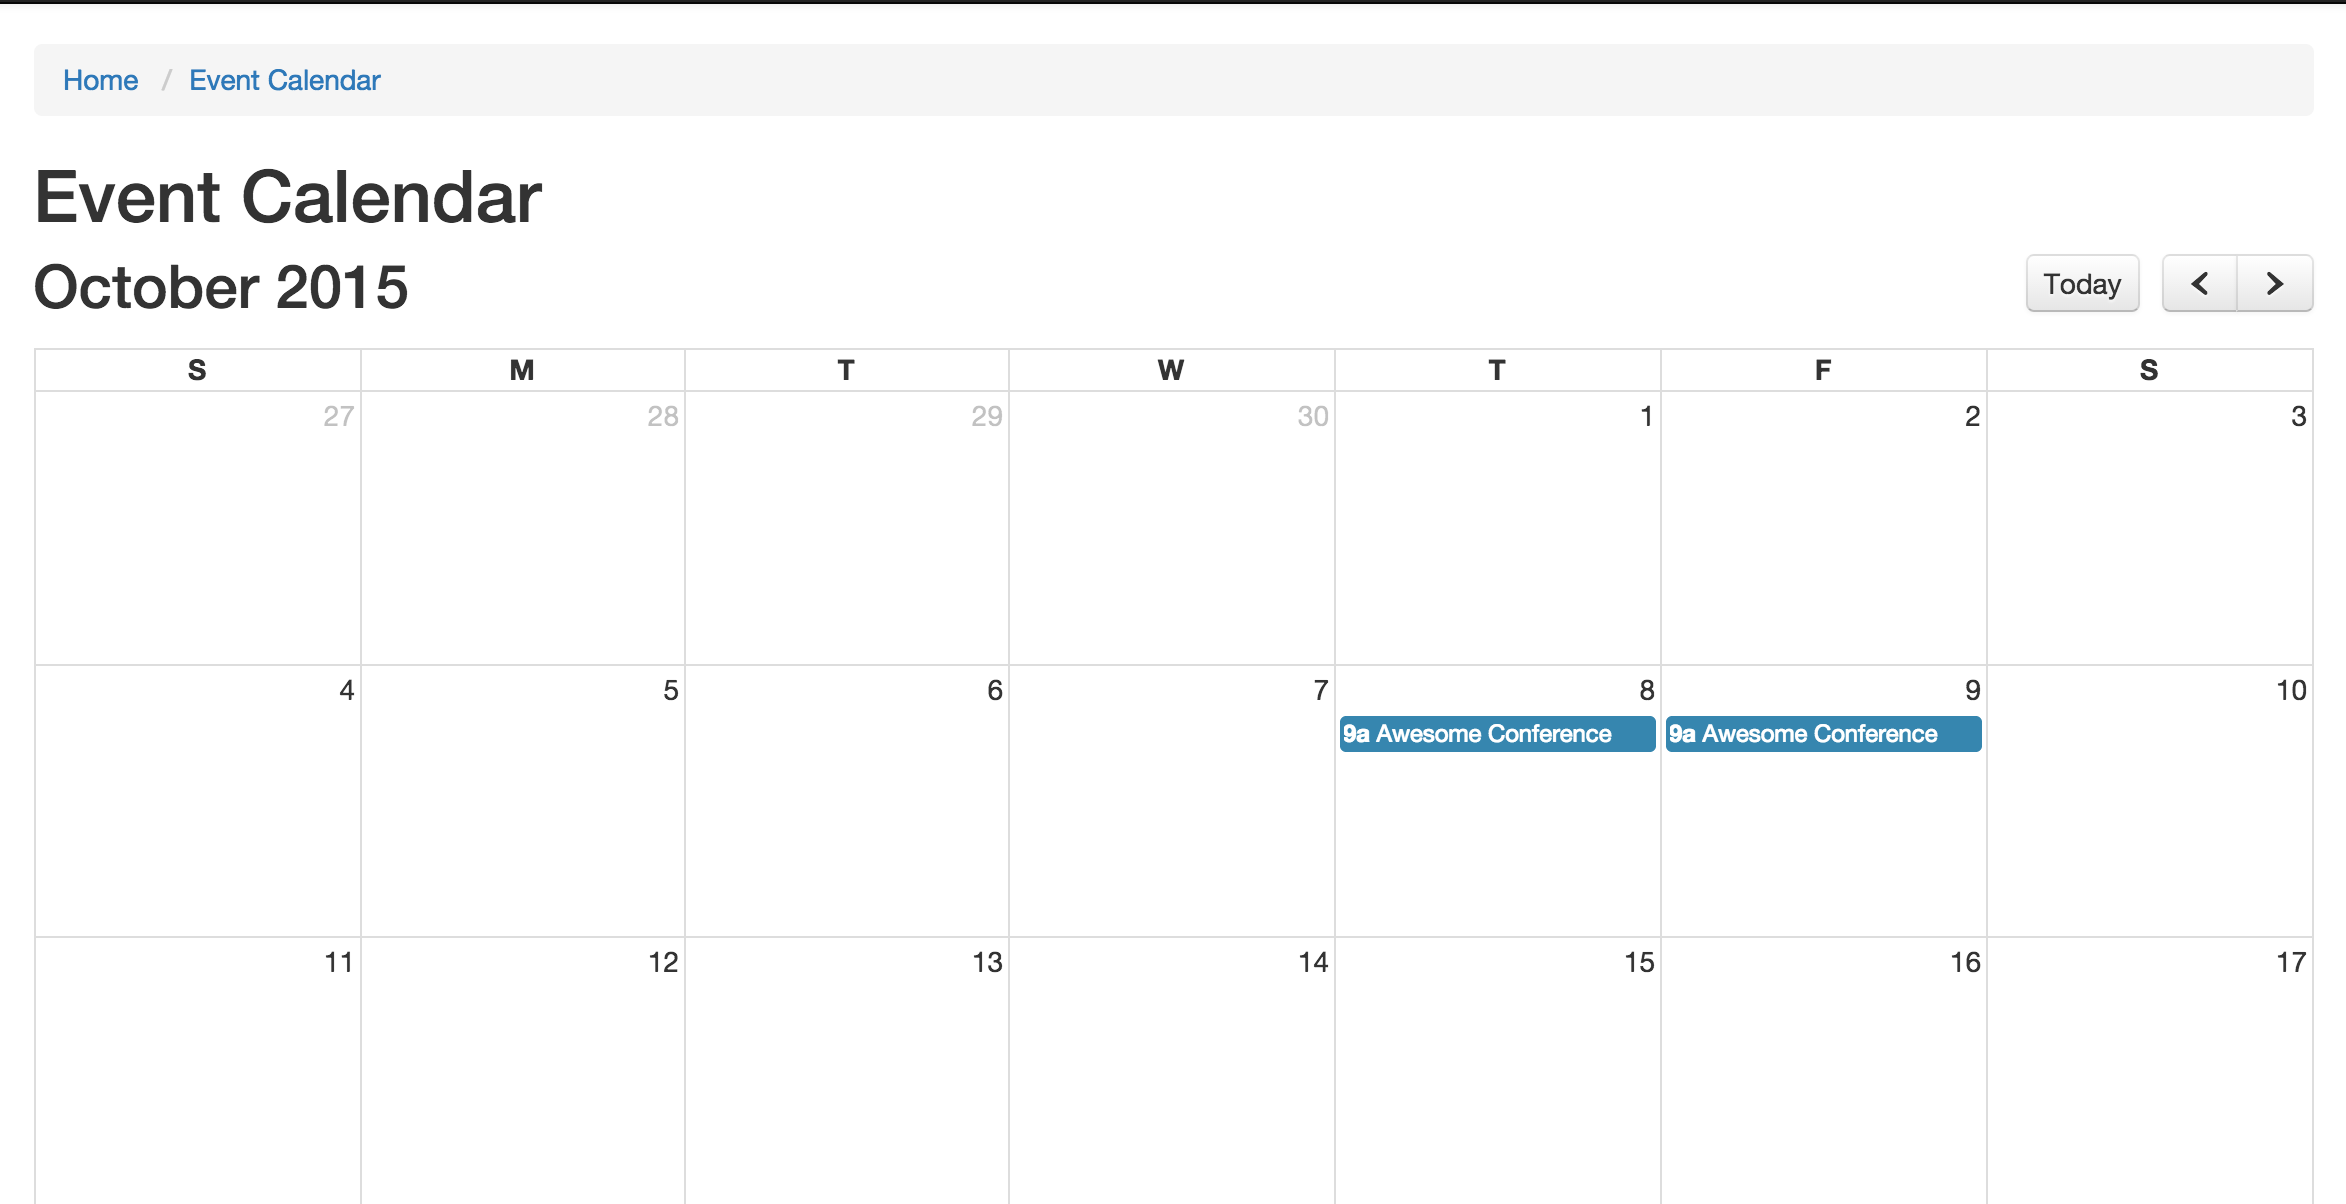
- Click the event on the calendar, and you should be taken to that content item. So, if you entered any text into the Content area when creating the event, you should now see that appear in the body area of your page.