Restrict Access to User Groups
To restrict access of a content node or section of the site to one or more User Groups, follow these steps:
- First, go to Site Config > Edit Site, then select the Modules tab. Make sure the Extranet (Password Protection) is On and click Update.
- In Site Manager, navigate to the content that you want to restrict access to and click to edit (e.g., Members Only).
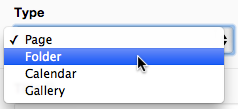
- From the Type select menu, select Folder.
- Click the Publishing tab on the Edit Content screen.
- Locate the Restrict Access to Specific Group(s)? checkbox.

- Check the box next to Restrict Access to Specific Group(s)? to reveal a listing of groups in use for your site. You can <CTRL>+Click (Windows) or <Command>+Click (Mac) any of the groups you wish to grant access to.
For example, selecting Allow All Groups for the Members Only Page will allow users of any group access to this section of the site, regardless of which group they are in, so long as they are a member of a group.
- Global Settings
- Allow All Groups: This allows all Site Member Groups and System User Groups access to the content. It doesn't matter which group you belong to, as long as you belong to at least one of them.
- Restrict All Groups: Will not allow any users who belong to a Site Member group access to the content. However, System Users may still have access to the content unless they've been explicitly denied access to the content.
- Member Groups
- Select one or more Site Member group(s) that you would like to enable access for.
- Global Settings
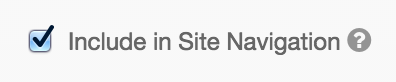
- Check the box next to Include in Site Navigation.
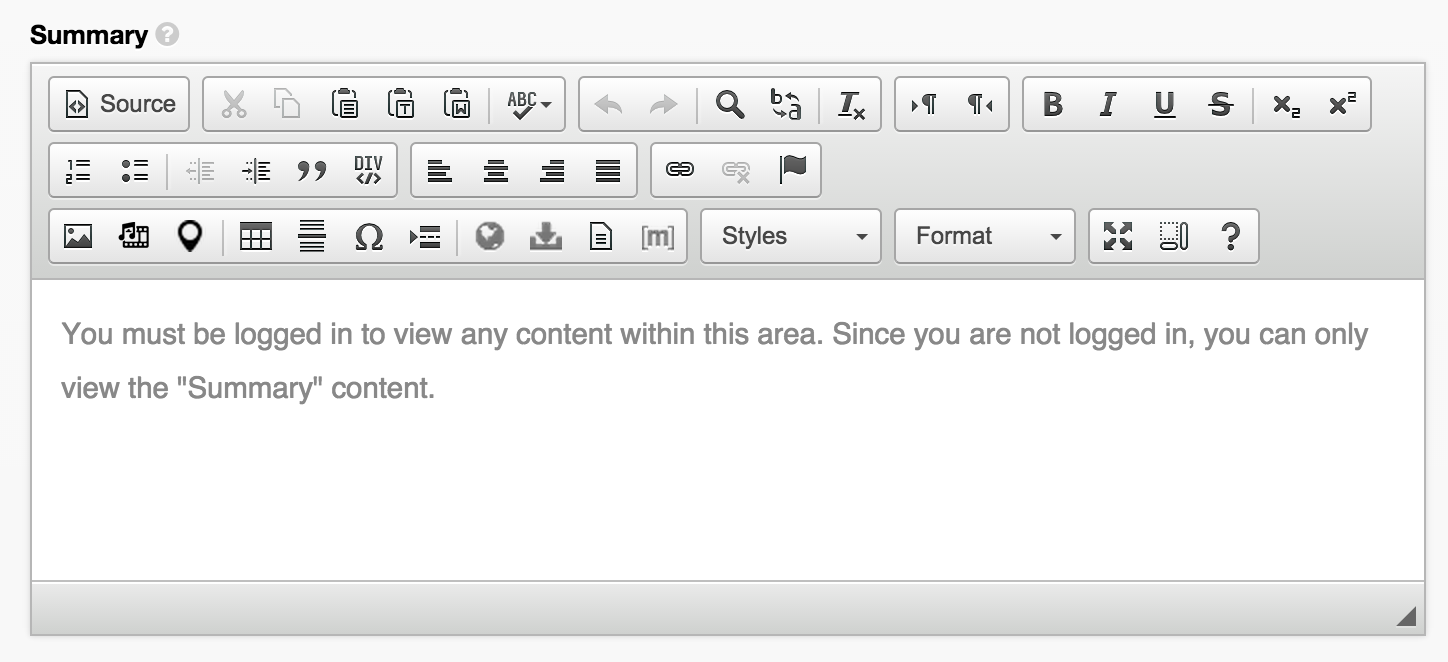
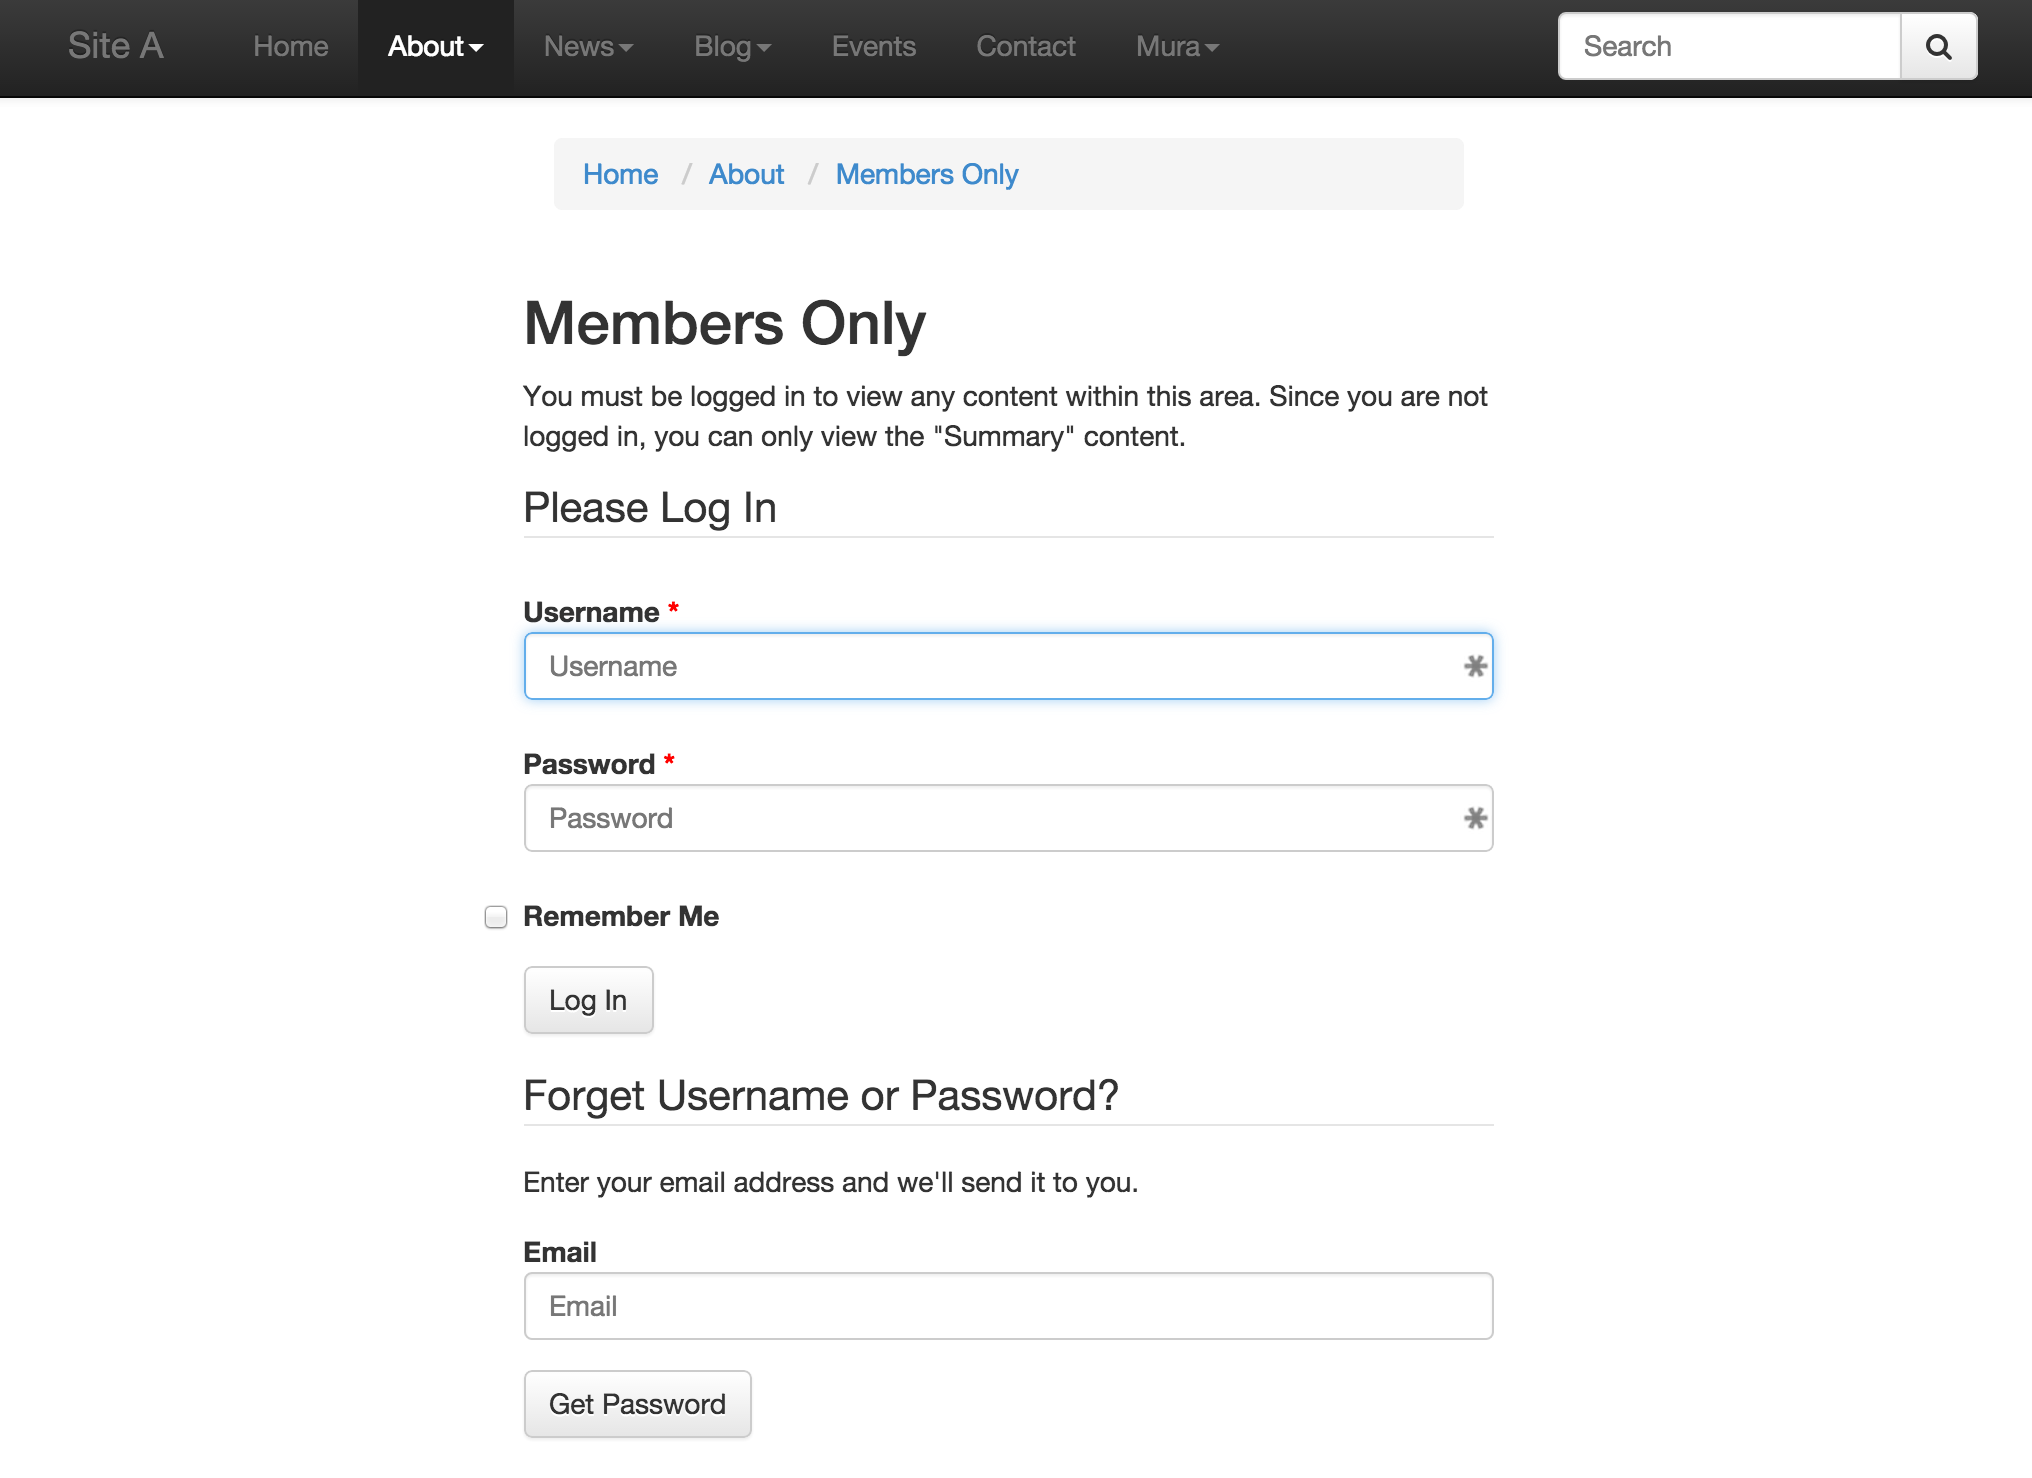
- Click the Basic tab, and enter some text in the Summary area (e.g., "You must be logged in to view this content.").
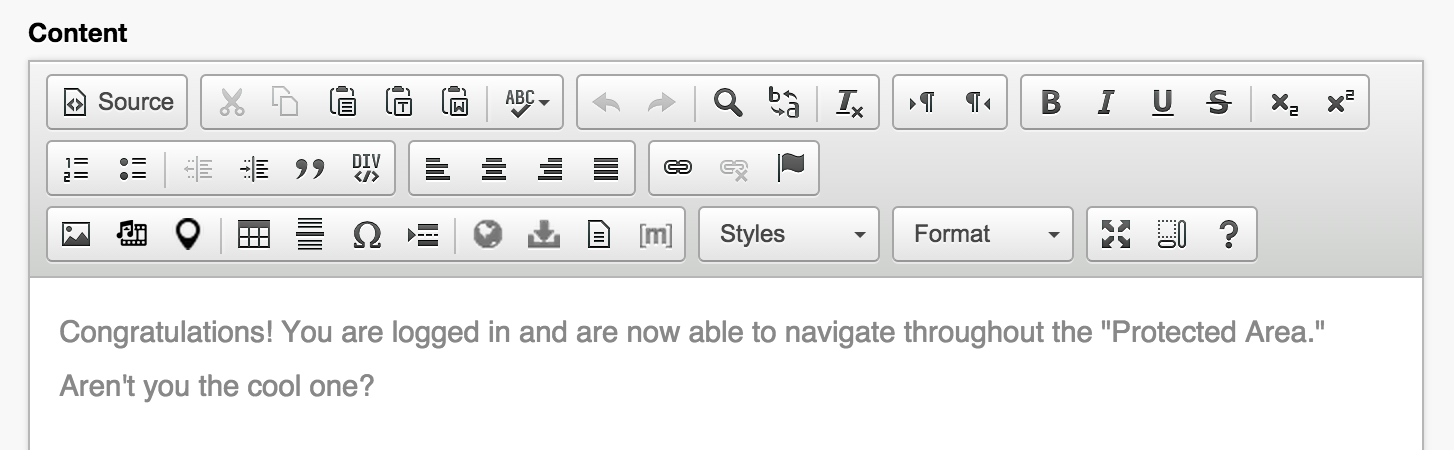
- Enter some text in the Content area (e.g., Congratulations! You are logged in....).
- Go to the Layout & Objects tab.
- From the Layout Template select menu, click three_column.cfm

- Set Inheritance Rules to Start New Cascade.

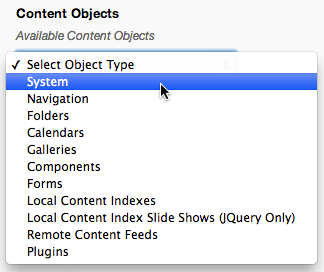
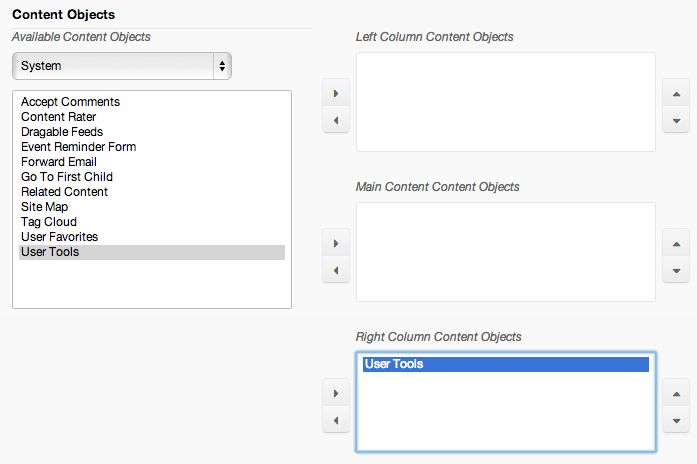
- From the Available Content Objects select menu, click System.
- Assign User Tools to the Right Column Content Objects display region.
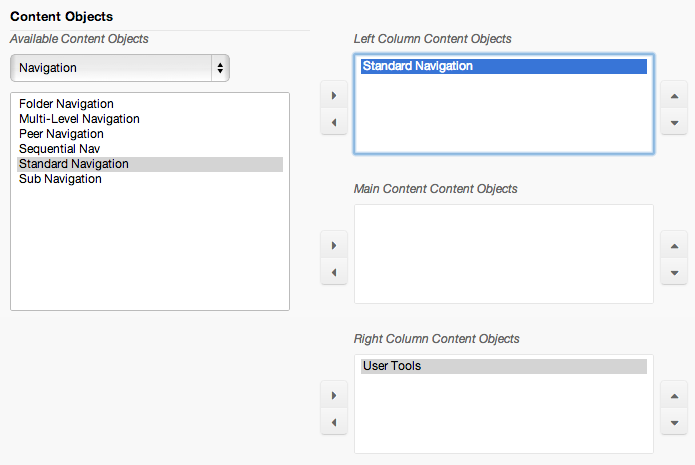
- From the Available Content Objects select menu, select Navigation and assign Standard Navigation to the Left Column Content Objects display region.
- Click Publish.
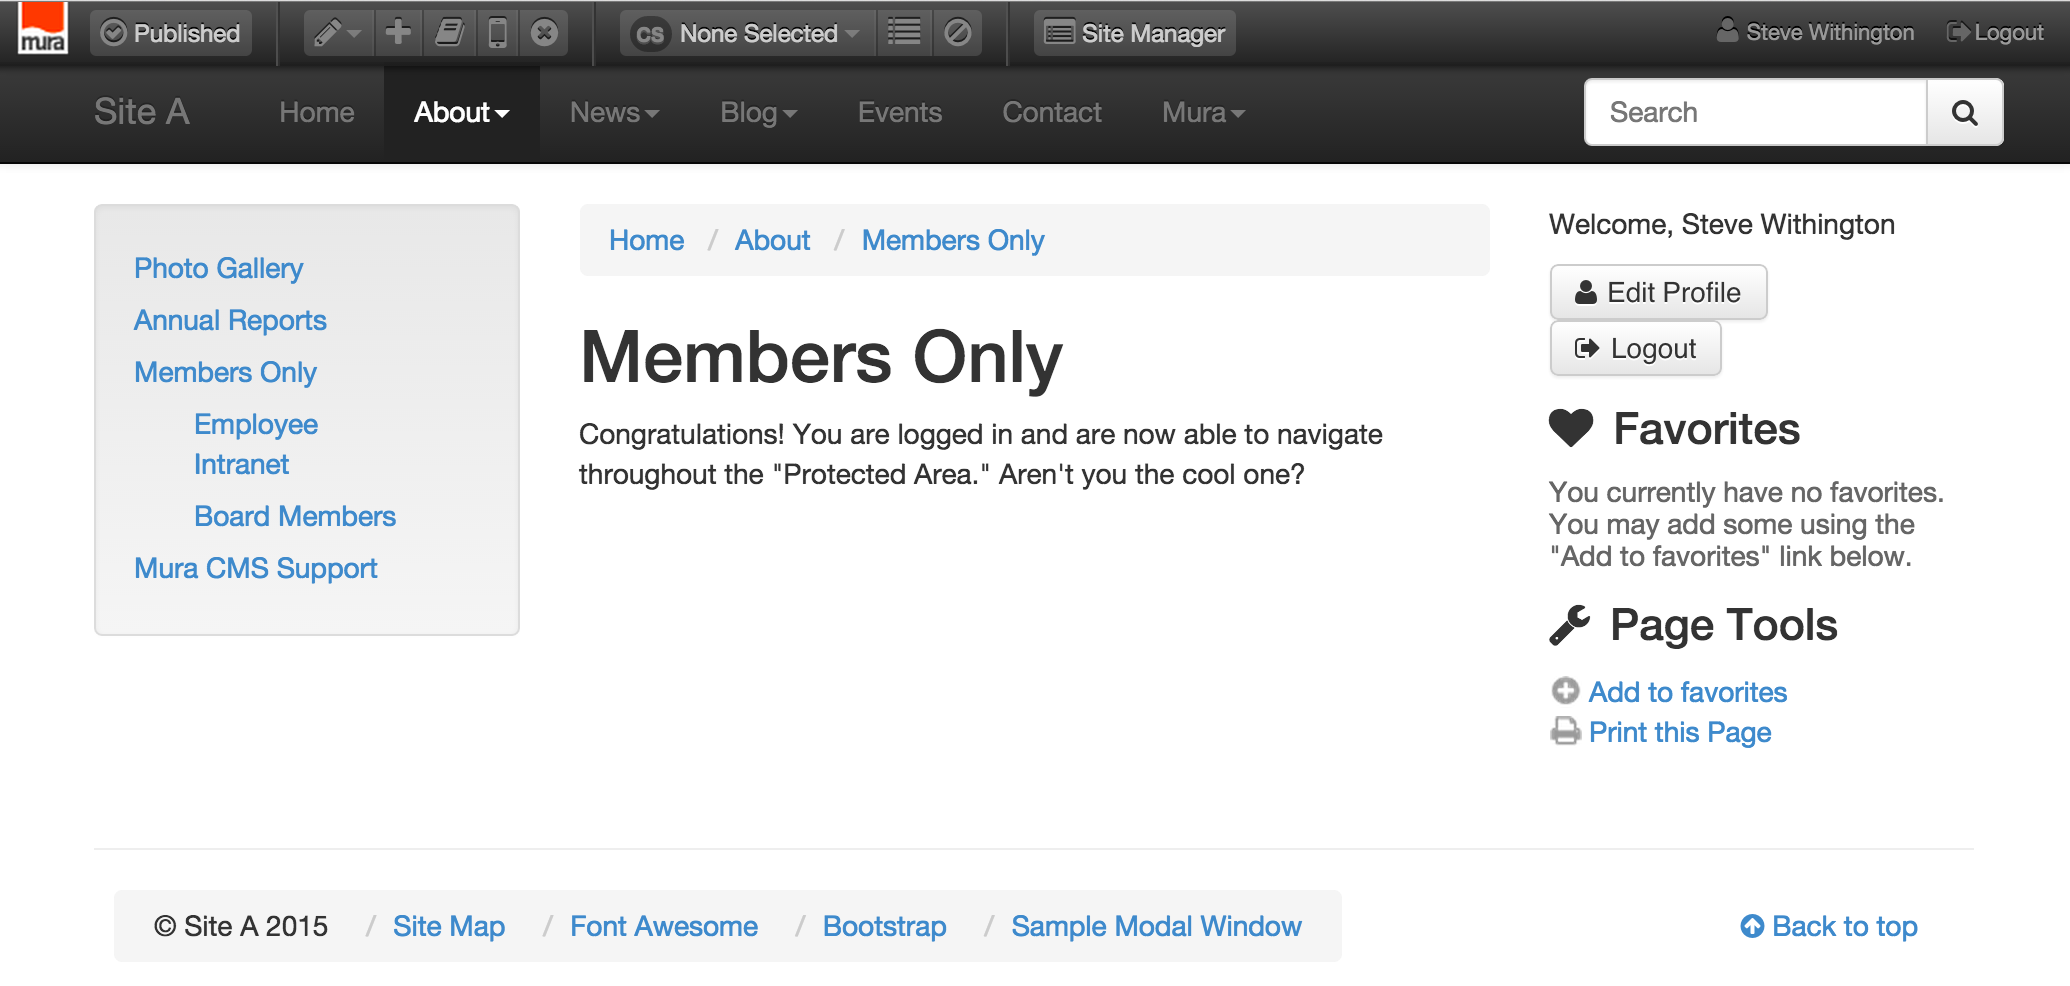
- Preview the Members Only Section.
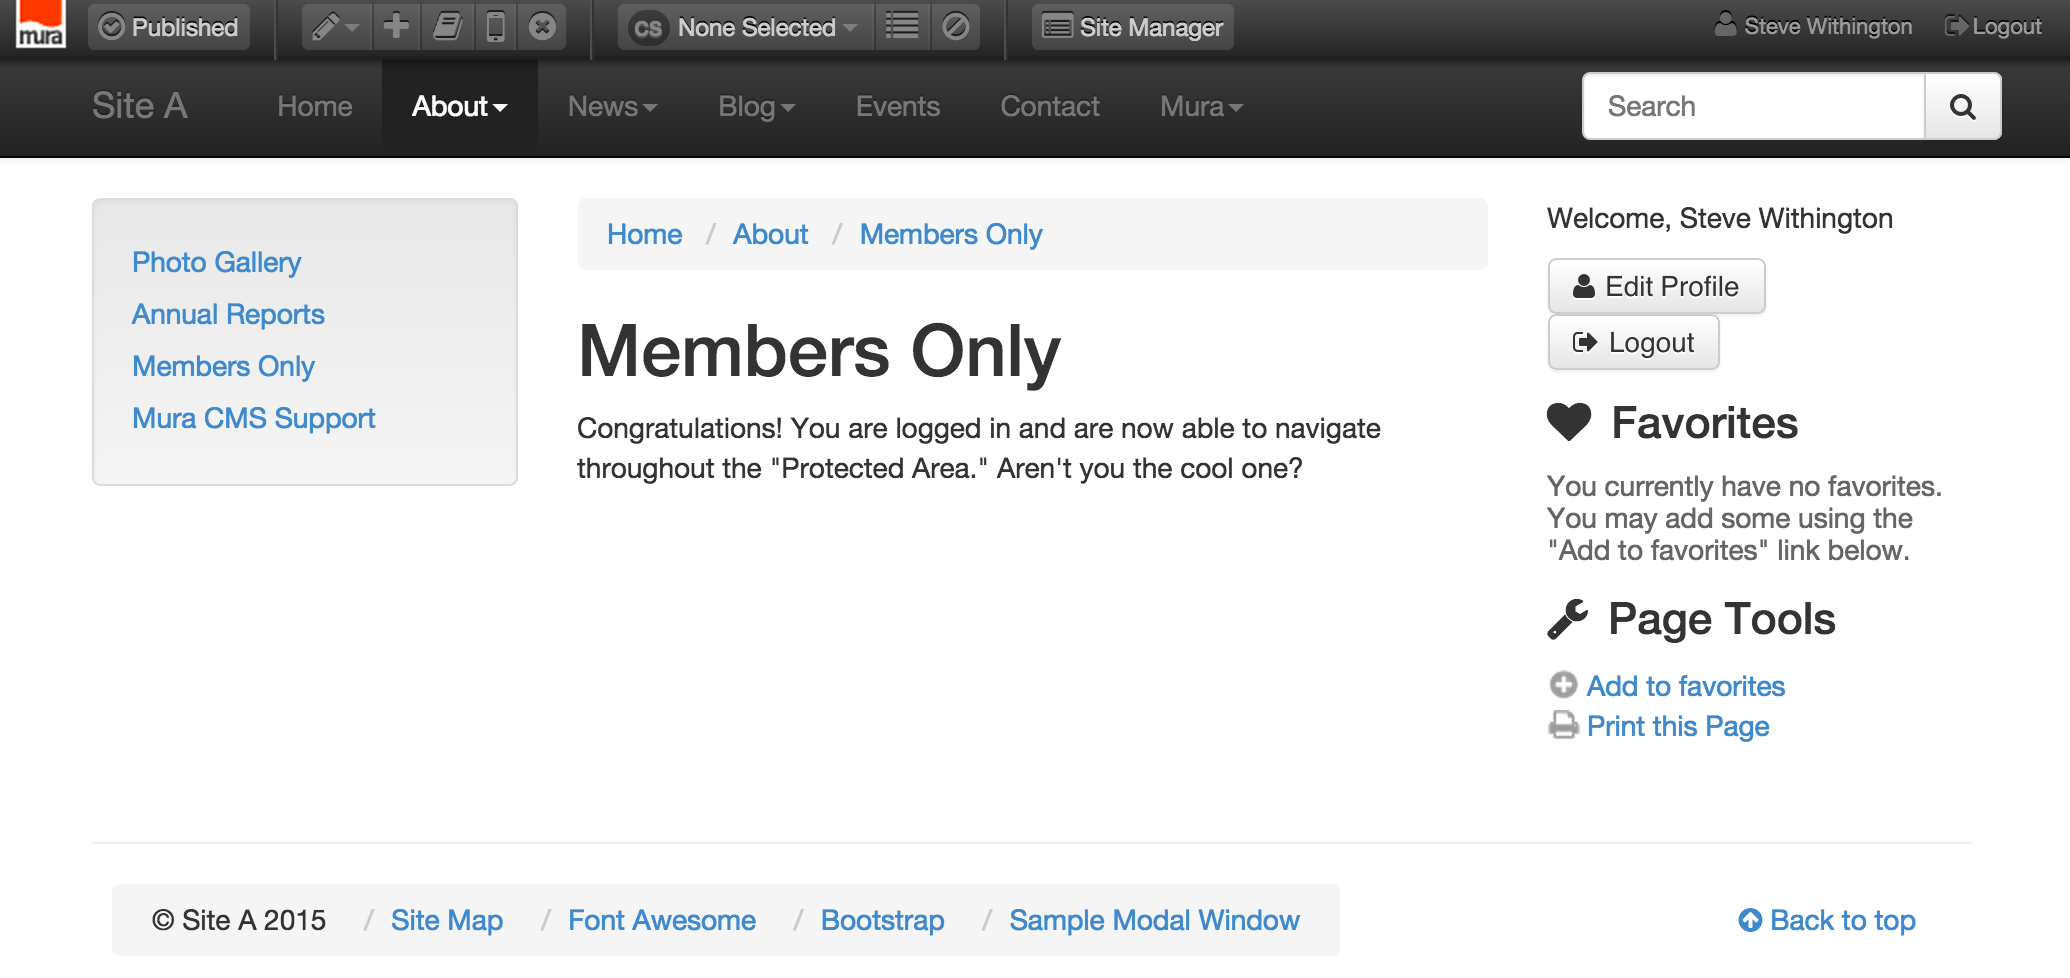
- Click Log Out.
- A Login Form should now appear in the Main Content display region of the page.
- Log In with either a valid and authorized Member User or System User account to see the content on this page and any content beneath it.