Format and Styles
Mura CMS was built to insure standards-based, logically structured, semantically correct markup. While there is no silver bullet to guarantee this, we've minimized opportunities for poor markup that could be presented by the editor itself.
One of the ways this is accomplished is by limiting styles within the editor. You'll note that the options to select fonts, font size, and color are not available by default. Instead, Mura relies on the "Format" and "Styles" select menus to provide the means for adding style.
Format

The Format select menu allows marking up content in a few different ways:
- Normal (Paragraph)
- Normal (Div)
- Formatted
- Address
- Headings and Subheads
Normal
Simply wraps a <p> or <div> tag around selected content.
Formatted
Wraps selected content in a <pre> tag.
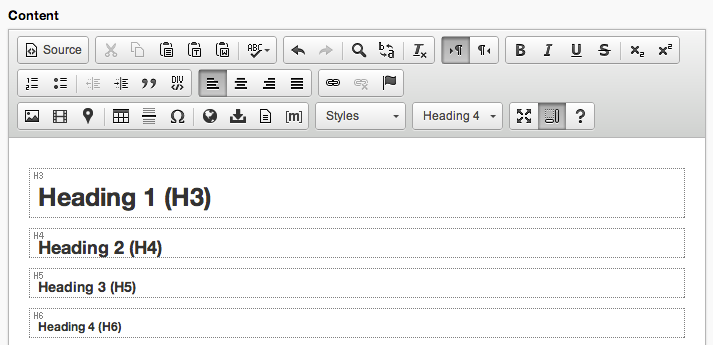
Headings and Subheads
Headings and subheads are the trickiest part of the editor and can be a bit confusing, depending on your knowledge of HTML.
Since Mura automatically sets page titles to be an <h2>, the subheadings in the editor start with <h3> in order to maintain a logical structure. By default, they are assigned as follows:
They are named this way for a couple of reasons:
- It allows the content editor (often a non-technical user) to focus on the logical structure of the page without worrying about the actual semantics of the markup.
- Page titles in Mura can be toggled to be <h1>'s instead of <h2>'s. Using the "Subhead" labels allows this to be abstracted from the user, avoiding confusion if settings are changed or set up differently for different sites the user may be administering.
Styles
By default, there are a handful styles added to the the styles select menu in the editor.
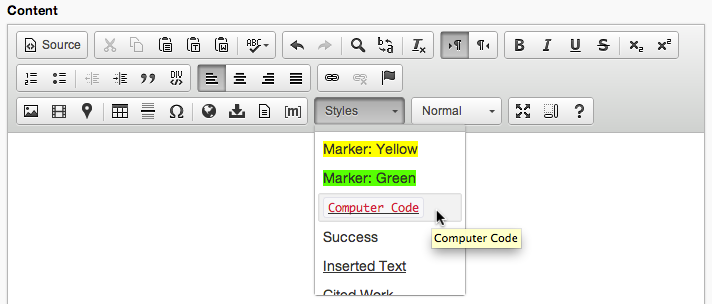
Note that these are contextual, so they may not appear to be available at all times. You must select the appropriate element to see its associated style in the select menu.
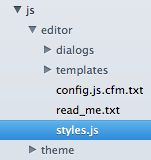
These styles are also completely customizable and can be found in the "styles.js" file in your theme's /js/editor directory. Documentation for this is available on the CK Editor site, but the syntax and format is simple and straight forward:
{name: 'Notice', element: 'p', attributes: {'class': 'alert' }},
{name: 'Success', element: 'p', attributes: {'class': 'alert alert-success' }},
{name: 'Error', element: 'p', attributes: {'class': 'alert alert-error' }},
{name: 'Info', element: 'p', attributes: {'class': 'alert alert-info' }},
{name: 'Prettify', element: 'pre', attributes: {'class': 'prettyprint linenums'}},
{name: 'Marker: Yellow', element: 'span', styles: {'background-color': 'Yellow'}},
{name: 'Marker: Green', element: 'span', styles: {'background-color': 'Lime'}}