Define with Admin UI
Follow the steps below to create a custom class extension. For example purposes, we'll create a Page/Location, as mentioned in the introduction to Class Extensions.
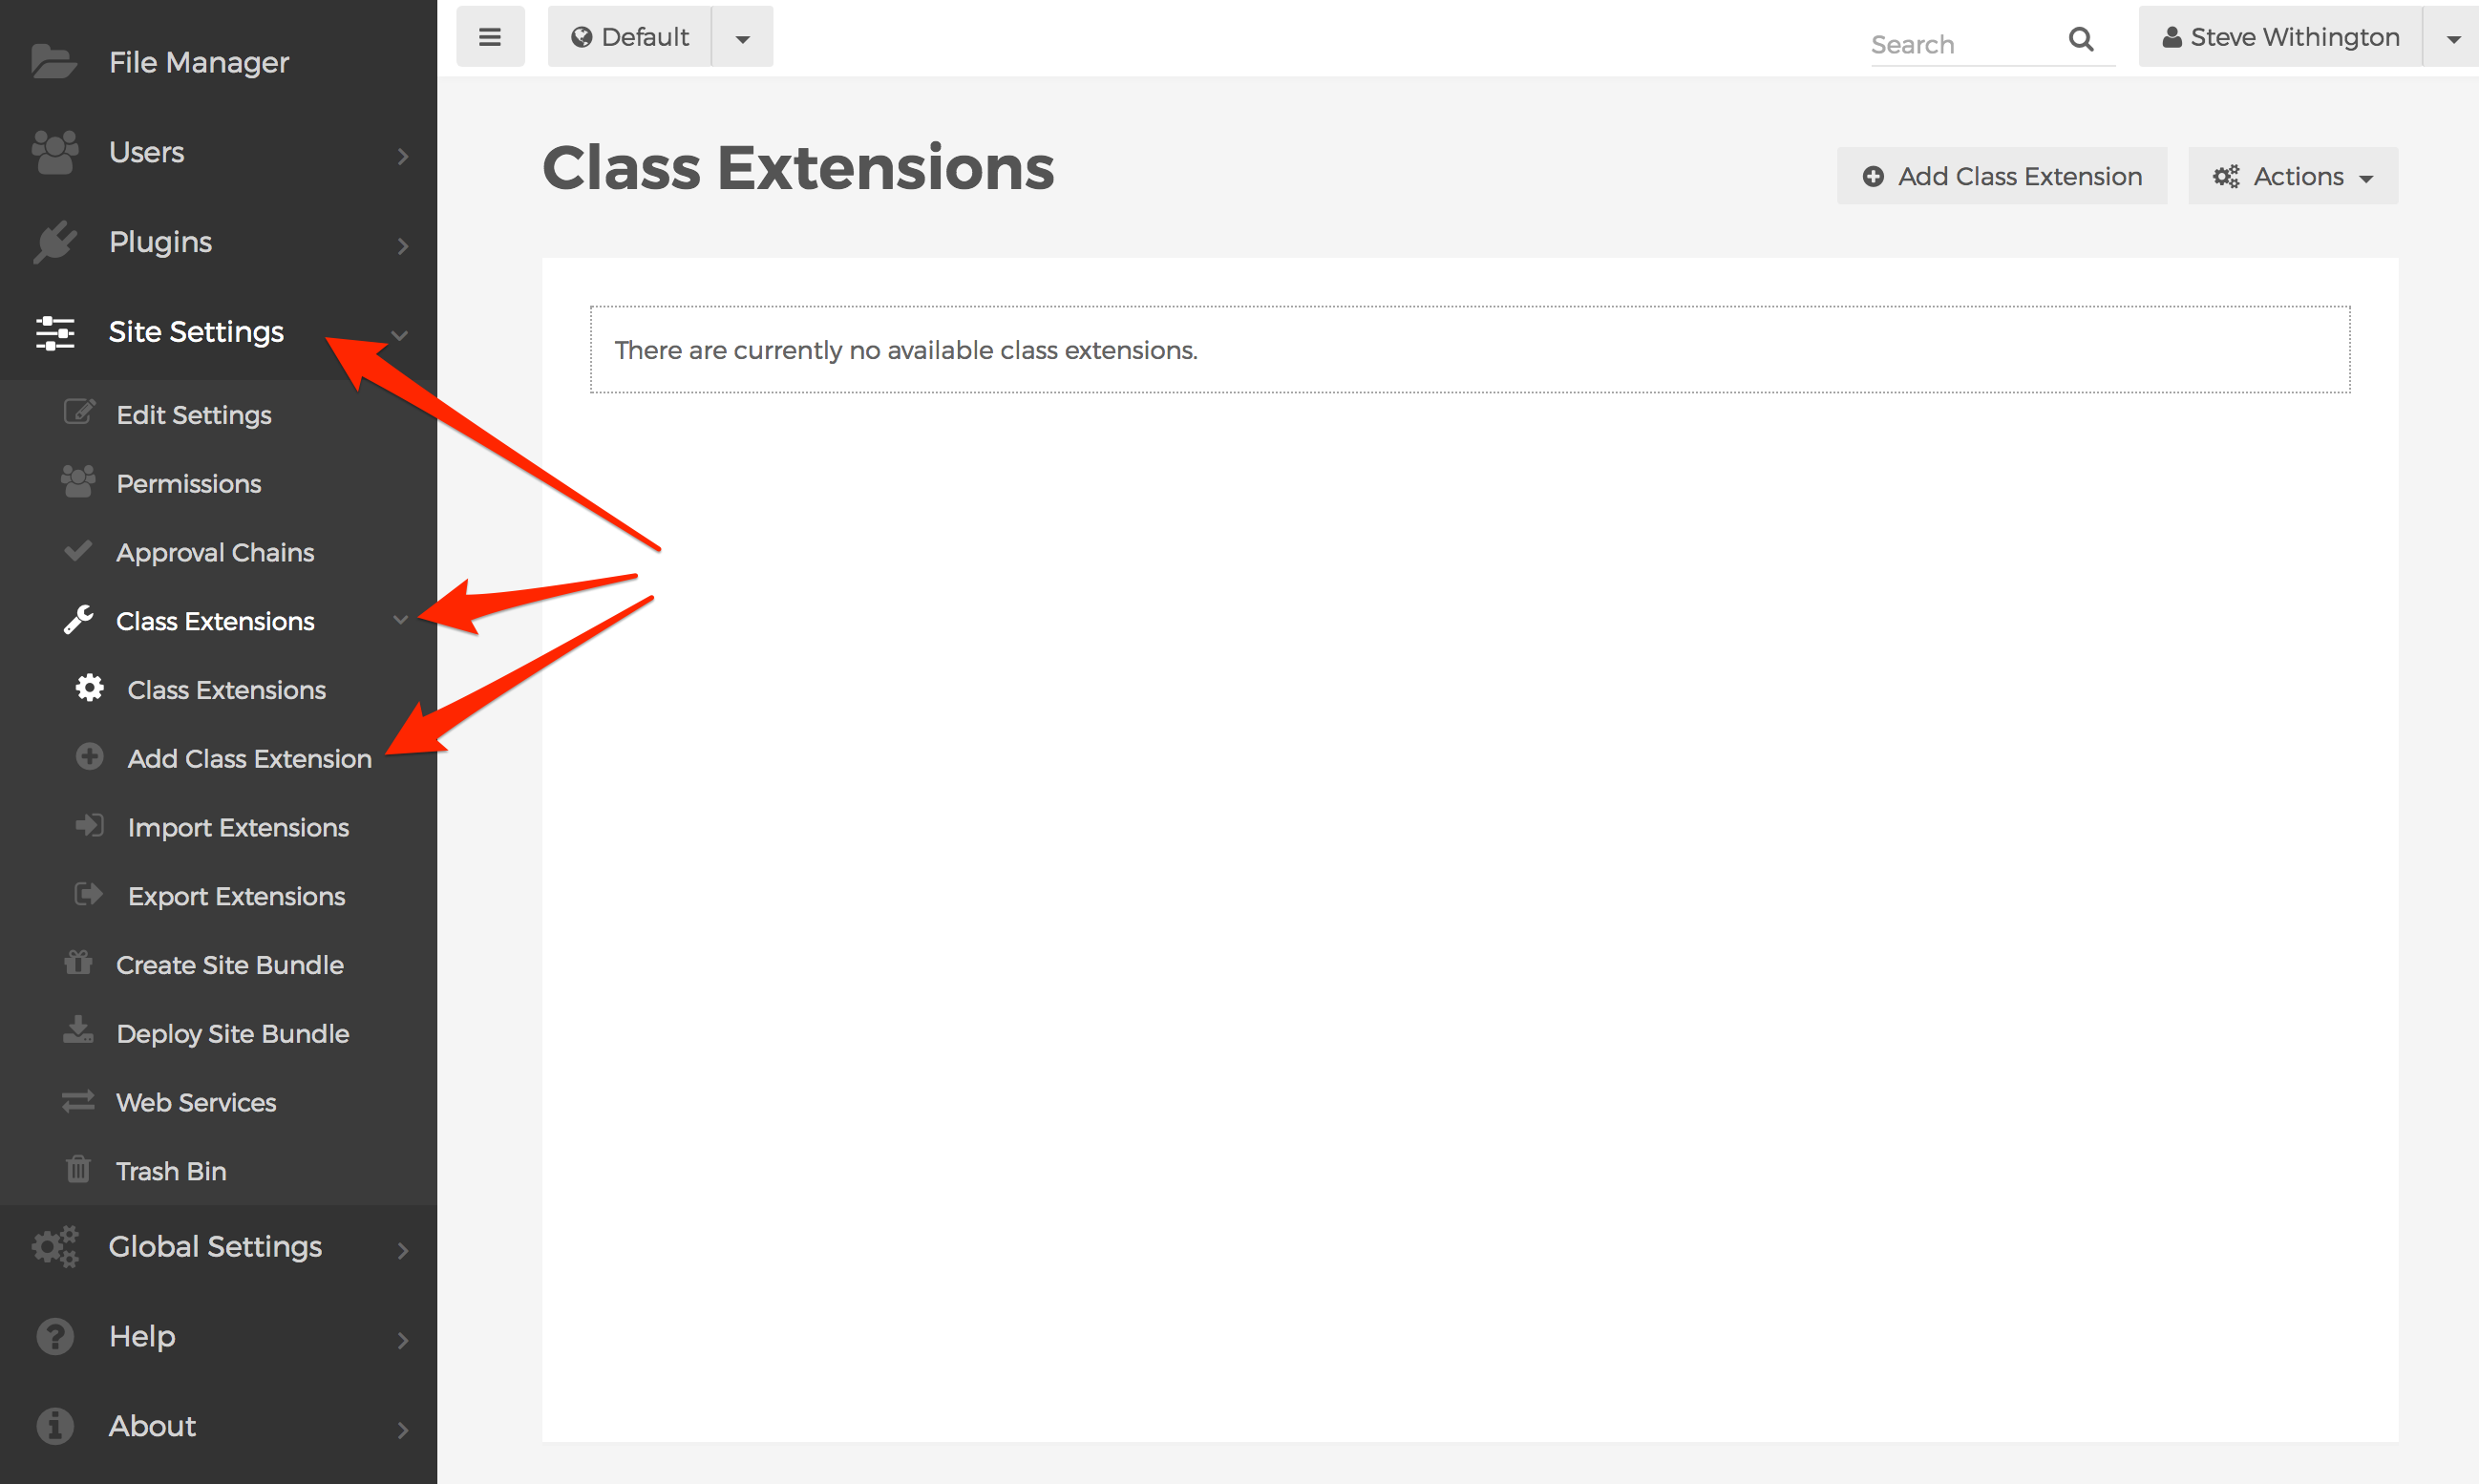
- From Mura's back-end administration area, select Site Settings, click Class Extensions, and select Add Class Extension.
- You should be taken to the Add Class Extension screen.
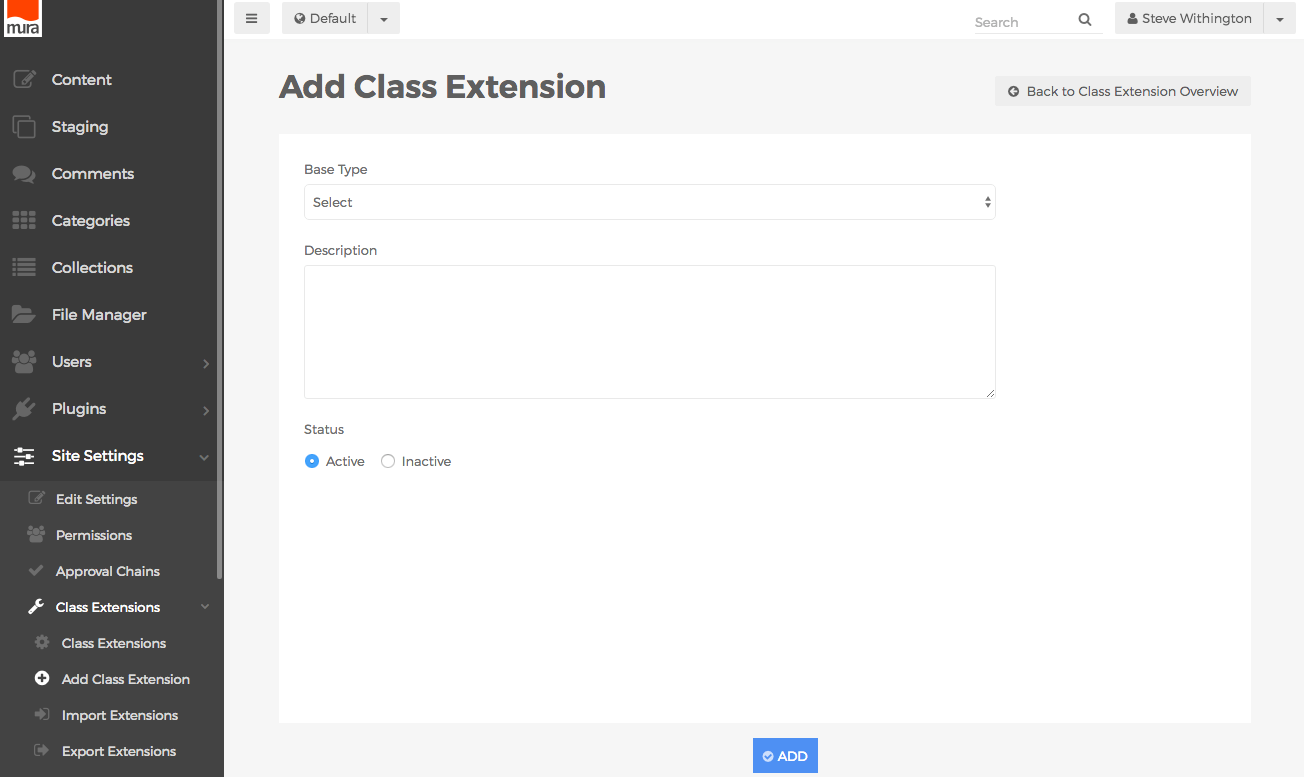
- Base Type
- Please refer to the Extendable Bean Objects section of the Class Extensions page for details on each option.
- Description
- You may enter your desired description of the class extension here. This is merely information for anyone else who may edit or manage the class extension in the future, and is not displayed anywhere else by default.
- Status
- Active
- If selected, the defined Class Extension will appear as an option for content managers when creating new content items.
- Inactive
- If selected, the defined Class Extension will not appear as an option for content managers when creating new content items.
- Active
- Base Type
- From the Add Class Extension screen, click the Base Type menu, and choose your desired option, (e.g., Page).
- Once you've made a selection, additional form fields may appear. If you select one of the content types, (e.g., Page, Folder, etc.), additional form fields will appear.
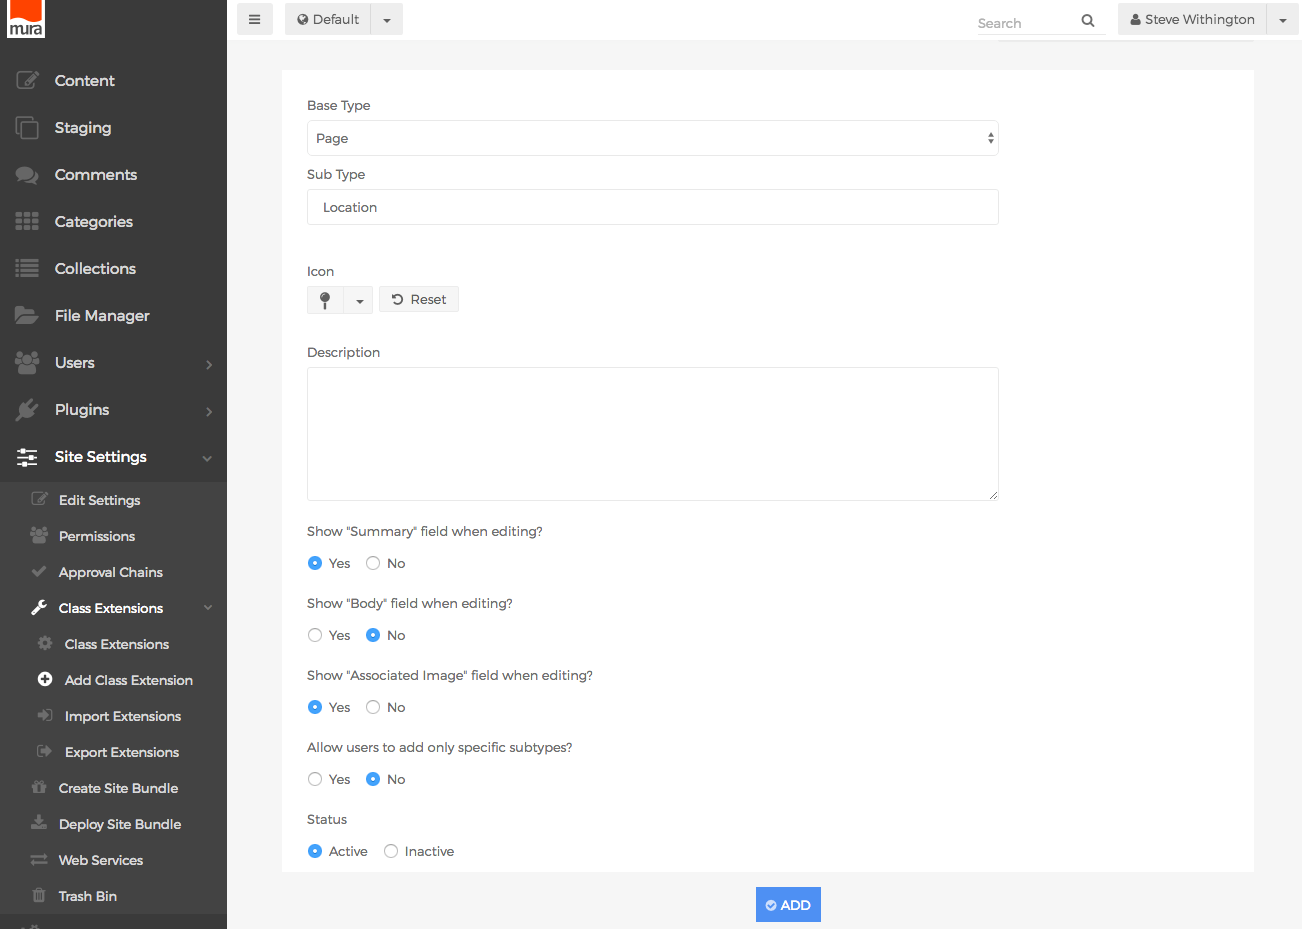
- Sub Type
- You may choose to leave the initial setting of "Default" so that any Extended Attribute Sets and/or Related Content Sets will apply to all content items sharing the same Type. Or, you may enter your own, unique Subtype.
- Icon
- The icon you select here, will appear in the Select Content Type dialog window, when content managers create new content items.
- Show "Summary" field when editing?
- Select whether you wish to display the "Summary" field.
- Show "Body" field when editing?
- Select whether you wish to display the "Body" field.
- Show "Associated Image" field when editing?
- Select whether you wish to display the "Associated Image" field.
- Allow user to add only specific Subtypes?
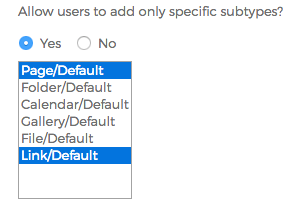
- If Yes, you may select one, or more options from the available list. This will restrict what appears in the Select Content Type dialog window, when content managers add new content items as children on this specific type of content.
- Sub Type
- When finished, click the Add button, so save your new Class Extension.
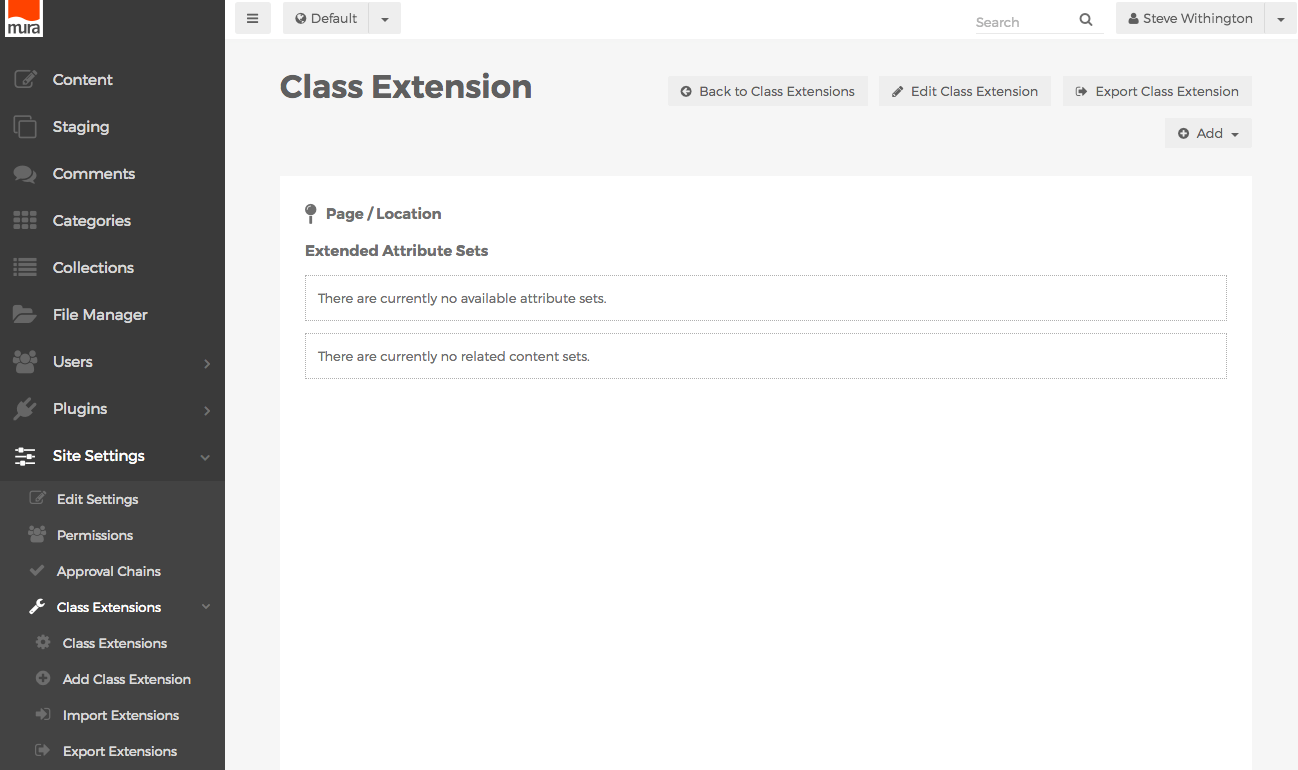
- You should now be taken to the Class Extension screen, where you may view/create Extended Attribute Sets, and Related Content Sets.