Updating Mura Sites
Mura differentiates between its "Core" files, and "Site" files. As you've already learned in the Update the Mura "Core" section, Mura offers a way to keep its "Core" up-to-date, with the click of a button. Mura offers a way to keep your "Site" files up-to-date as well. Remember, only Super Admin Users are able to perform these operations.
Please be sure to back up the database, and your filesystem before attempting to use these features. We also recommend performing this in a development or testing environment before using these features in a "live" or "production" environment.
Note: Before you proceed to update your "Site" files, you should always update your "Core" first. This is important, because if you choose to update your "Site" first, there may be new features that will not work due to the functionality it depends upon being located in the "Core" files.
How to Update a Single Site
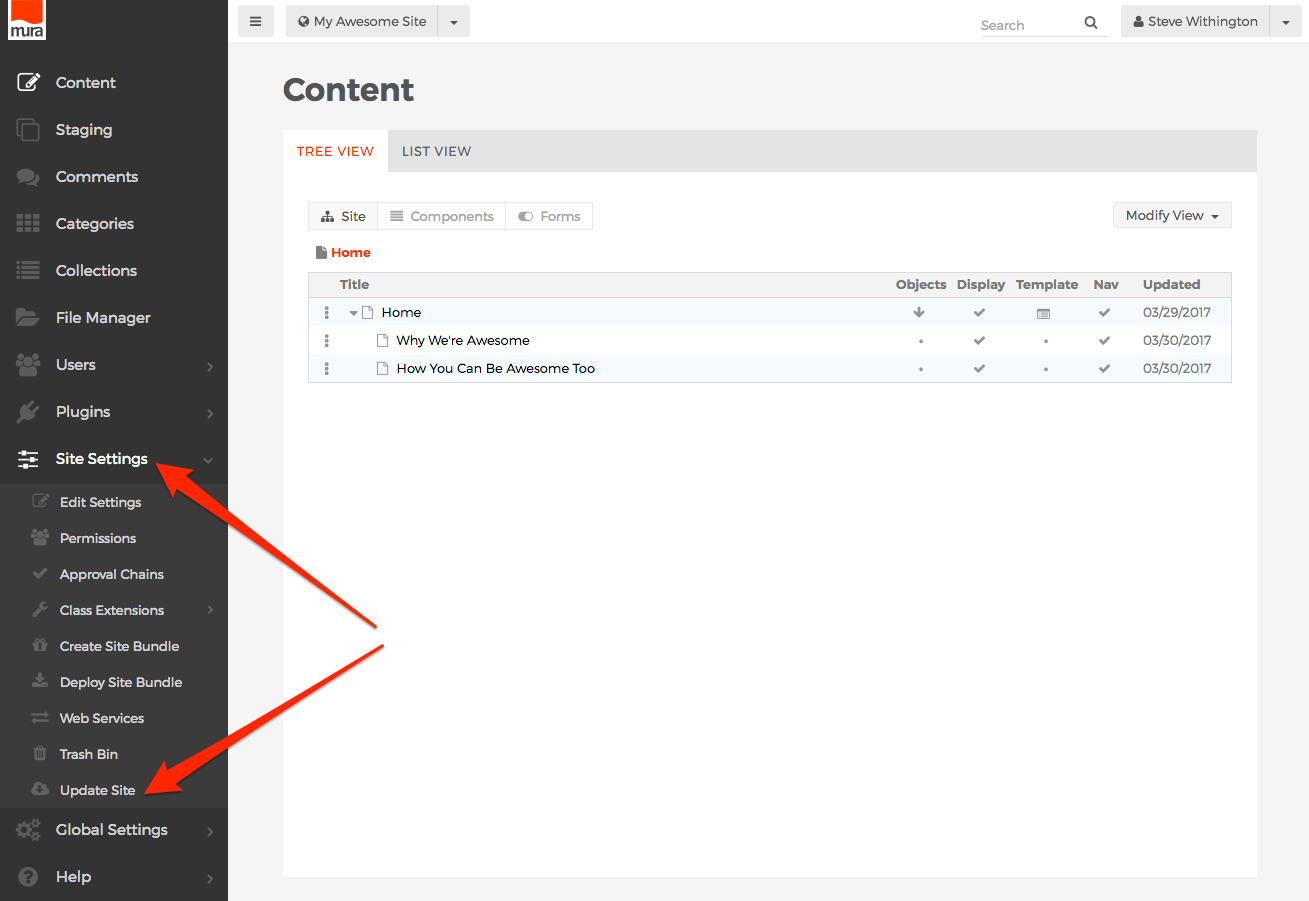
- From the back-end administrator area of Mura, select your desired site. Then, select Site Settings from the main navigation, and click Update Site.
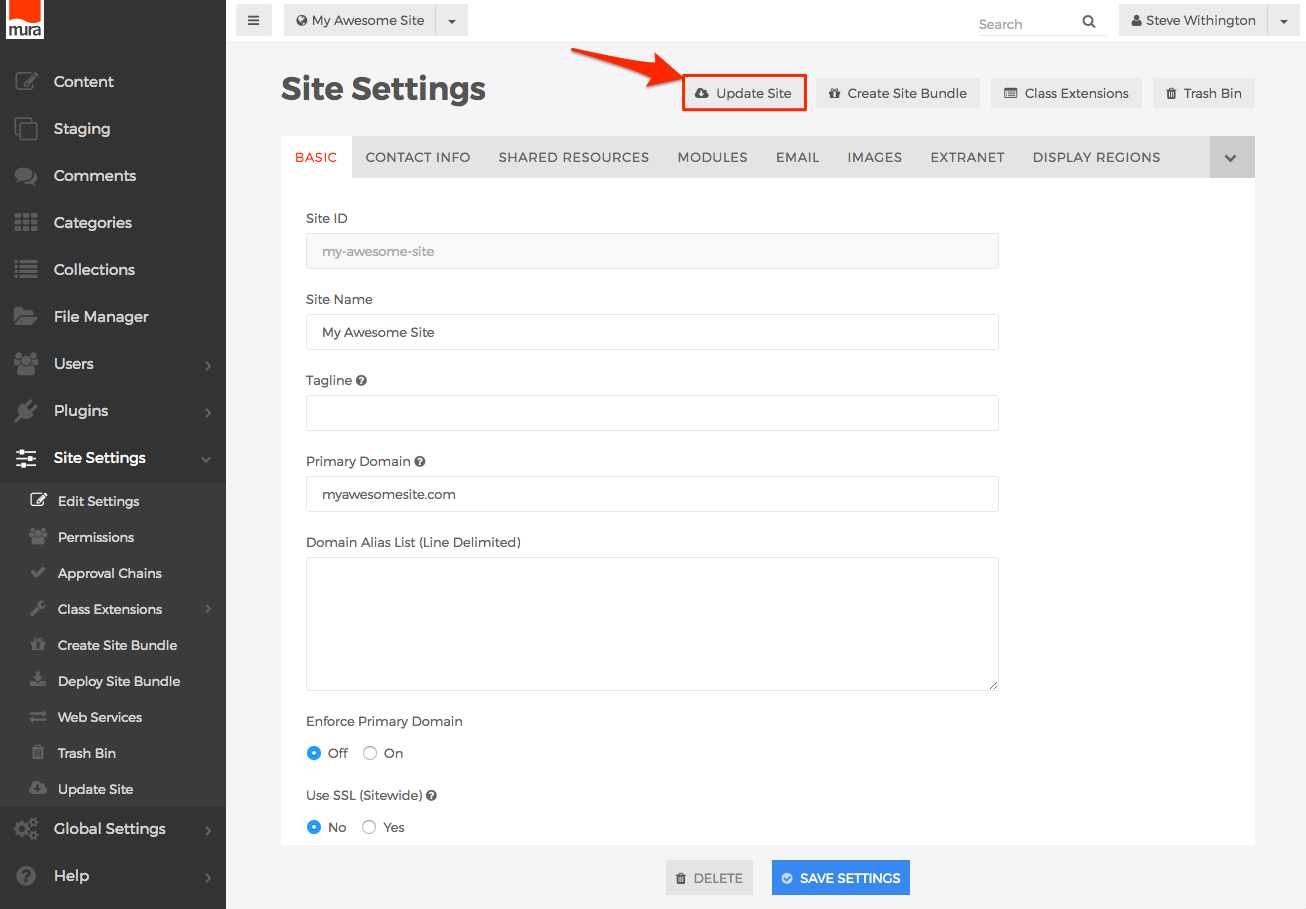
- Or, from the Site Settings screen, you may also click the Update Site button.
- Once you click the Update Site button, an Alert dialog window should appear, with a warning to remind you to back up your site files before proceeding. Click "OK" to proceed, or "Cancel" to abort the process.

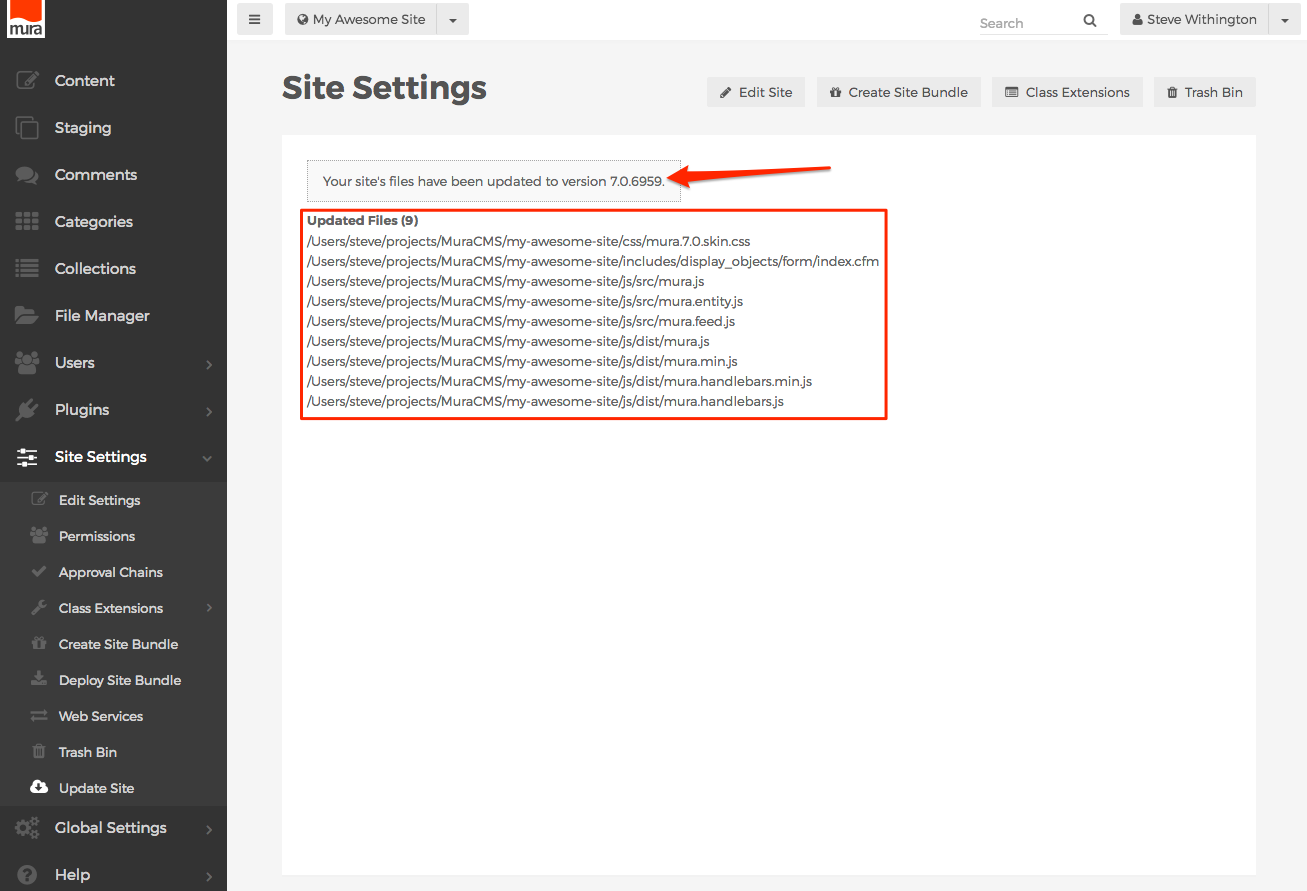
- If you clicked the "OK" button, Mura will check its repository, compare the currently installed version to the latest available version, and if changes are found, Mura will update the files that have changed with the latest version. No files are ever deleted during this process, files are only overwritten, if they exist, or created, if they don't. Once the process completes, Mura will display a listing of files that have been updated, and display the version you have been updated to. You may print this list and keep it for auditing purposes, if desired.
How to Update Multiple Sites at the Same Time
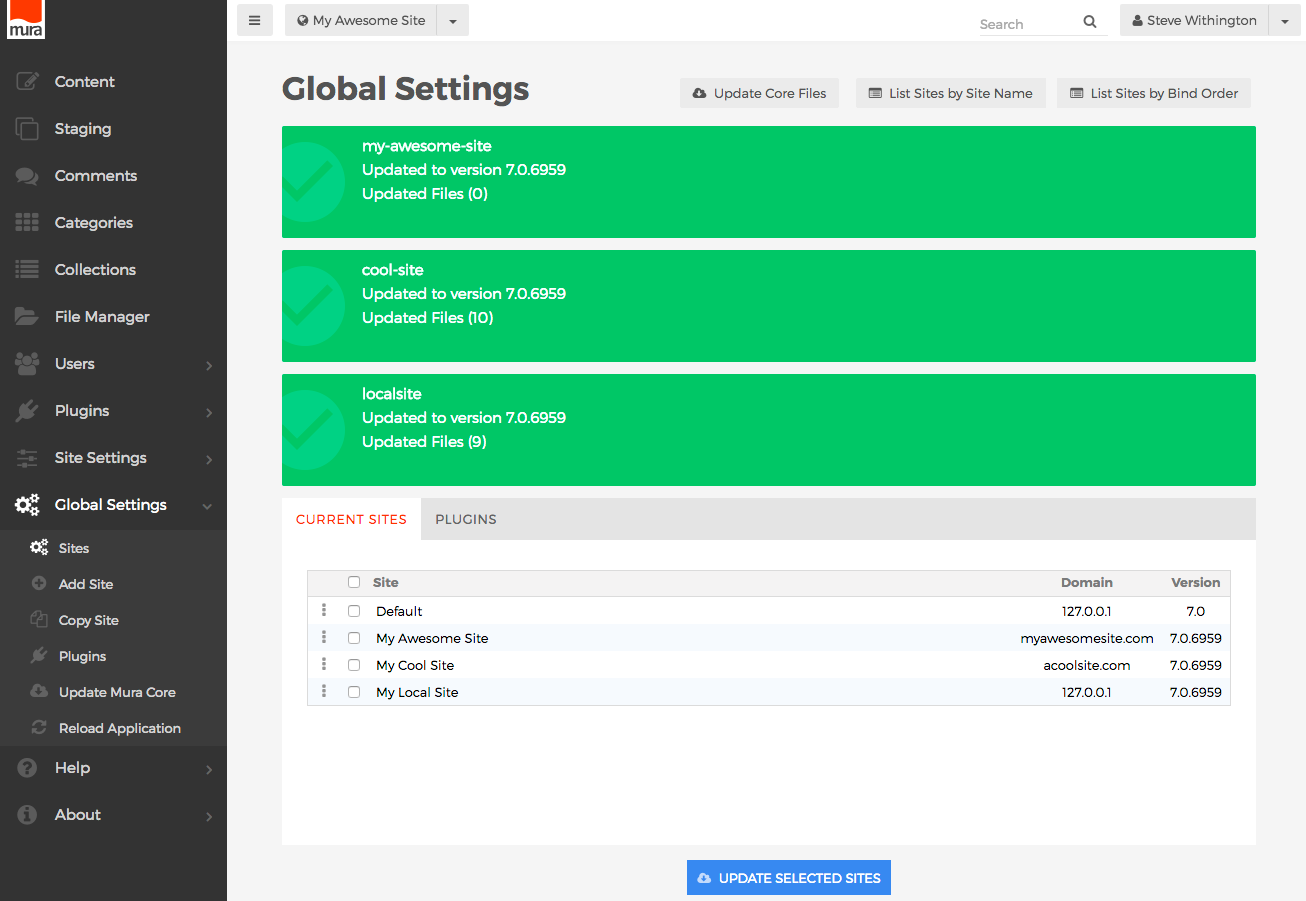
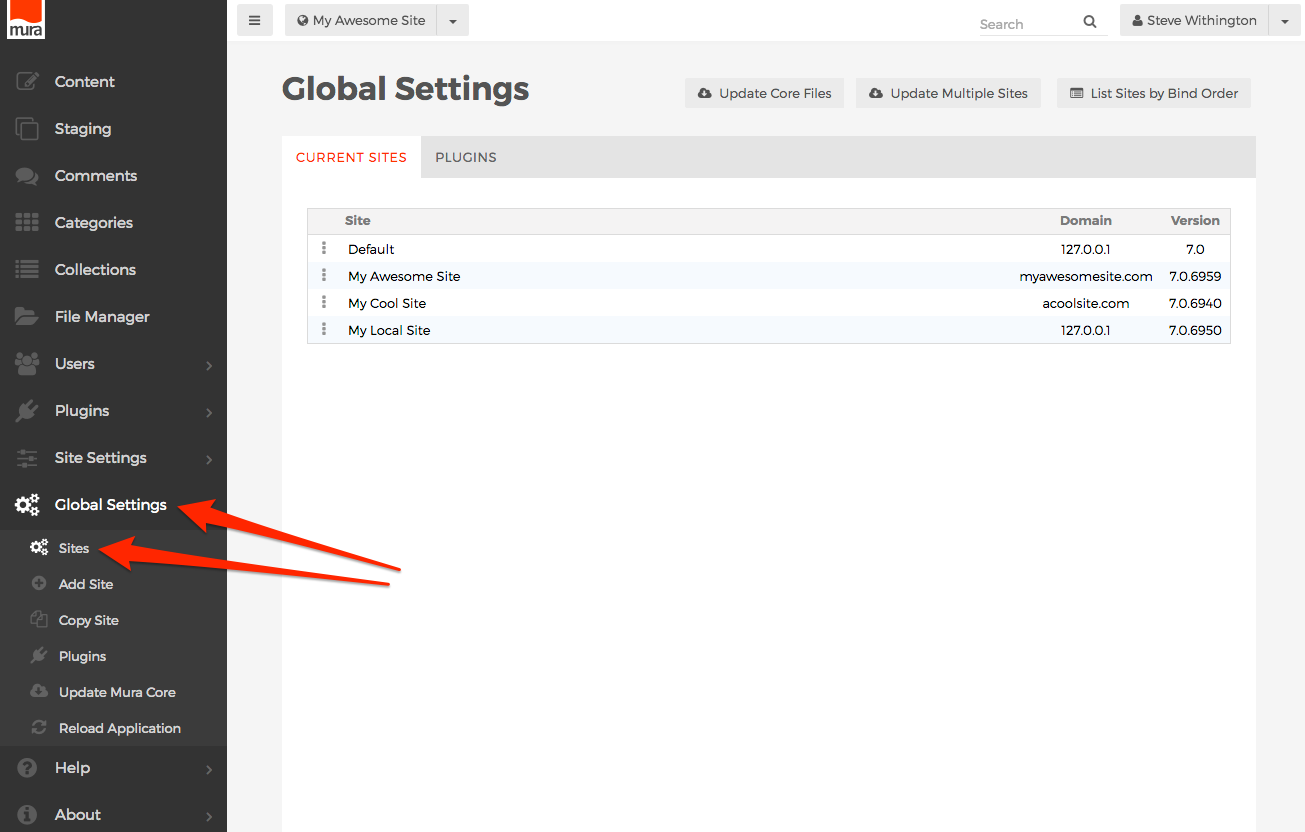
- From the back-end administrator area of Mura, select Global Settings from the main navigation, and click Sites.
- Click the Update Multiple Sites button, located above the listing of sites.

- You should now see a listing of sites, along with a column of checkboxes next to them.
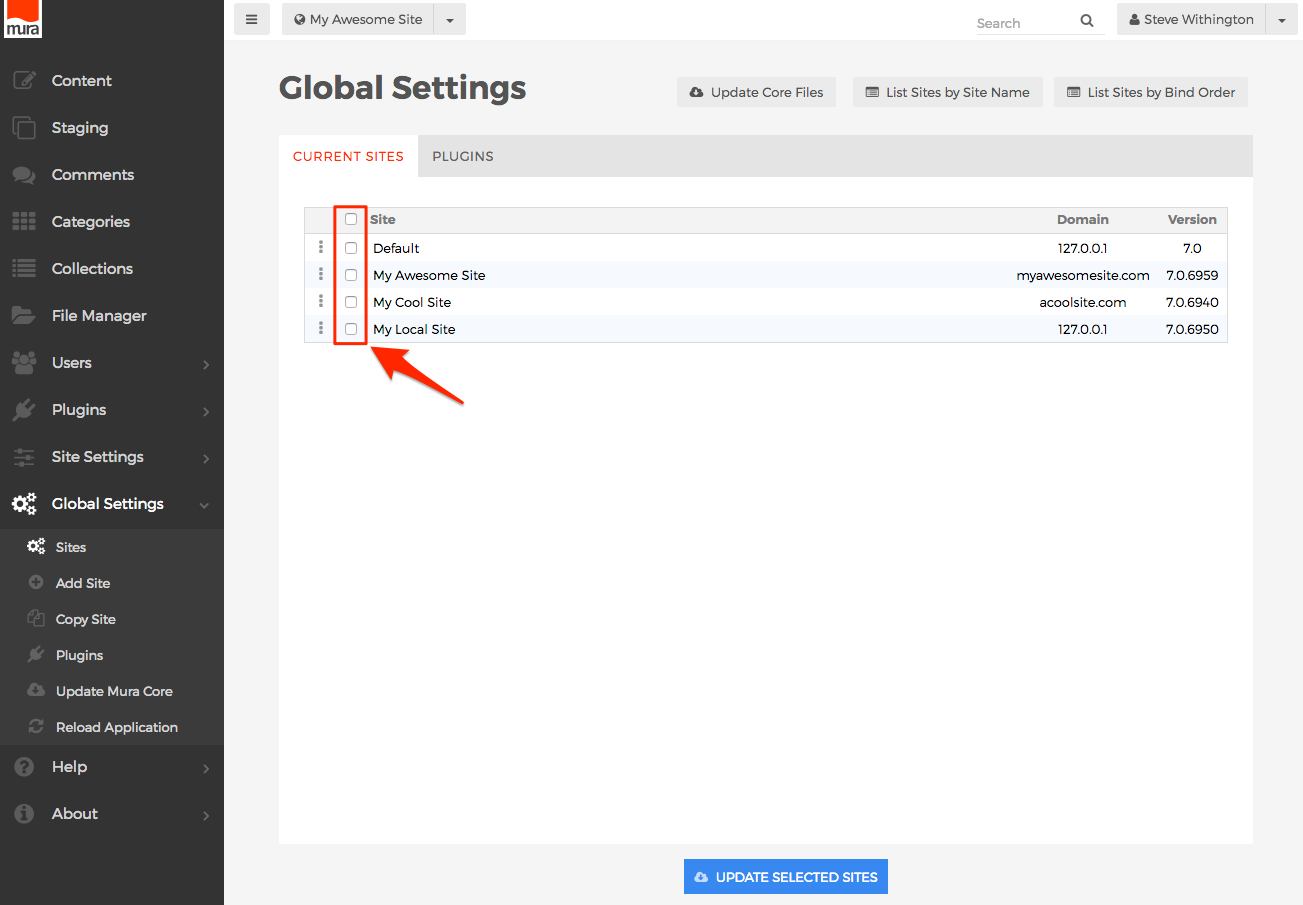
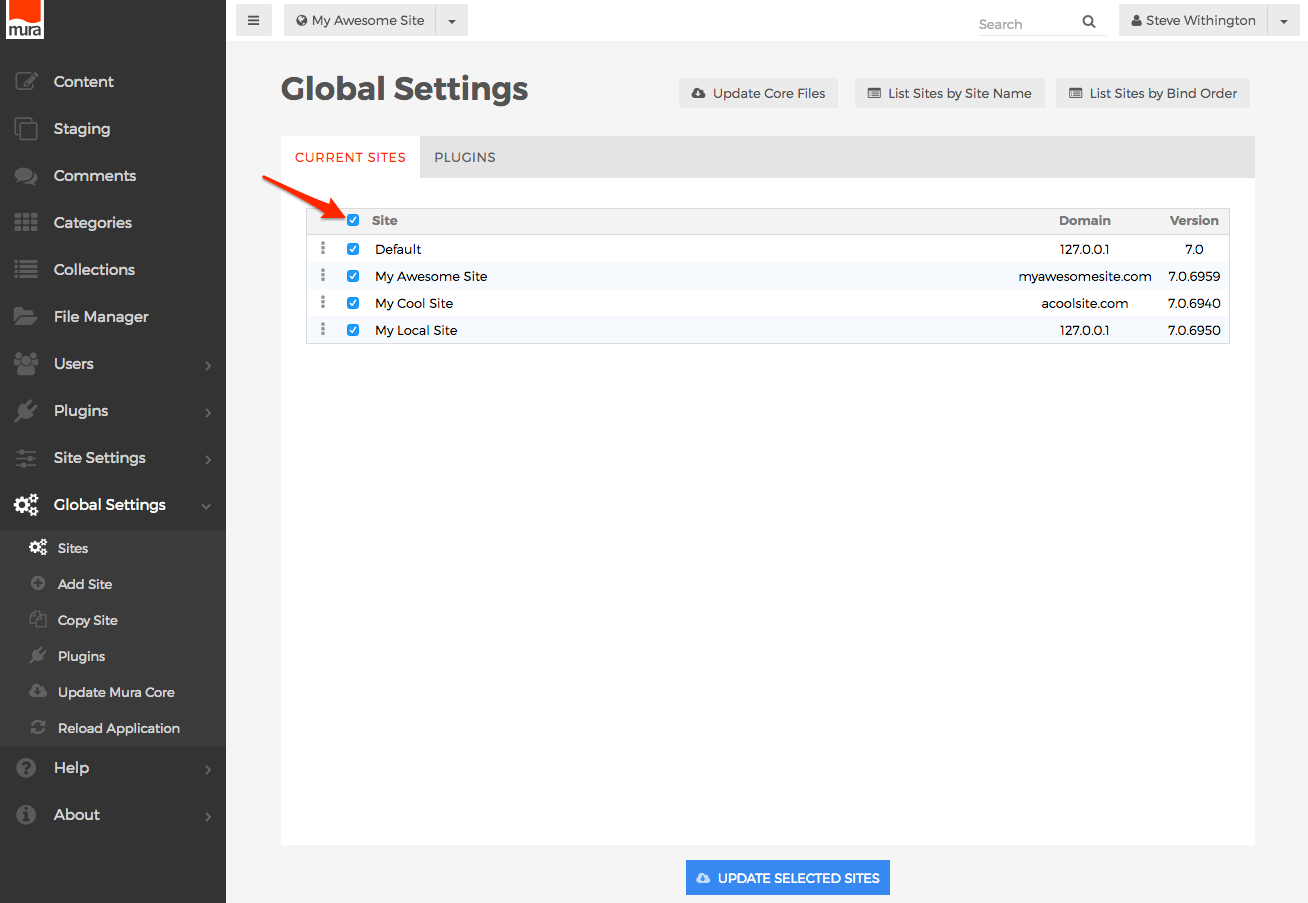
- If you select the checkbox at the top of the column, it will "select all" of the checkboxes. If clicked again, it will "deselect all" of the checkboxes.
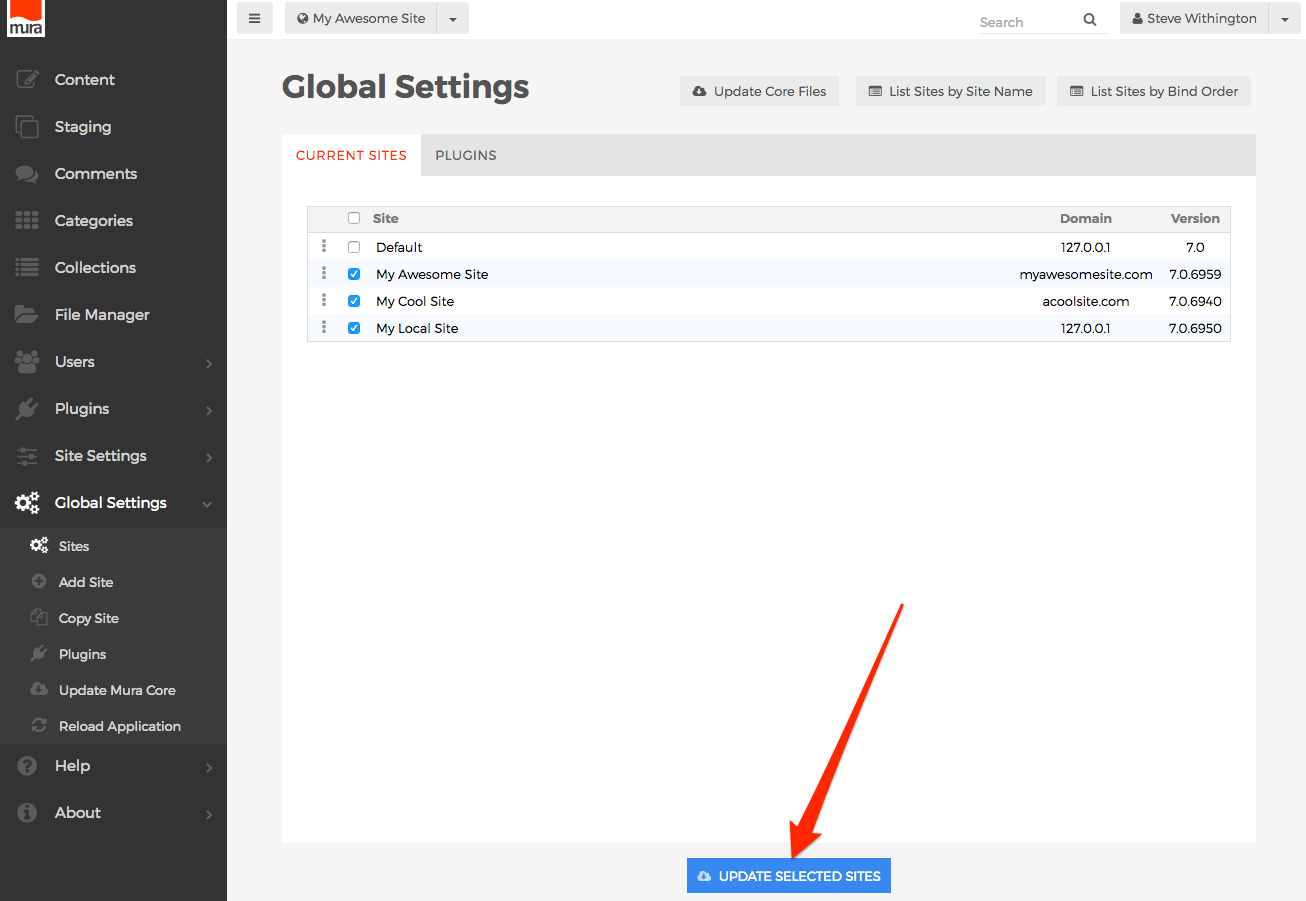
- Or, select the checkbox of each site you wish to update. In the example below, only three of the four sites are selected. You can also see the specific version each site is currently on.
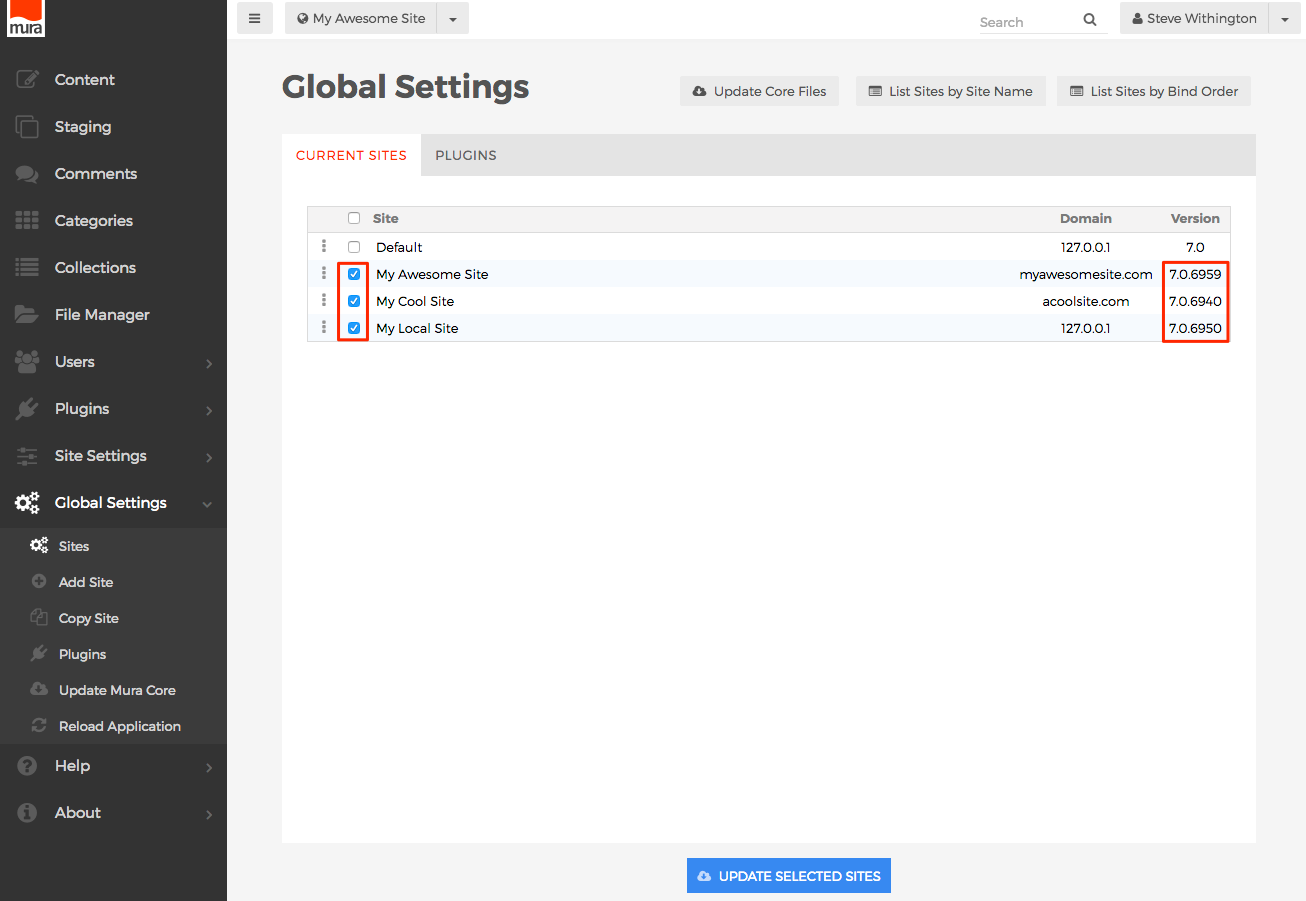
- Once you've made your selections, click the Update Selected Sites button.
- Once you click the Update Selected Sites button, an Alert dialog window should appear, with a warning to remind you to back up all selected site files before proceeding. Click "OK" to proceed, or "Cancel" to abort the process.

- If you clicked the "OK" button, Mura will loop over each selected site, check its repository, compare the currently installed version to the latest available version, and if changes are found, Mura will update the files that have changed with the latest version. No files are ever deleted during this process, files are only overwritten, if they exist, or created, if they don't. Once the process completes, Mura will display a listing of sites, the number of files updated, and the version each site been updated to. Mura will not display a listing of specific files for each site, using this method. If you need a listing for auditing purposes, you should update one site at a time.