Editing Navigation/Menu Titles
Sometimes, when you create a content item, you might want the text which appears for a link to be different than the actual title of the page. For example, you might have a page "Title" of "About Us." However, you would prefer any links to this page to simply output as "About" instead. Mura CMS offers a convenient and easy method to accomplish this.
Follow the steps below to edit a content item's title fields.
- Select a content item to edit. If editing content on the front-end public-facing view of your site, you will need to use "Full Edit" mode.
- Below the "Title" field, click the "Show Additional Content Titles" button to reveal more title field options.

- After clicking the "Show Additional Content Titles" button, the remaining title fields should appear.

- Title: The actual title of the page you are editing. The page title will display as the headline or title on a given page.
- Navigation Title (optional): You may enter an optional, shorter, or completely different title to be used wherever Mura generates navigational links to this content item. If this field is left blank, Mura will auto-generate the text based on the information entered in the "Title" field.
- URL Title (optional): Text entered here will display in the browser's address bar. If you choose to customize this field, be sure to use URL-friendly characters (e.g., use only alpha-numeric characters, etc.). If this field is left blank, Mura will auto-generate the text based on the information entered in the "Title" field, in a URL-friendly manner by replacing spaces and punctuation with hyphens, etc.
- HTML (Browser) Title (Optional): Text entered here will appear in the browser's "chrome" or "tab" typically located above the address bar. If this field is left blank, Mura will auto-generate the text based on the information entered in the "Title" field.
- If you wish to update the "Title", if you press the spacebar while in the Title field, a notice with a button to "Clear Additional Titles" should appear.
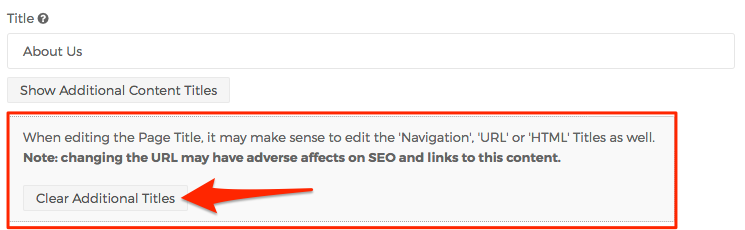
- If you would like Mura to regenerate all of the additional title fields based on the new text entered, simply click the "Clear Additional Titles" button, and Mura will wipe out the old values, and then update those fields once you publish the content item.
- After making your desired changes, select your preferred publishing option to save your changes.