The "index.cfm" File
While technically optional, it is highly recommend to include the "index.cfm" file in the root of your plugin. The primary reason behind this is because when an administrator navigates to your plugin via the back-end administration area, this is the file that will be rendered. So, if it doesn't exist, administrators will be presented with an error.
Also, the "index.cfm" file is the primary view for your plugin in general, not just for administrators. For example, if your plugin is installed under {context}/plugins/yourplugin/, when a user navigates directly to your plugin's directory, such as http://www.yourdomain.com/plugins/yourplugin/, the "index.cfm" file will be presented to the user.
In other words, you may essentially put whatever you want in this file. For example:
<!DOCTYPE html>
<html>
    <head>
        <meta charset="utf-8">
        <title>YourPlugin</title>
    </head>
    <body>
        <h1>Hello from YourPlugin!</h1>
    </body>
</html>
In some rare cases, this may be exactly what you want to happen. Maybe you merely want to host your application alongside Mura on the same server, and if it's a completely separate and independent site, then this might be as far as you take it. However, this is not the typical scenario.
Your Application Entry Point
Often, developers will want to use the plugin's "index.cfm" as the entry page to their application, while also being able to work with Mura CMS functionality, or extending its capabilities.
You may also use the "index.cfm" file as part of your front-end controller application. For example, maybe you're using a CFML framework such as Framework One (FW/1). If you're interested in doing this, please check out MuraFW1, a base Mura CMS plugin using FW/1 as its application framework.
While you can easily add display objects and custom content types, you may also want to register a custom event handler, and then register a custom "model" directory. To do this, please see The "config.xml.cfm" File section.
Administration Area Layout Template
If you would like your plugin's administration area to have the same look and feel of Mura's back-end administration area, you can do that fairly easily using the pluginManager bean's helper method labeled "renderAdminTemplate".
The example below illustrates how to use renderAdminTemplate in your "index.cfm" file. See The "config.cfm" File section for information about the first line of code.
<cfinclude template="plugin/config.cfm" />
<cfsavecontent variable="pluginBody">
    <cfoutput>
        <h1>#esapiEncode('html', pluginConfig.getName())#</h1>
        <p>Hello from YourPlugin!</p>
    </cfoutput>
</cfsavecontent>
<cfoutput>
    #m.getBean('pluginManager').renderAdminTemplate(pluginBody)#
</cfoutput>
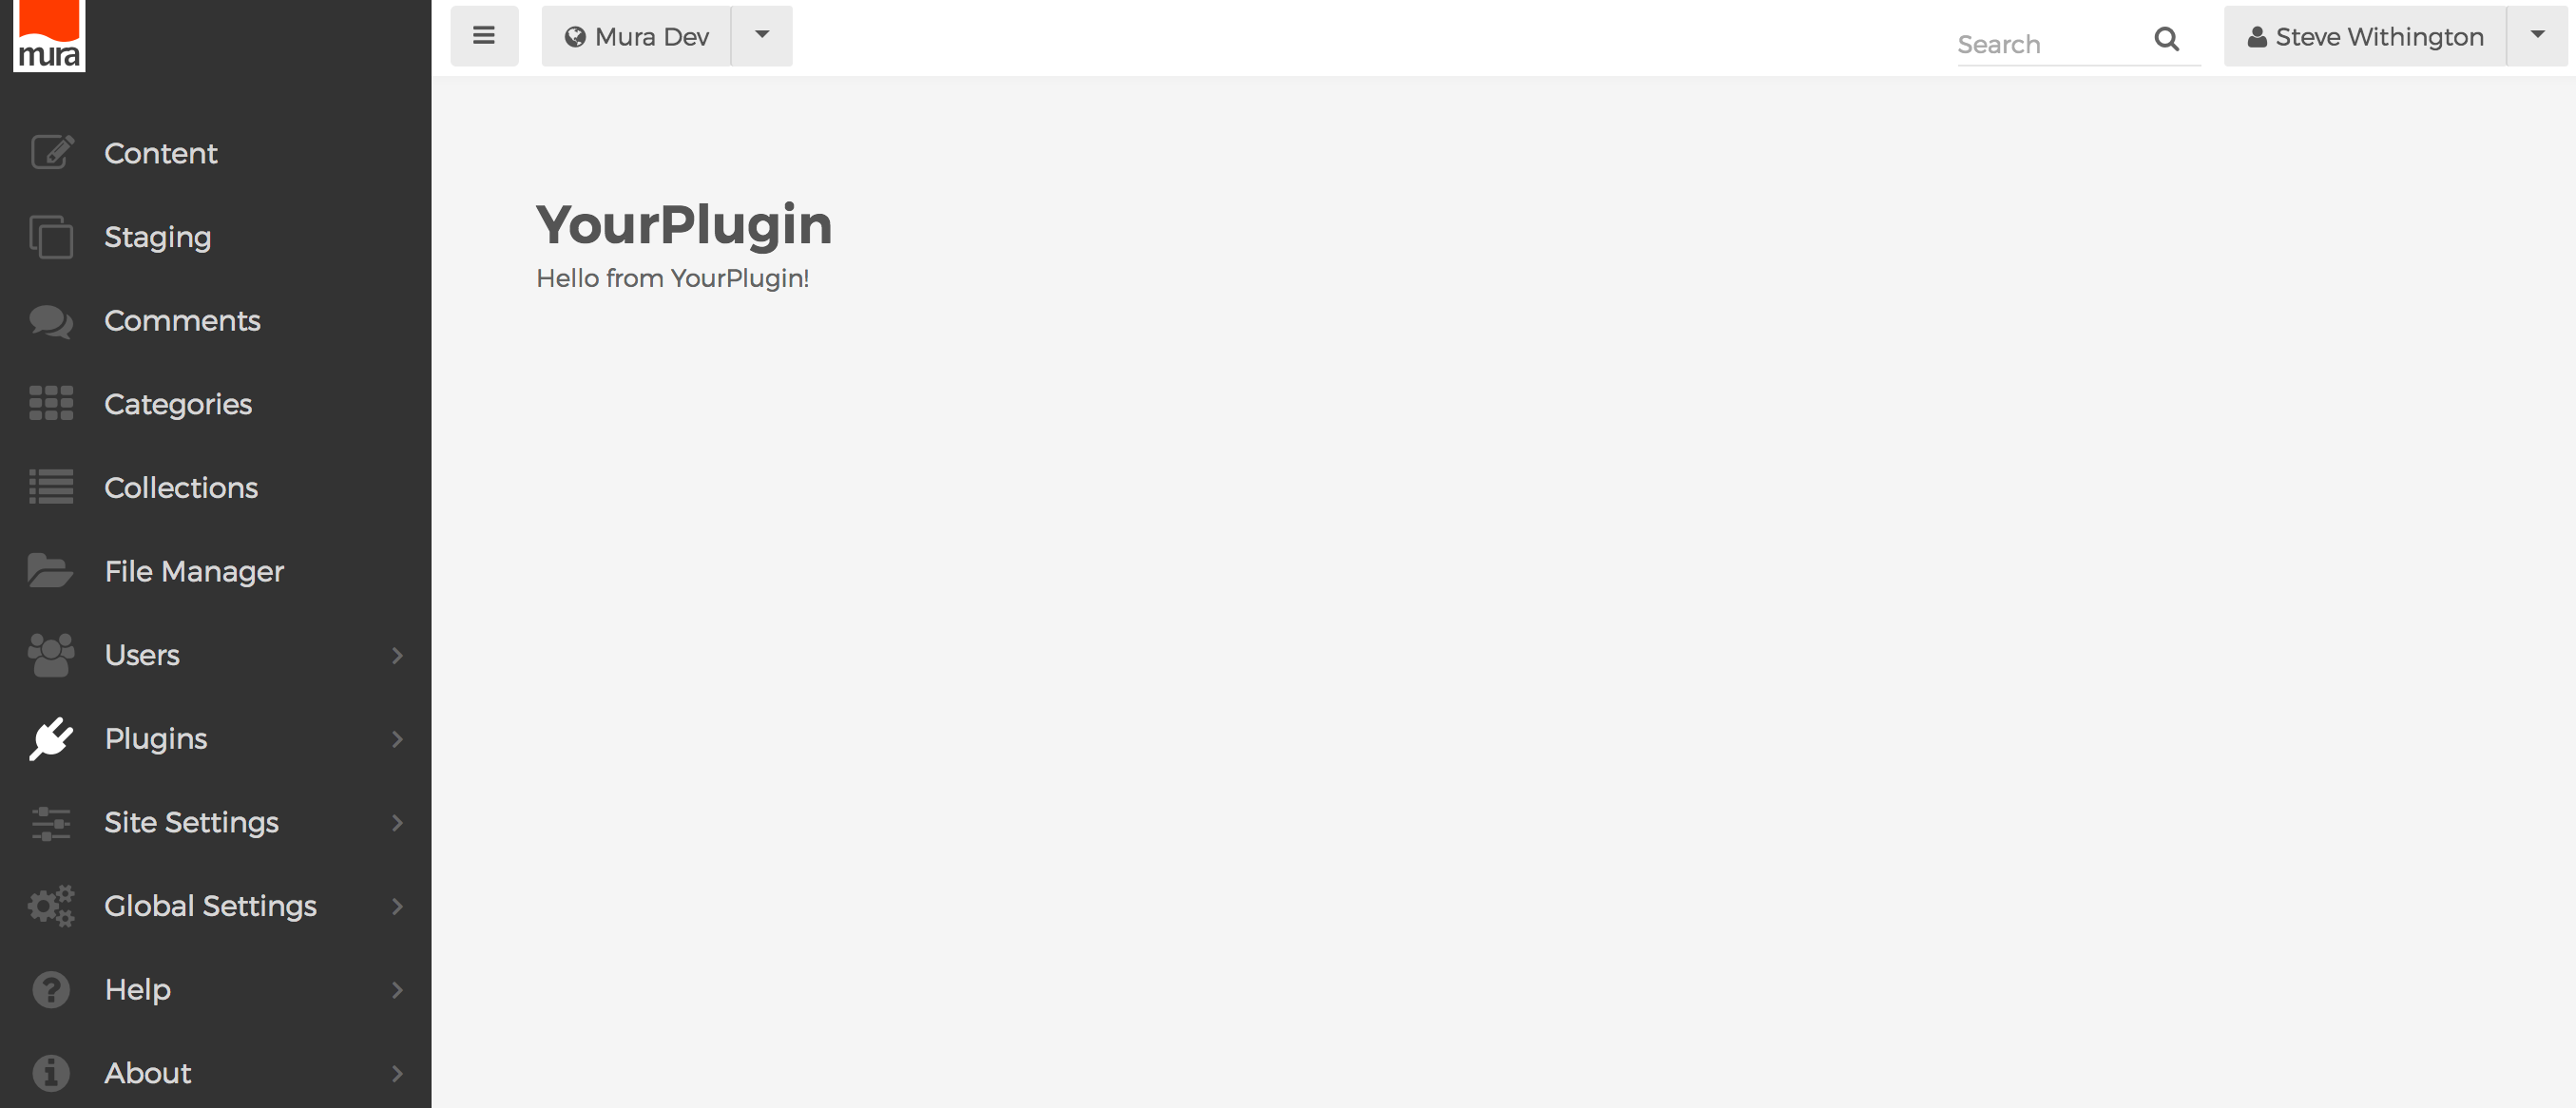
Using the above code, if an administrator views your plugin, they would see something similar to the following image.
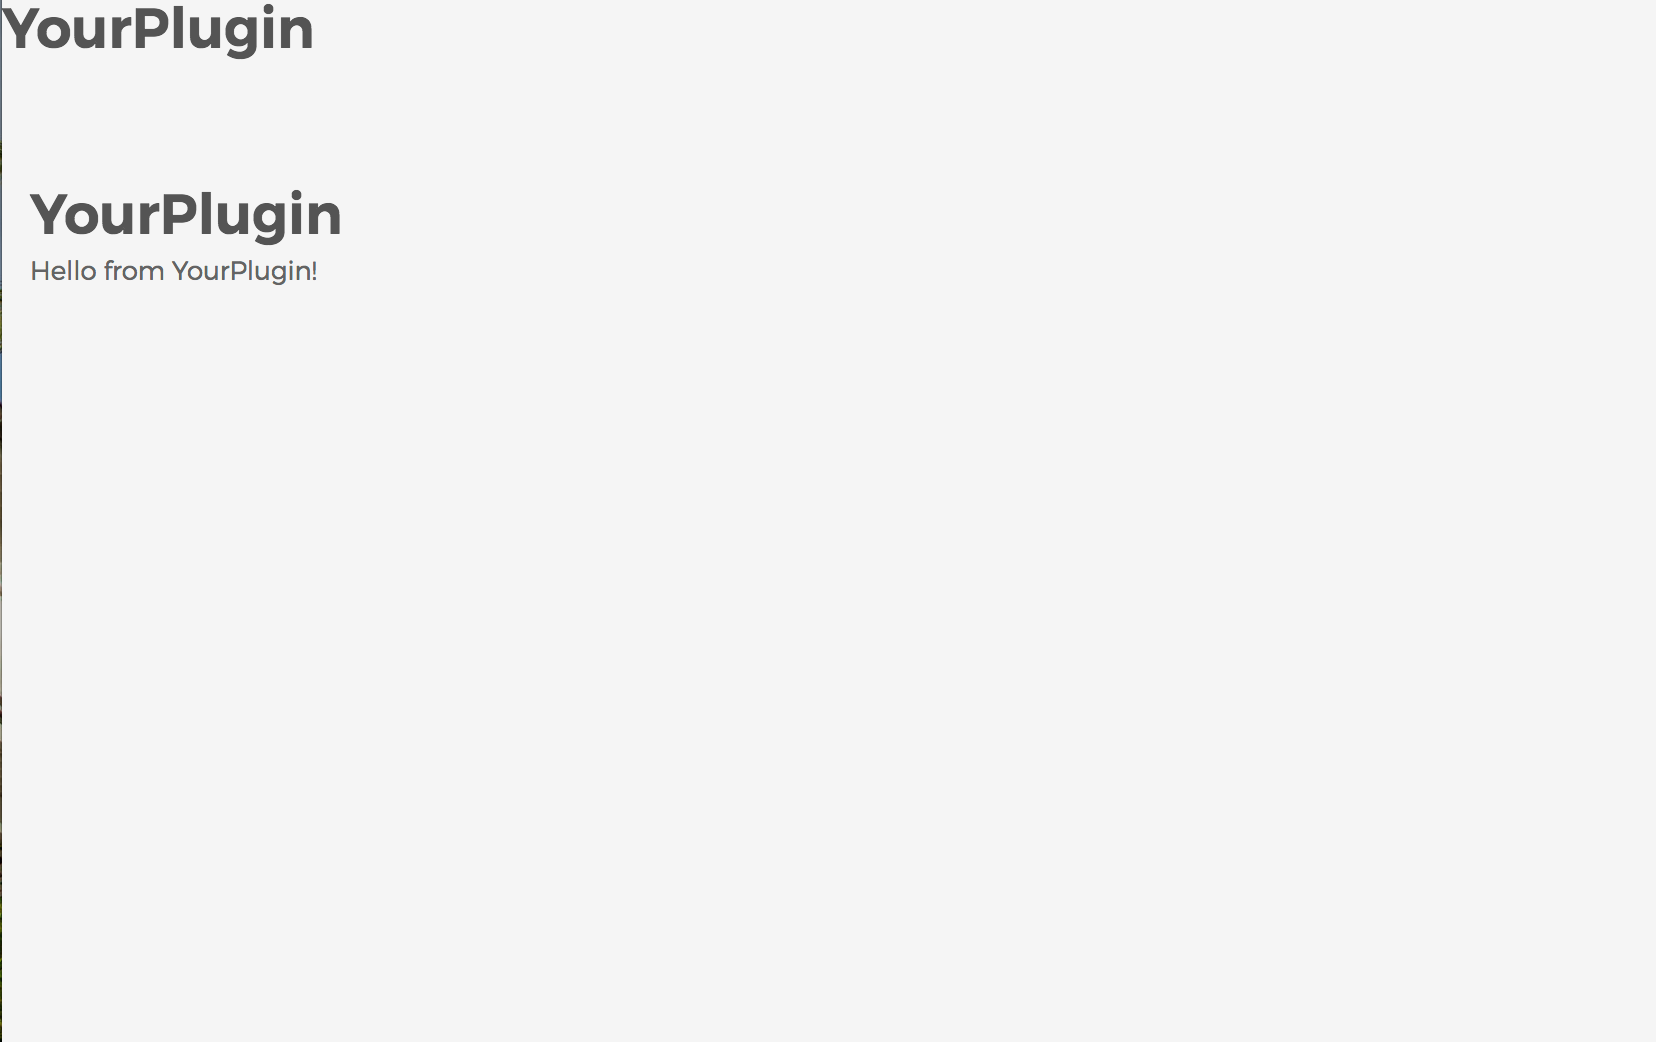
However, using the renderAdminTemplate method does not "protect" your plugin from being accessed by people who are not authorized to do so. In other words, your plugin is still publicly accessible. In fact, if you're attempting to follow along, and wish to test it out, log out of the administration area, then navigate to your plugin's URL. For example, http://www.yourdmain.com/plugins/yourplugin/. You should see something similar to the following image.
Restricting Access to Your Plugin
If you wish to restrict access to your plugin's entry page, you'll want to include a custom Application.cfc file, and then include your desired logic. A sample Application.cfc with example code may be found at https://github.com/stevewithington/MuraPlugin/blob/develop/Application.cfc. In the example file, you'll note how some of Mura's application methods have been included into the standard CFML lifecycle events, as briefly mentioned in The "appcfc" Directory section.
In the end, as a Mura plugin developer, it's your responsibility to come up with a solution to restrict access to the plugin.