Add Custom Attributes
Now that we've created a custom content type, let's add some extended attributes. These attributes will appear to content managers as additional form fields on the tab that we specify in the next step.
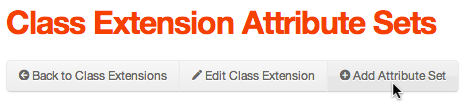
- From the Class Extension Attribute Sets screen, click Add Attribute Set
Think of attribute sets as "fieldsets" and attributes as "form fields" in the realm of HTML. - On the Add Attribute Set screen, complete the form as follows:
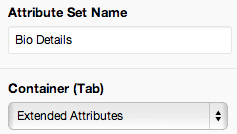
- Attribute Set Name: Bio Details
- Container (Tab): Extended Attributes
- Click Add
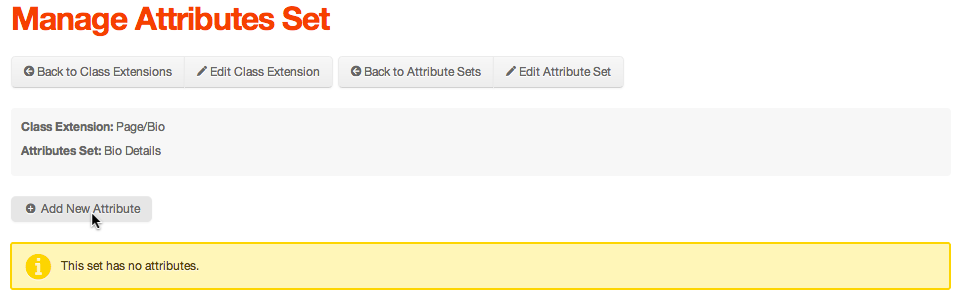
- From the Manage Attributes Set screen, click Add New Attribute
- On the Manage Attributes Set screen, complete the form as follows:

- Name (No spaces): bioEmail
- Best practice is to prefix all custom attributes with the Sub Type to avoid any conflicts with the names of existing form fields. Remember, the value you enter in the Name field, will be the value of the form field's "name" attribute on the Content Edit screen.
- Label: Email
- Input Type: TextBox
- Click Add
- Repeat this process for these additional attributes:
- bioOfficeNo (Office No.)
- bioMobileNo (Mobile No.)
- bioTitle (Job Title)
- bioLinkedIn (LinkedIn Username)
- bioTwitter (Twitter Username)
- bioGithub (Github Username)
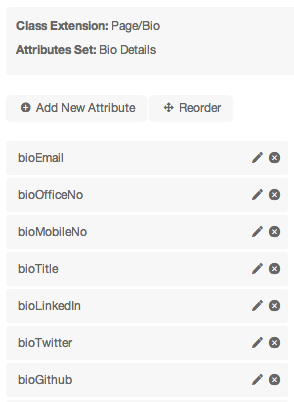
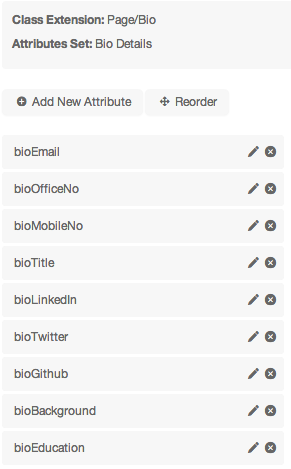
- Your attributes list should look similar to the following:
- Create the following additional attributes, but select HTMLEditor from the Input Type select menu:
- bioBackground (Background)
- bioEducation (Education)
- You attributes list should now look like the following:
- Name (No spaces): bioEmail