Add/Edit a User
Follow the steps below to add/edit a User in Mura.
- From the back-end administration area of Mura, select Users, then Add User. Or, select an existing user from your list of users to edit.
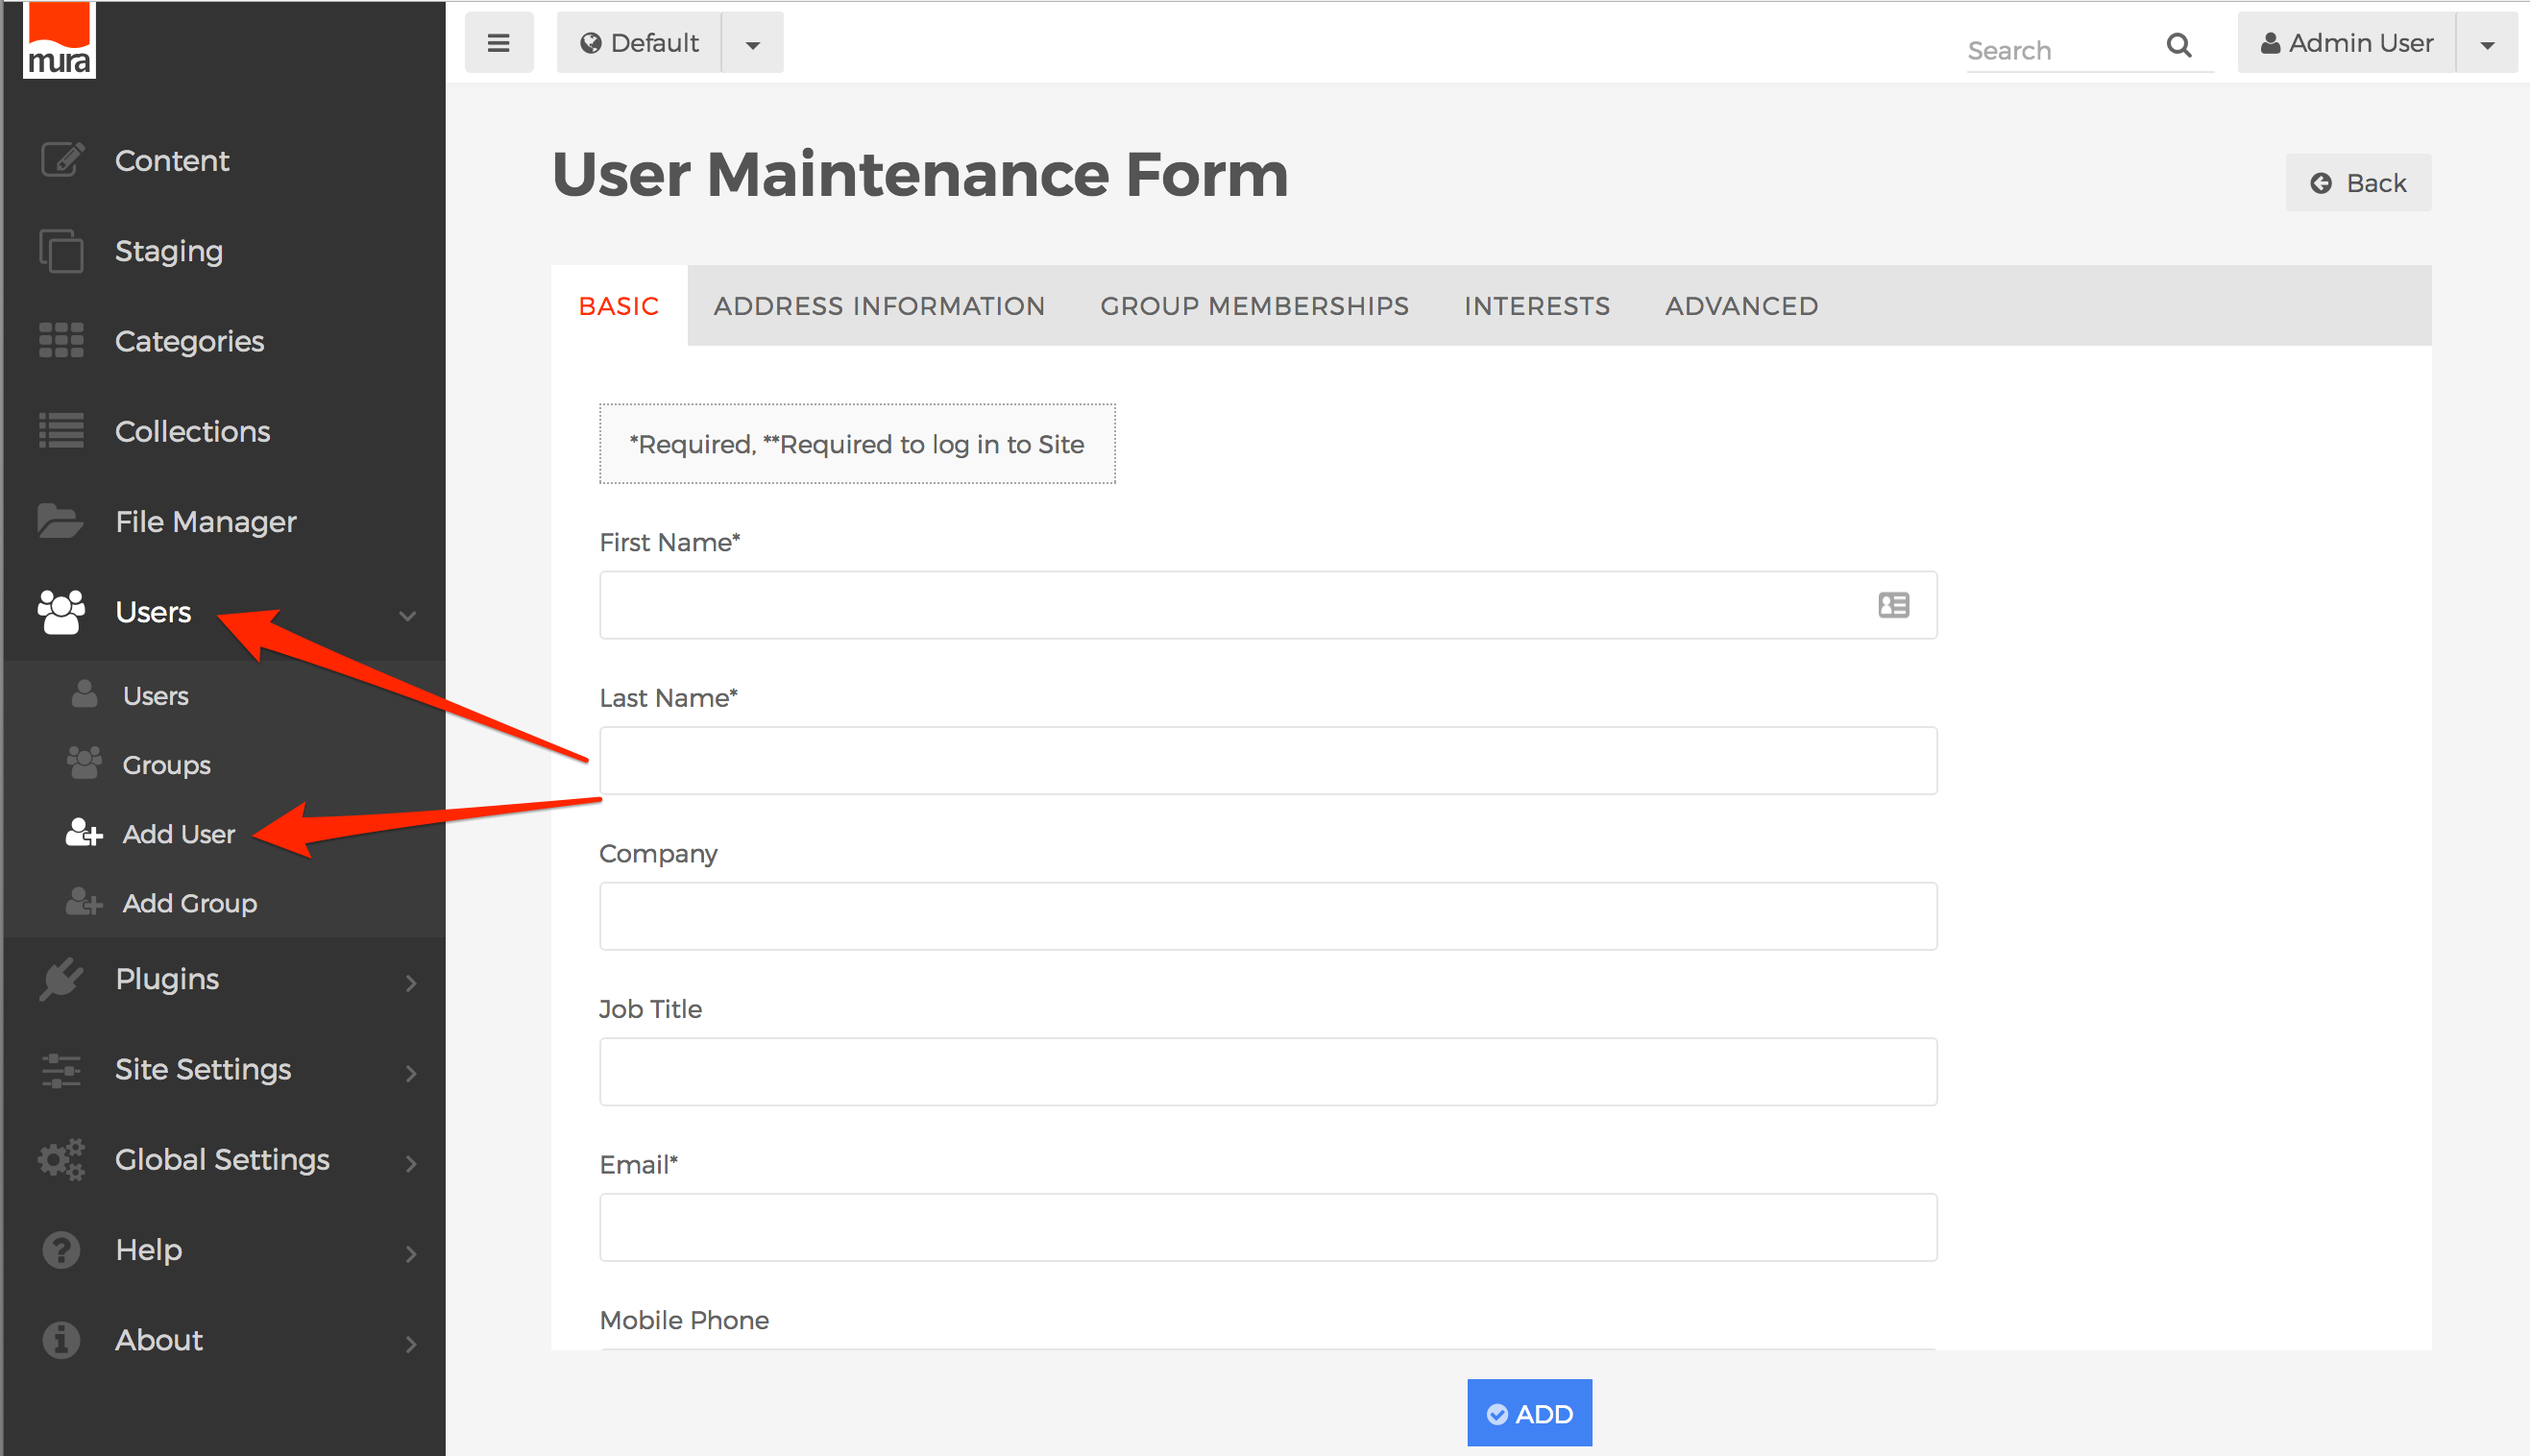
- You should be taken to the User Maintenance Form.
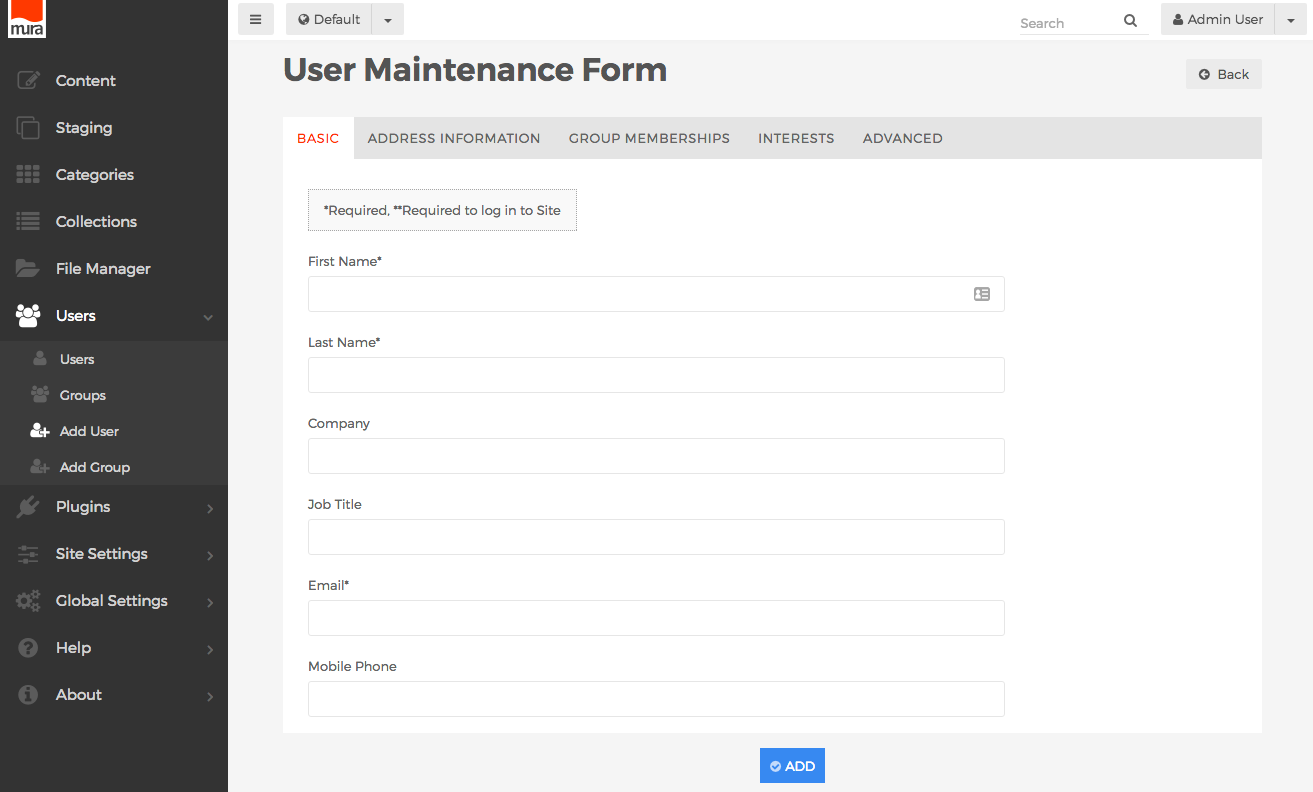
- Basic Tab
- First Name (required)
- Enter the user's First Name.
- Last Name (required)
- Enter the user's Last Name
- Company
- Enter the user's Company
- Job Title
- Enter the user's Job Title
- Email (required)
- Enter the user's Email address
- Mobile Phone
- Enter the user's Mobile Phone number
- Username (required)
- Enter a Username for the user to use when they log into Mura
- Password (required)
- Enter a Password for the user to use when they log into Mura. They will be able to change it after they log in.
- Confirm Password (required)
- Re-enter the Password entered in the previous form field
- Profile Image
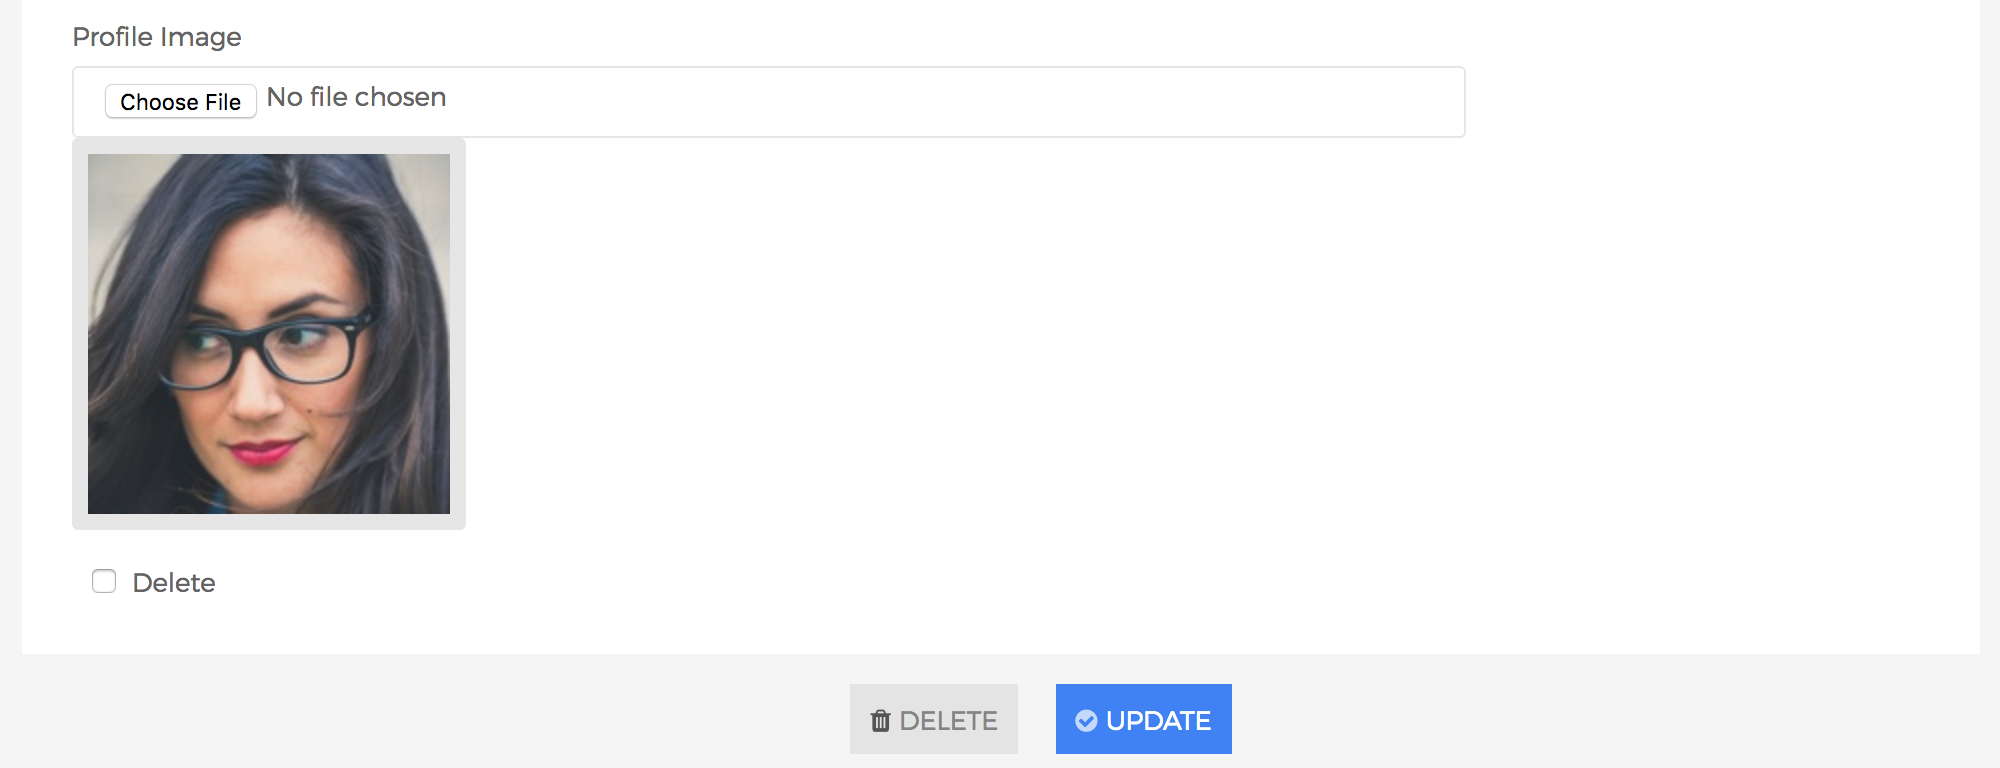
- You may optionally upload a profile photo to use for the user.
- If you wish to delete a Profile Image (if one exists), select the Delete checkbox, then click Update.
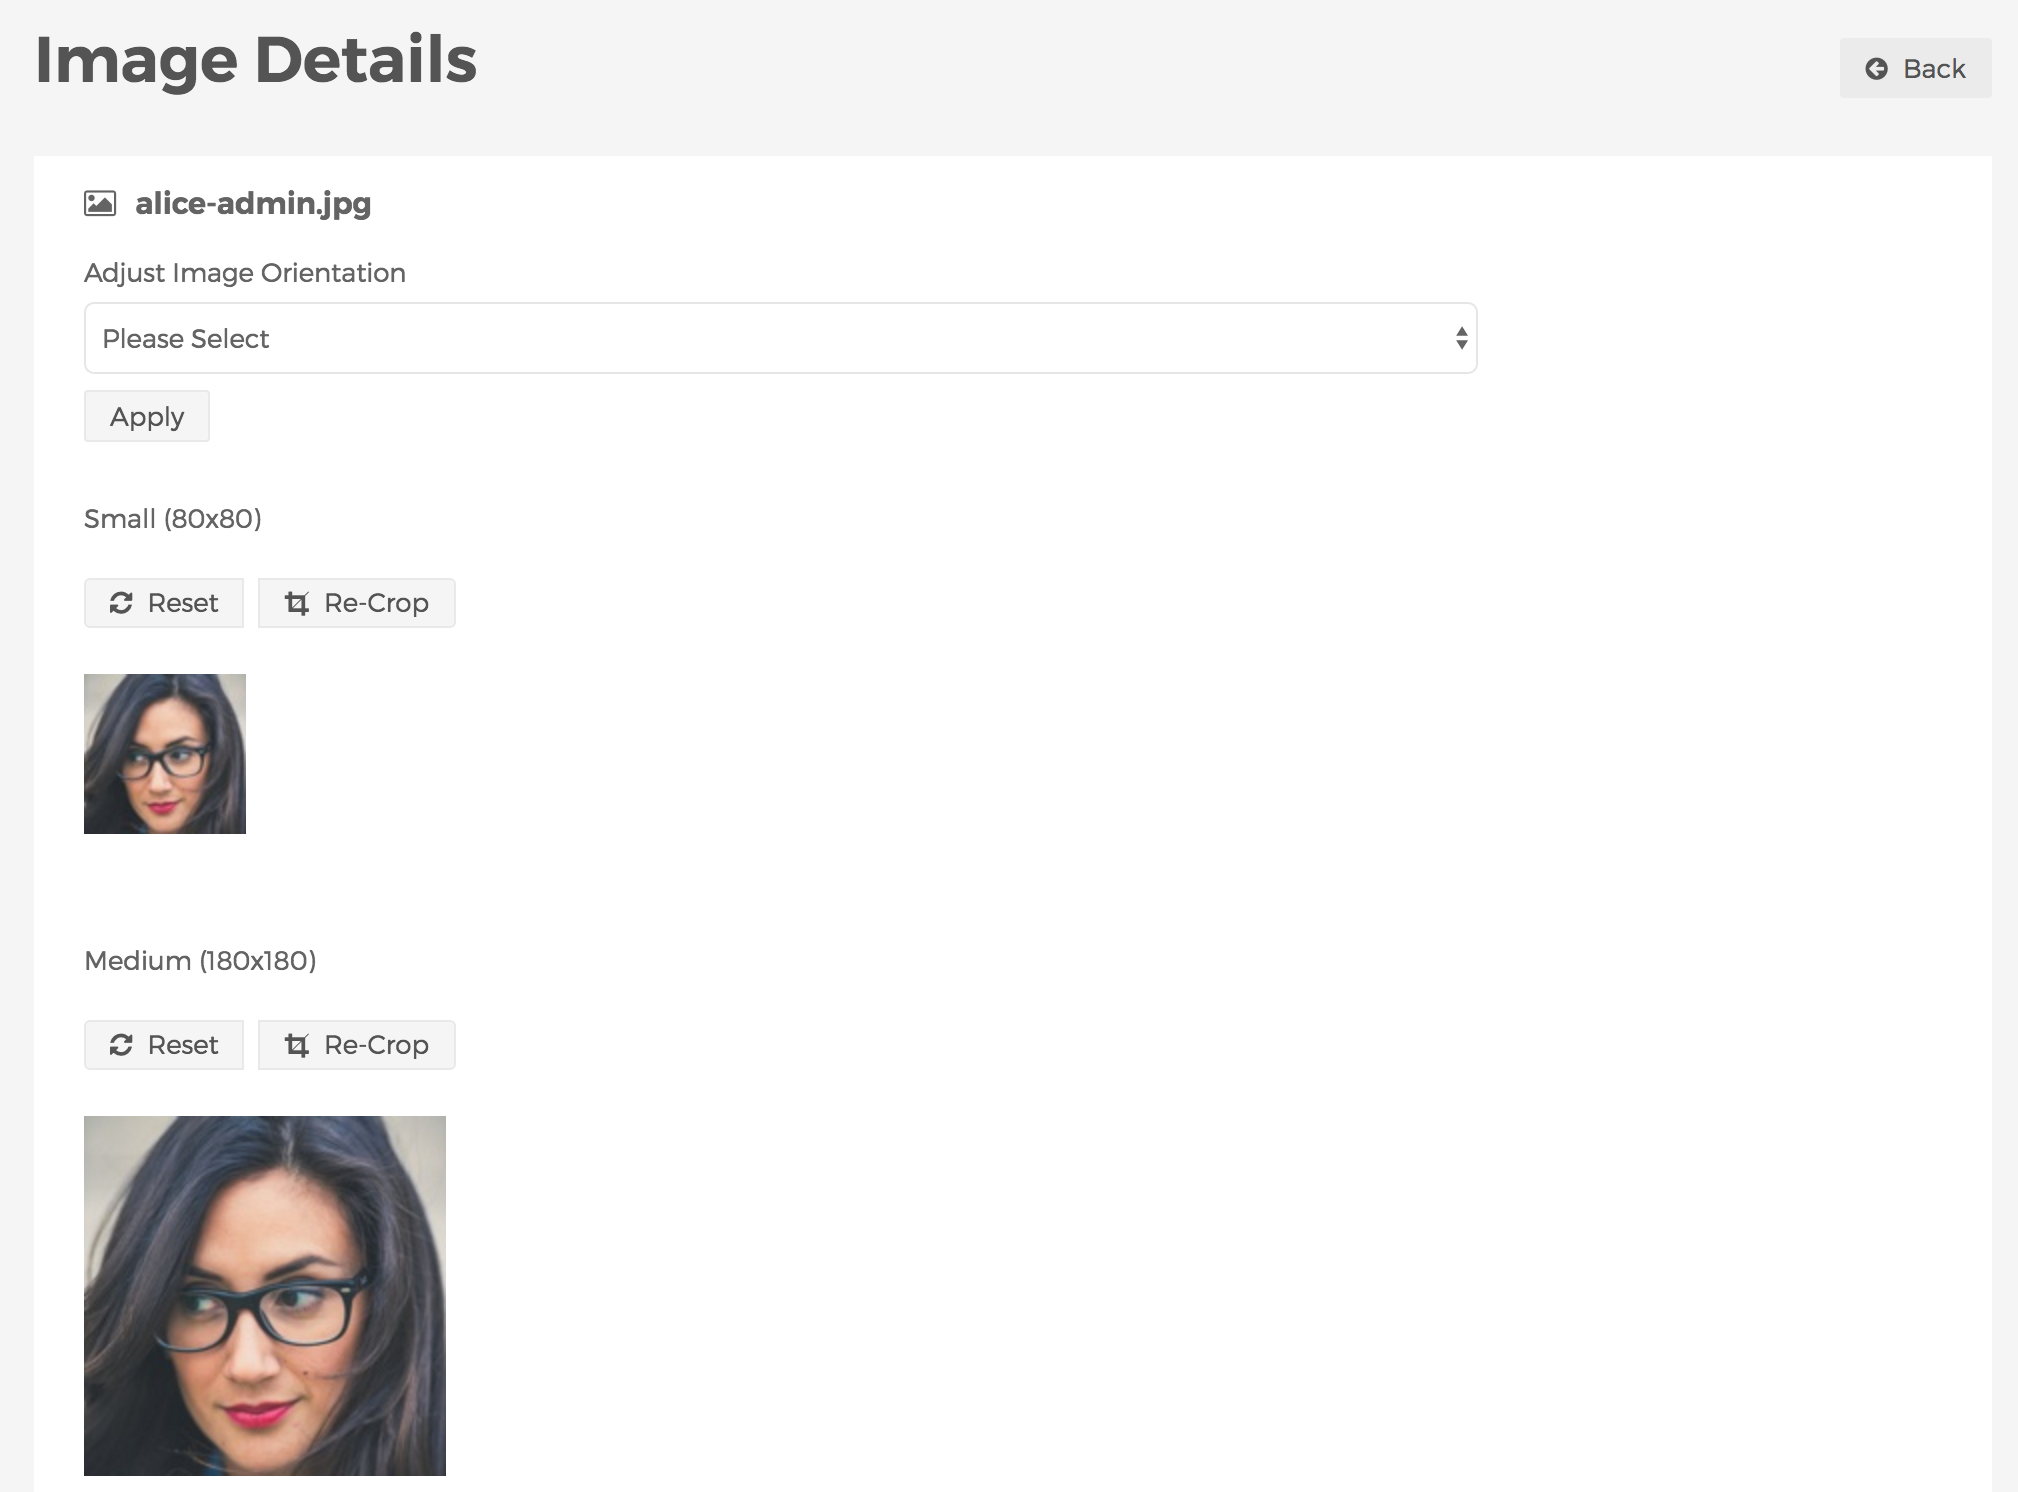
- Click the image (if one exists), and you will be taken to the Image Details screen where you can Adjust Image Orientation, and adjust the crop areas of any predefined image sizes.
- First Name (required)
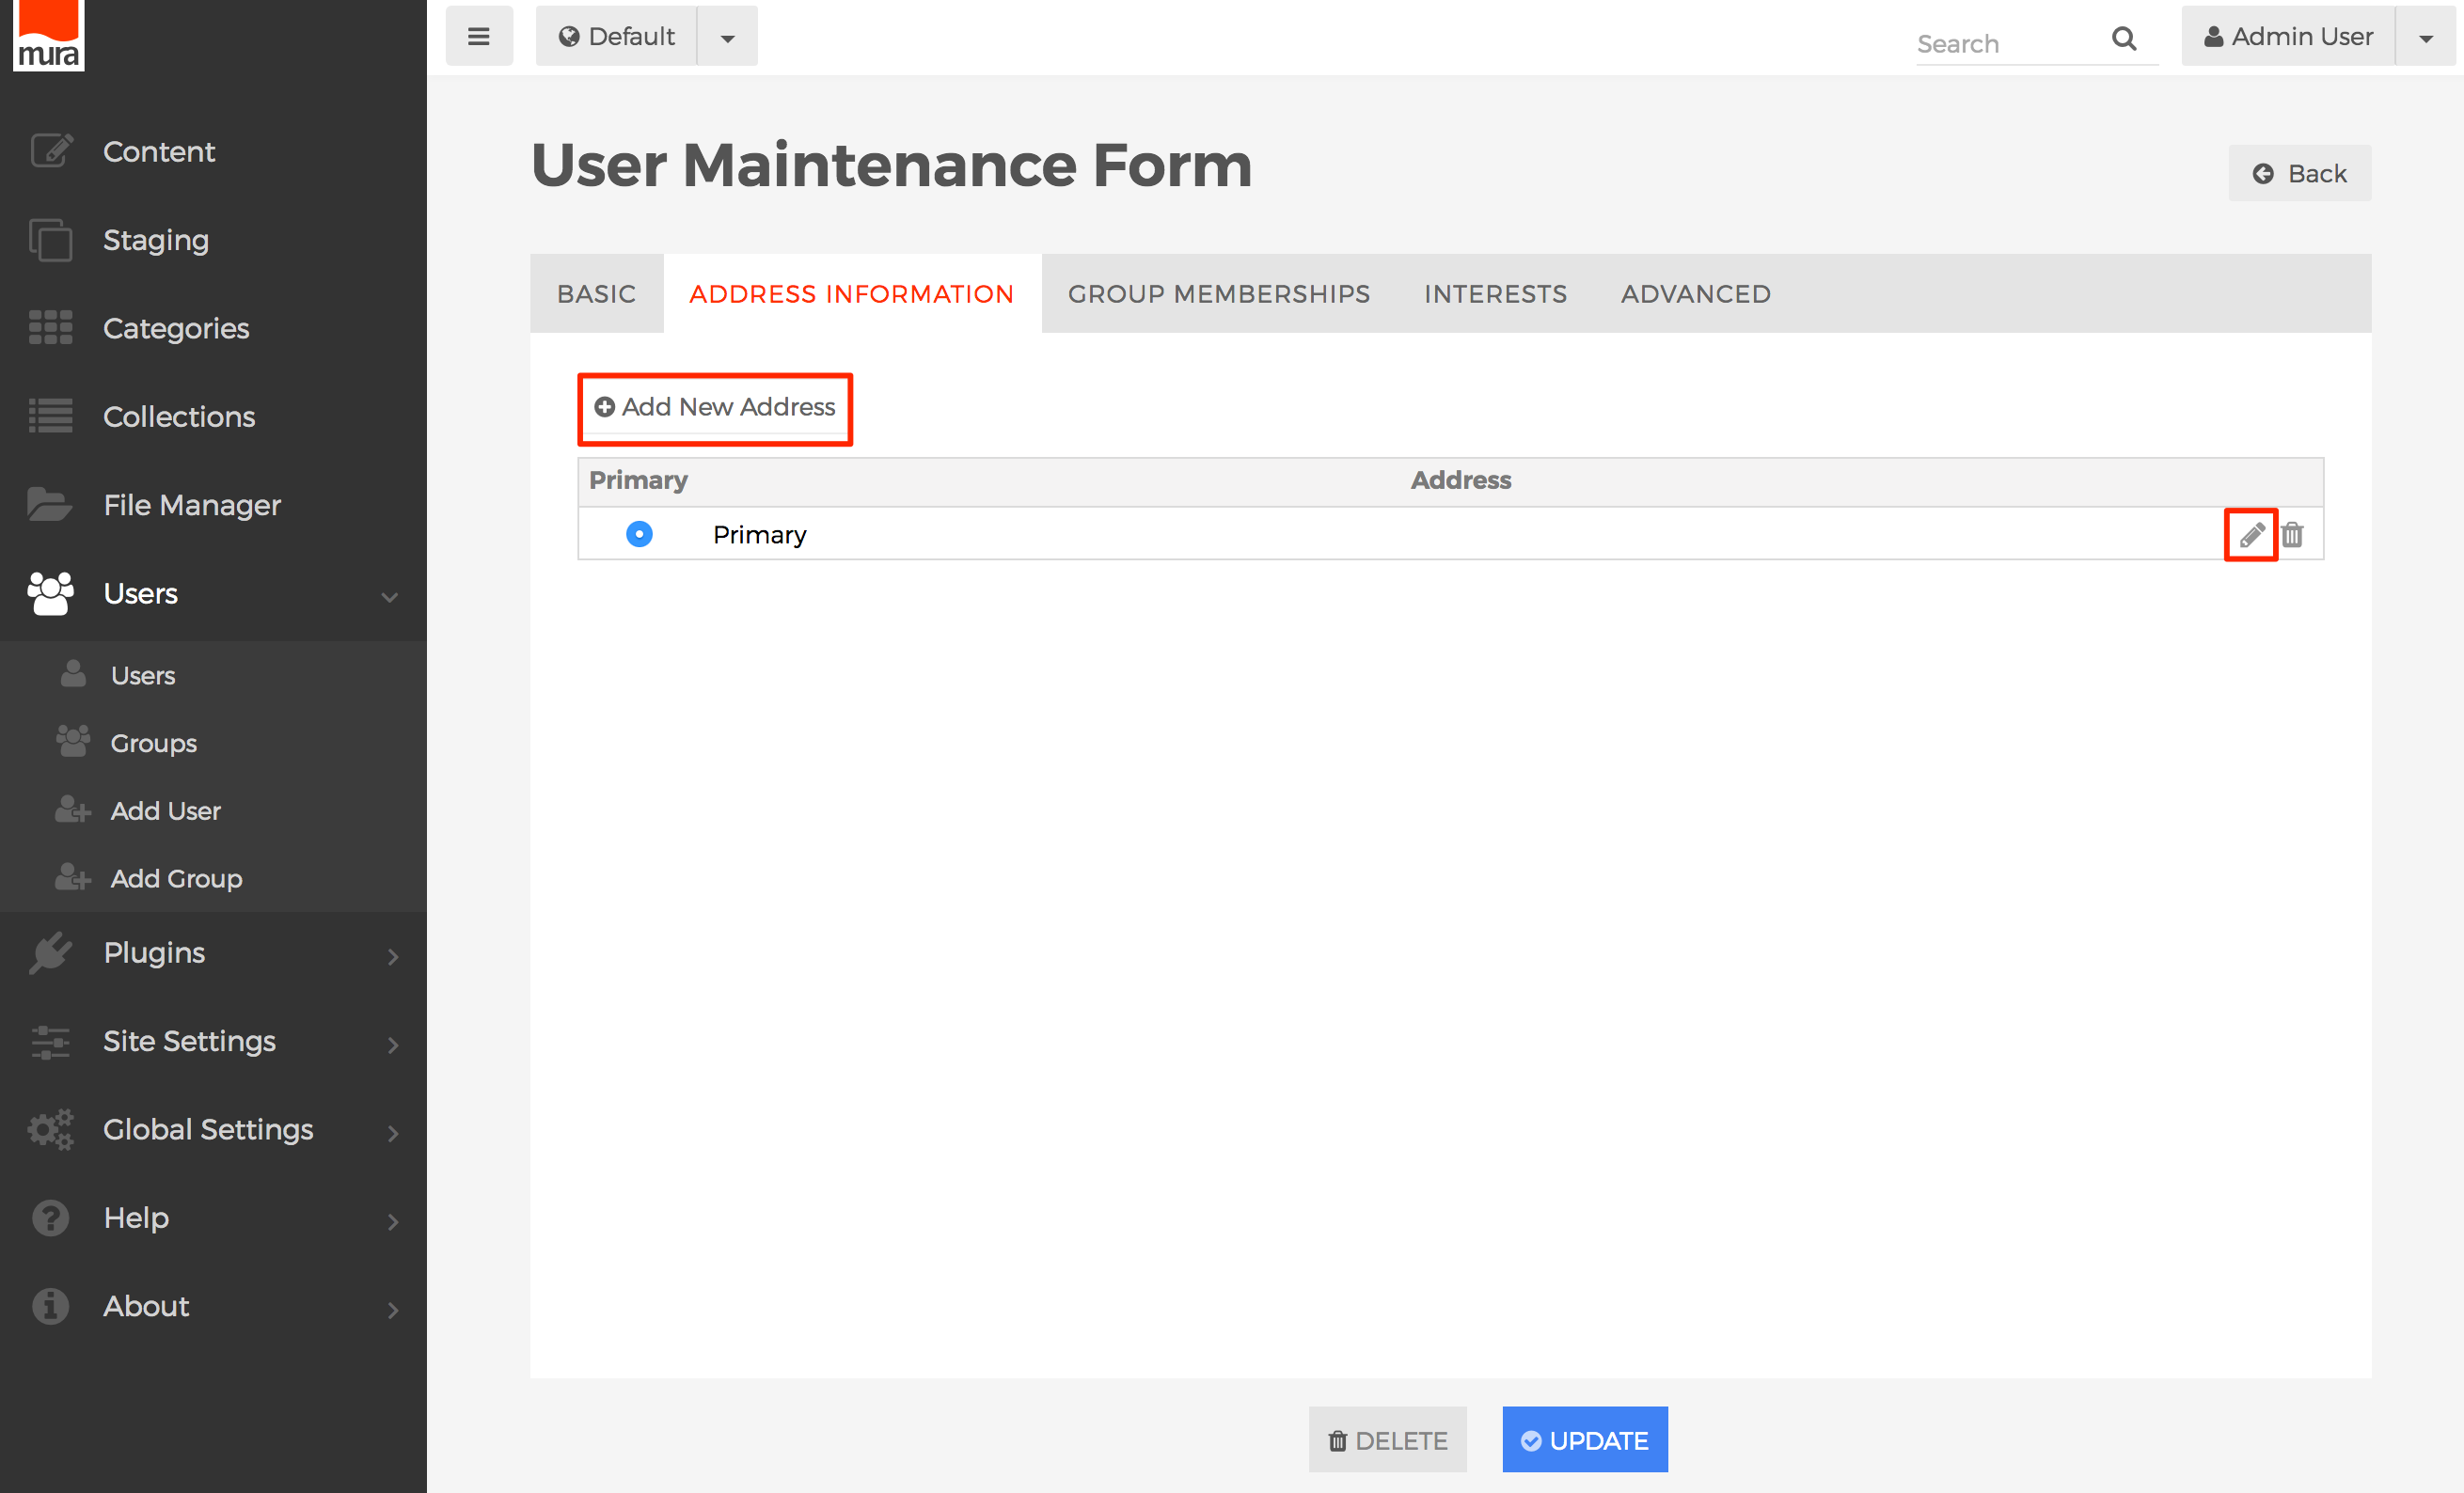
- Address Information Tab
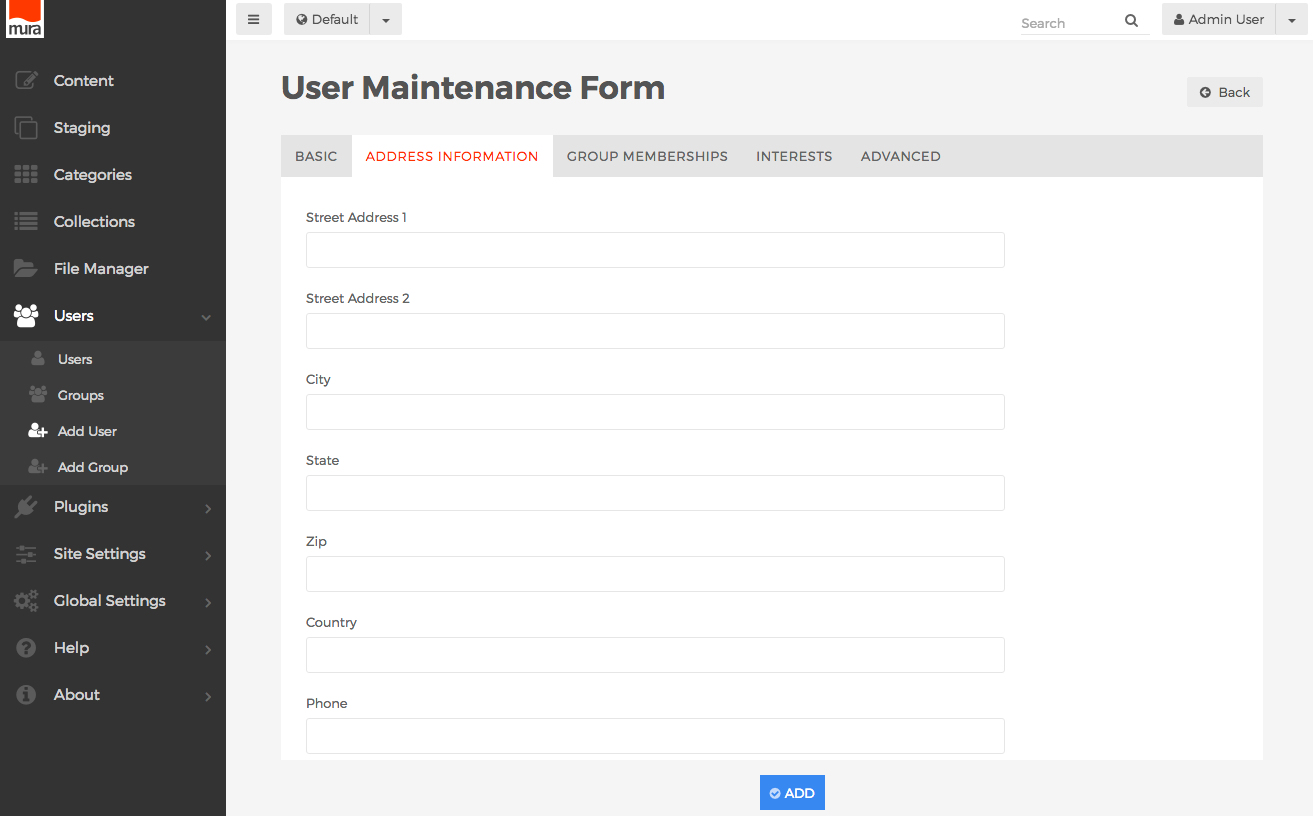
- Street Address 1
- You may enter a Street Address for the location
- Street Address 2
- Some addresses require a second line, and if so, you may enter that information here
- City
- You may enter a City for the location
- State
- You may enter a State for the location
- Zip
- You may enter a Zip Code for the location
- Country
- You may enter a Country for the location
- Phone
- You may enter a Phone number for the location
- Fax
- You may enter a Fax number for the location
- Website (Including HTTP://)
- You may enter a URL for the location
- Email
- You may enter a valid Email address for the location
- Hours
- You may enter the hours for the location
- If editing an existing User, you may edit any existing address(es), or add additional addresses.
- Street Address 1
- Group Memberships Tab
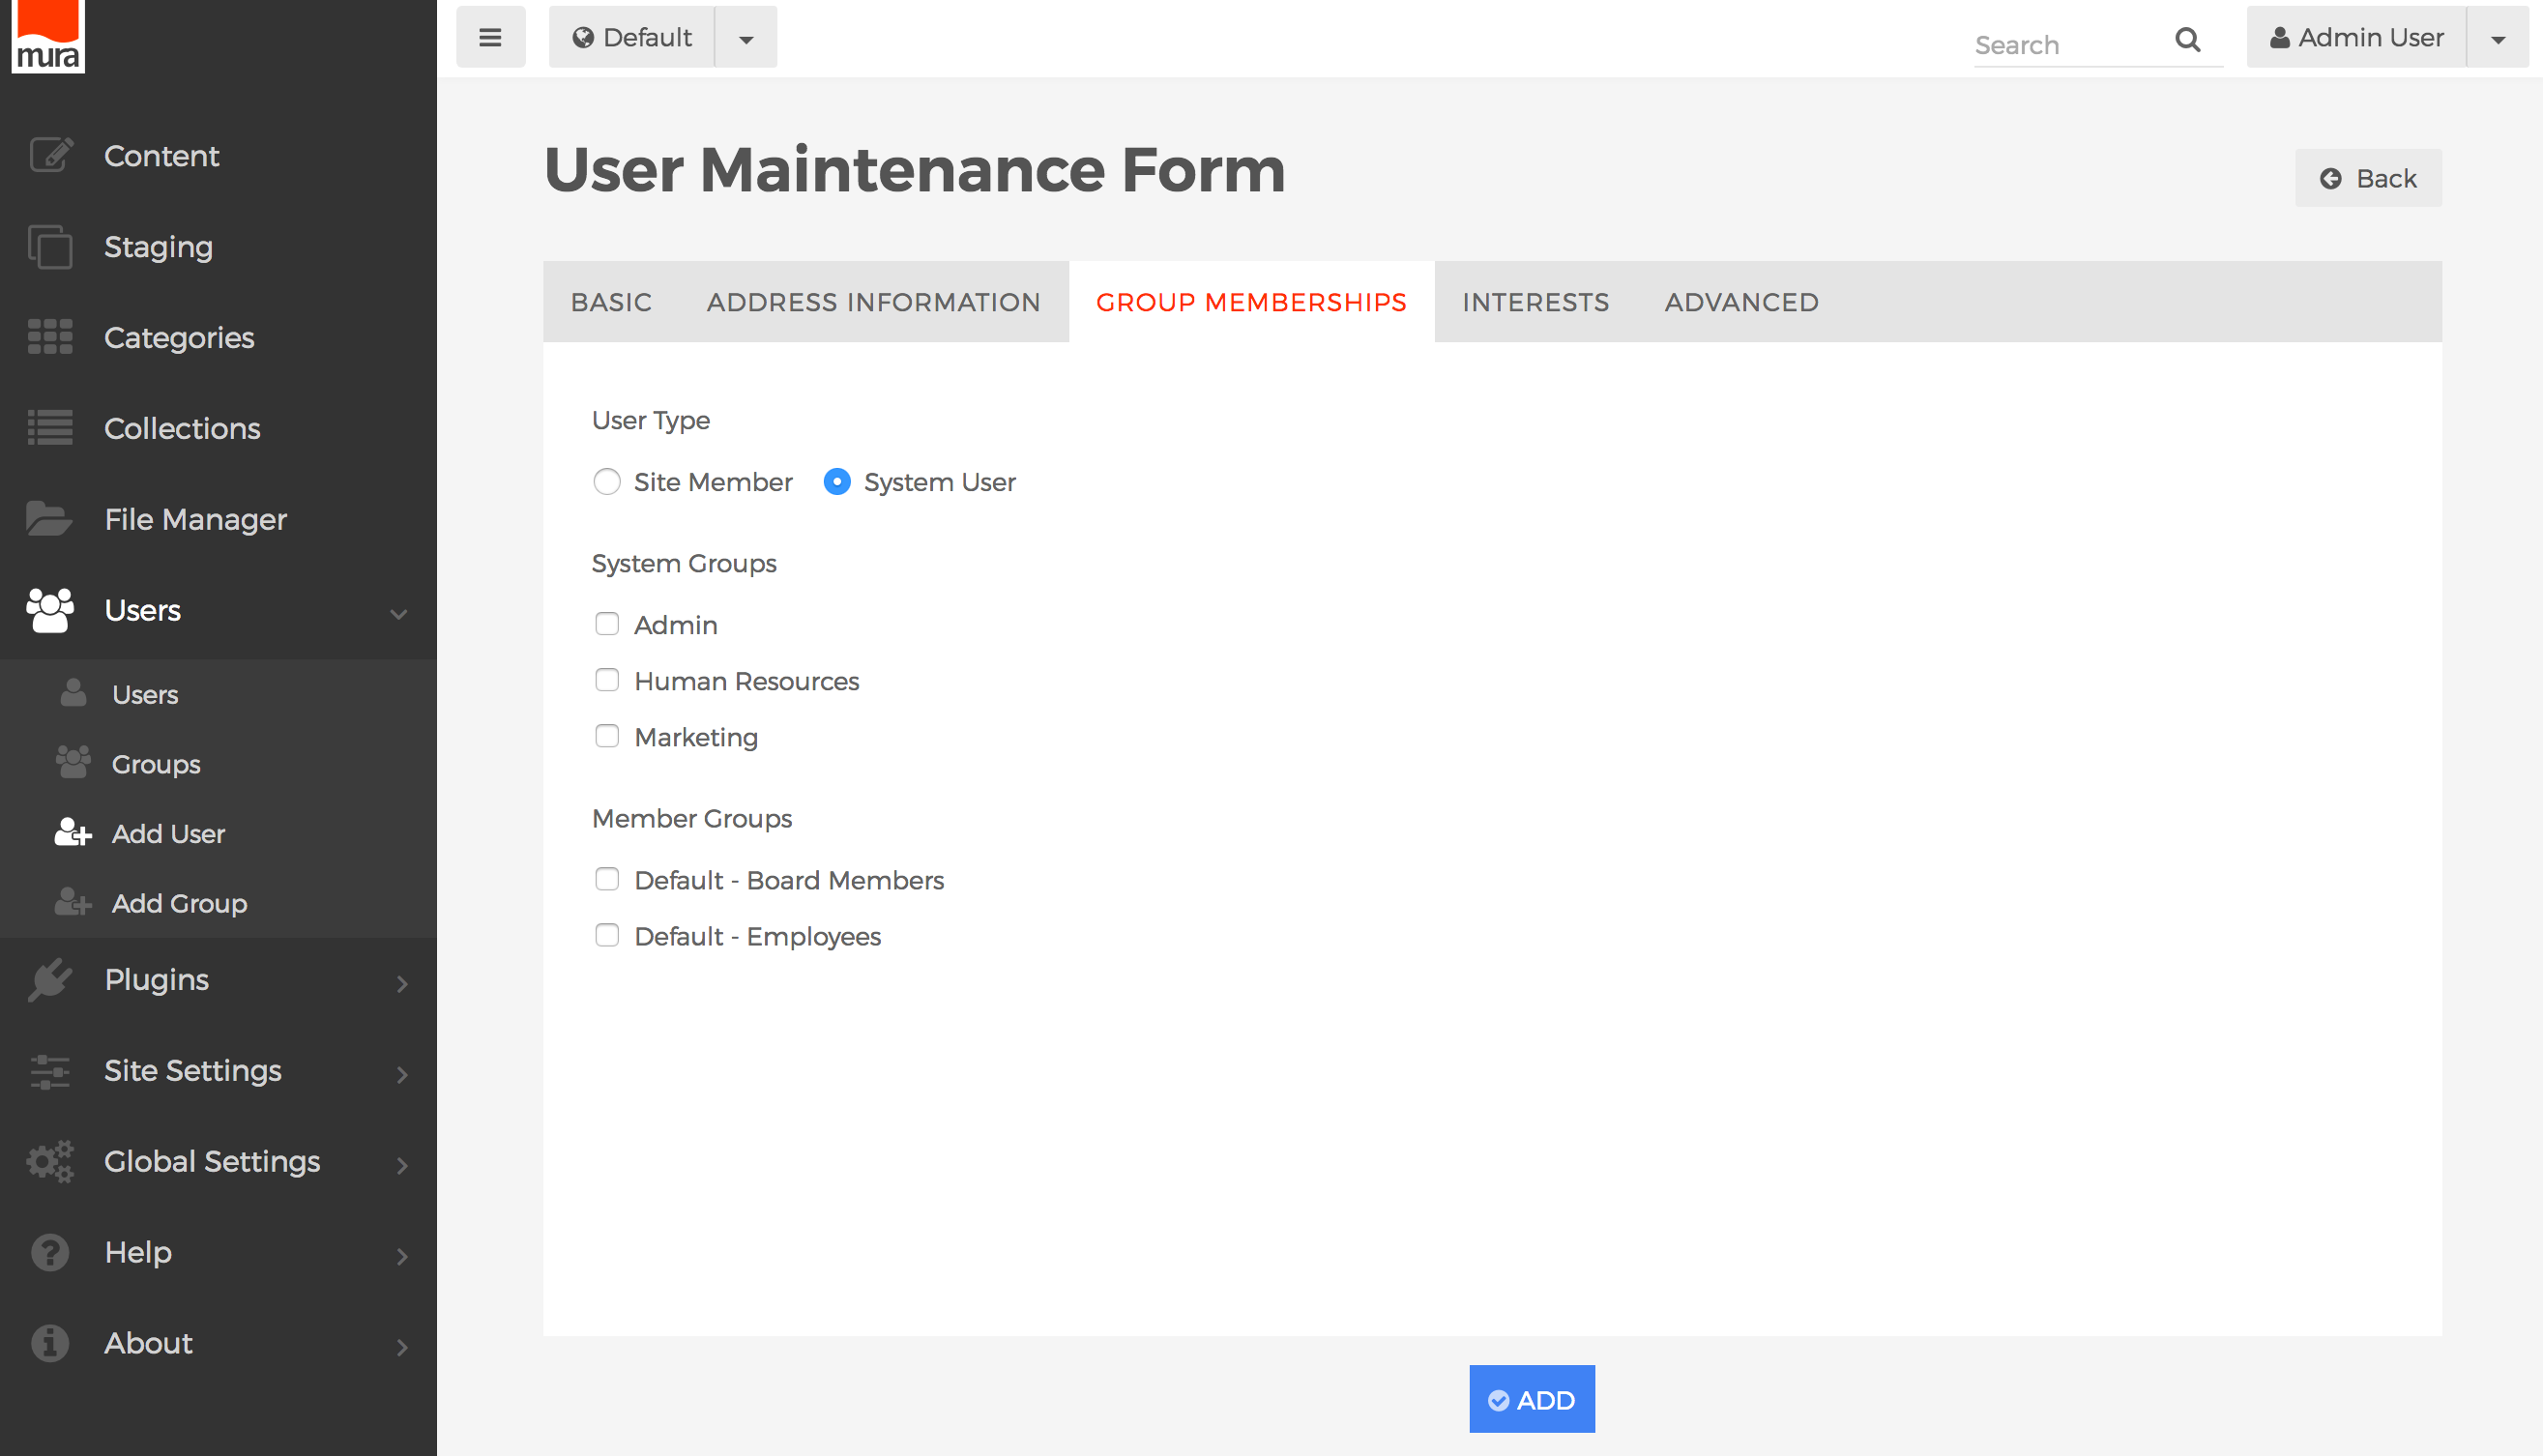
- User Type
- Site Member
- If Site Member is selected, the User will not be able to log in to the back-end administration area of Mura. Site Members may only belong to "Member Groups."
- System User
- If System User is selected, the User will be able to log in to the back-end administration area of Mura. System Users may belong to both "Member Groups" and "System Groups."
- Site Member
- System Groups
- If User Type is set to System User, a listing of available System Groups will appear. You may assign the User to your desired groups here.
- Member Groups
- This section contains a listing of available Member Groups. You may assign the User to any desired groups here.
- User Type
- Interests Tab

- You may optionally select any Categories that have been enabled for Interest Groups.
- Advanced Tab
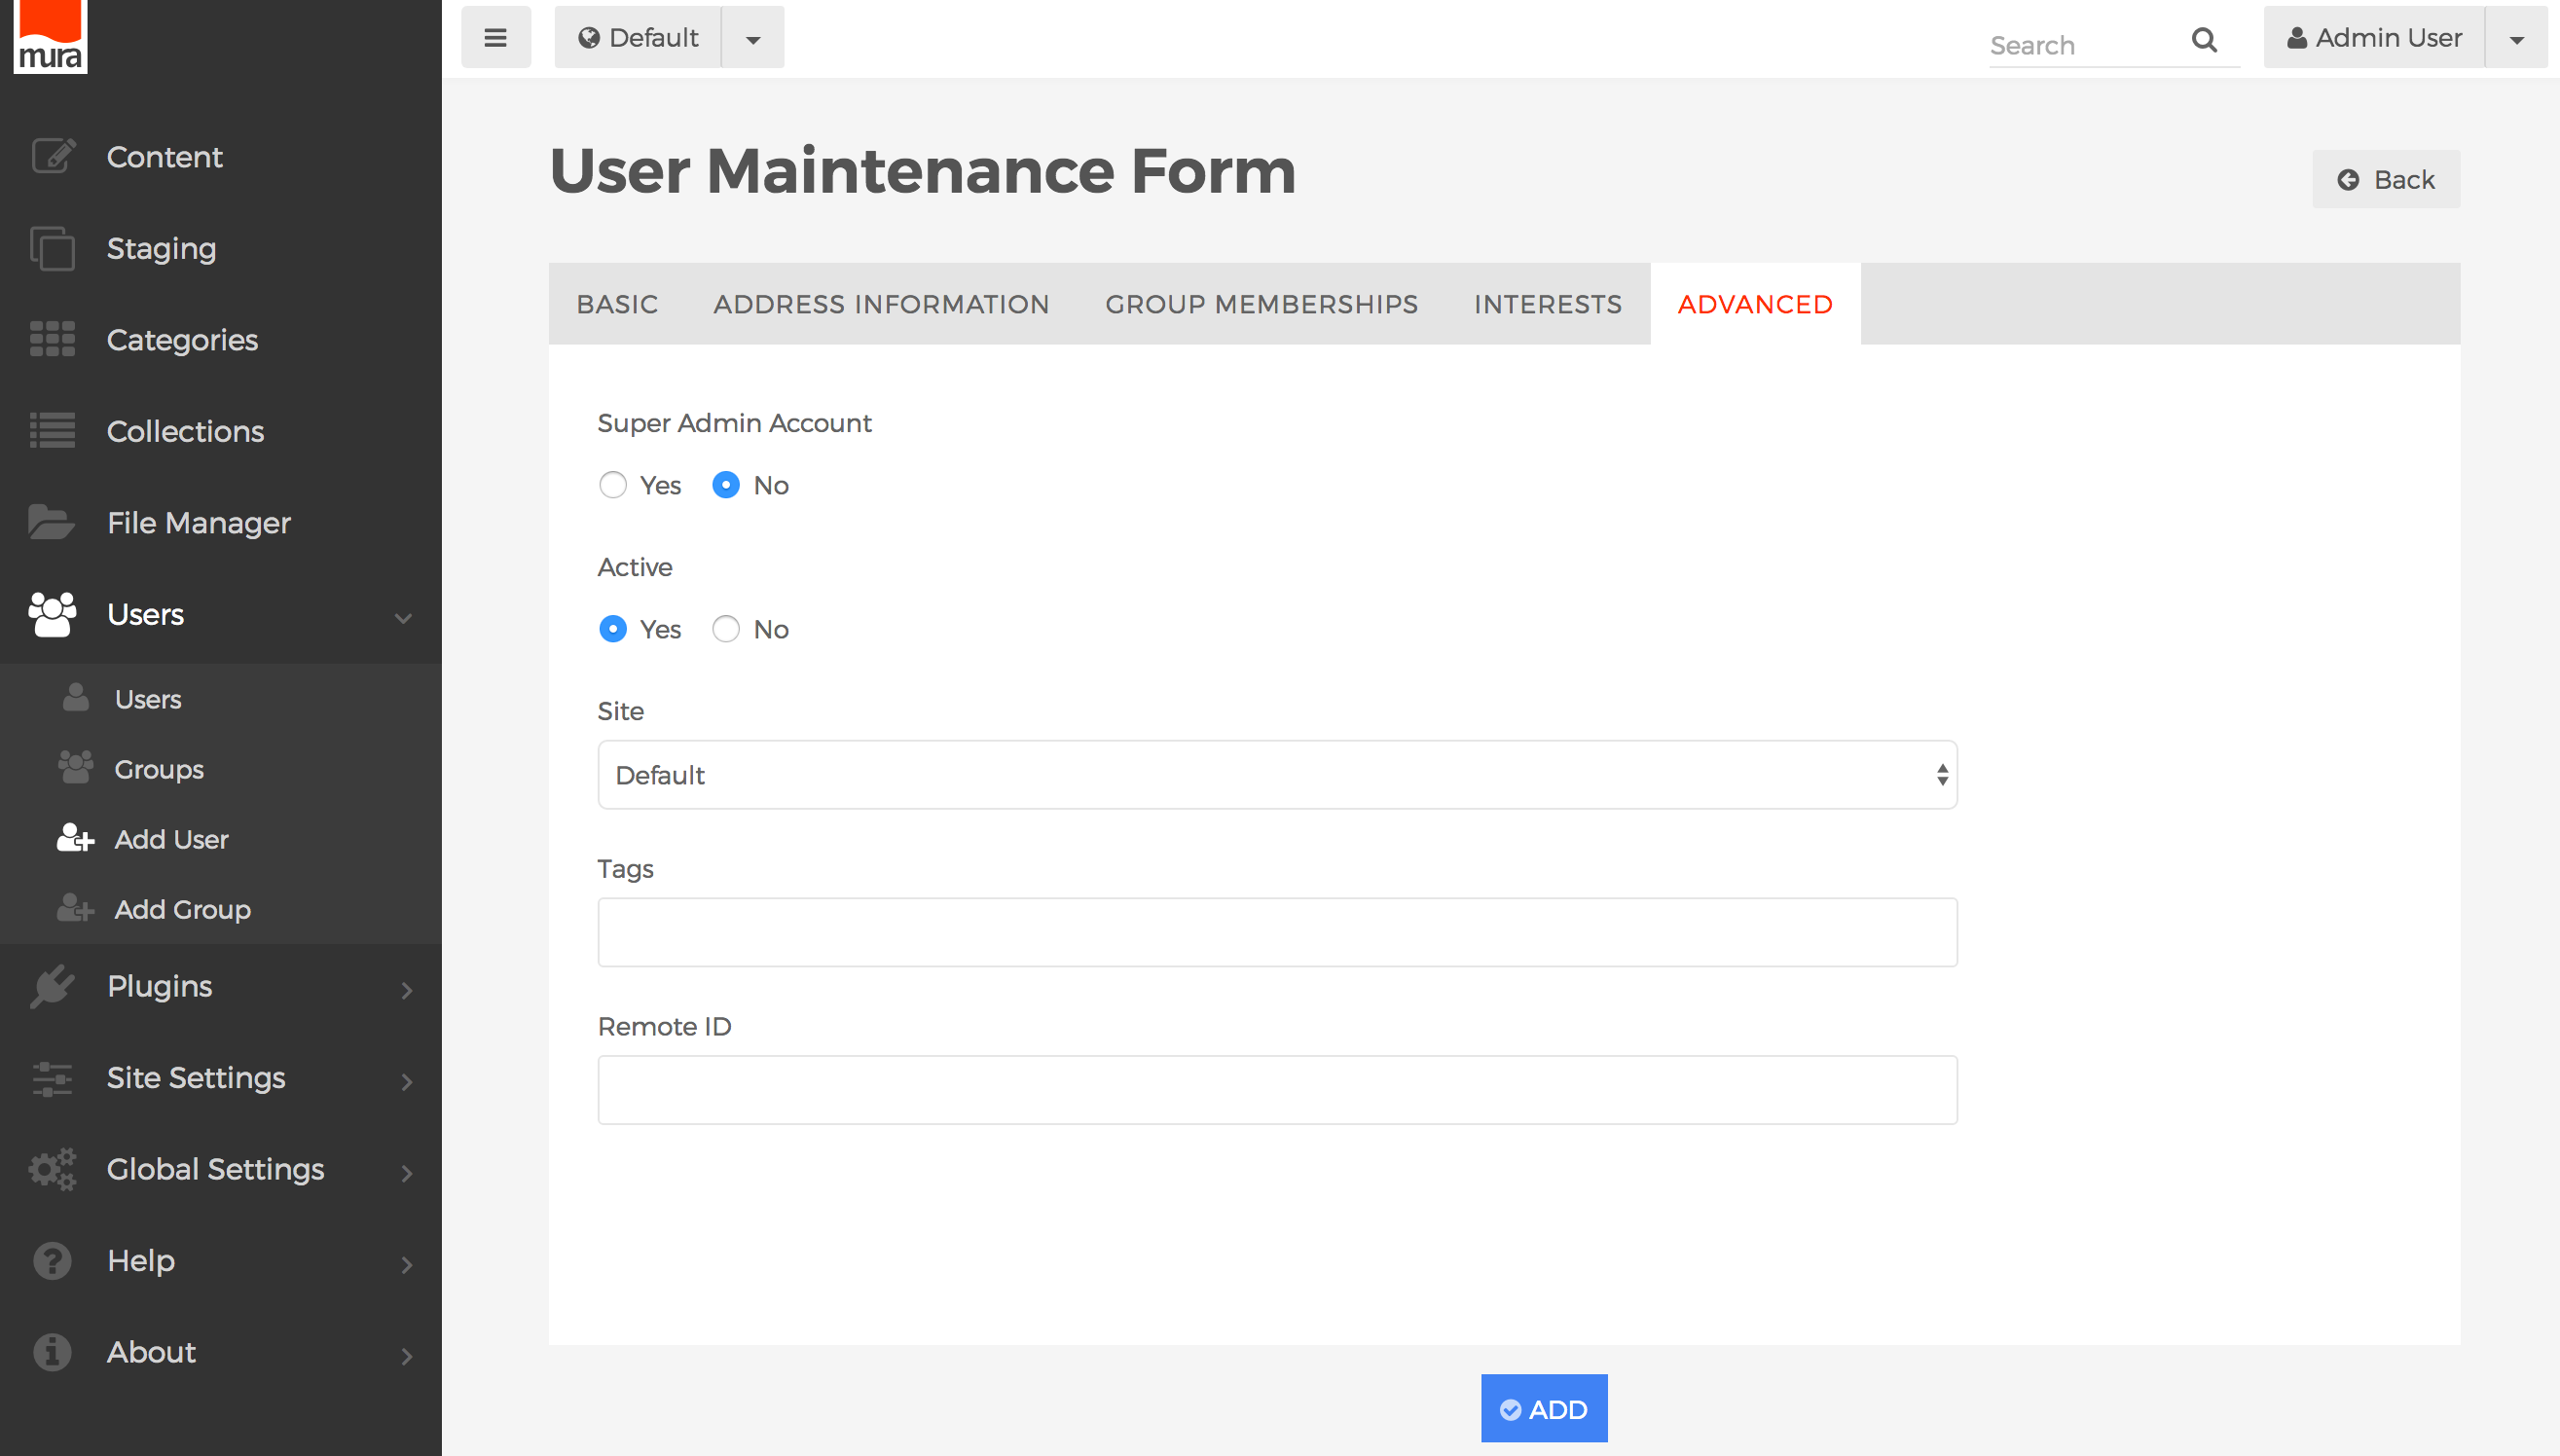
- Super Admin Account
- If Yes, the User will have all of the rights and privileges of a Super User.
- If No, the User will not be a Super User.
- See the Super User section for more information on Super Users.
- Active
- If Yes, the User will be able to log in, and use Mura within the permissions established.
- If No, the User will be unable to log in, and is unable to use Mura.
- Site
- You may reassign a User to a different Site Pool here.
- Tags
- You may enter a comma-delimited list of Tags here. This meta-data is useful for grouping users.
- Remote ID
- This field is primarily used by developers and is typically tied to a primary identifying field on a third-party system.
- Super Admin Account
- Basic Tab
- When finished, click the Add or Update button to save your changes.