Creating Components
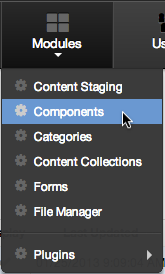
- From the primary admin navigation, select Modules > Components.
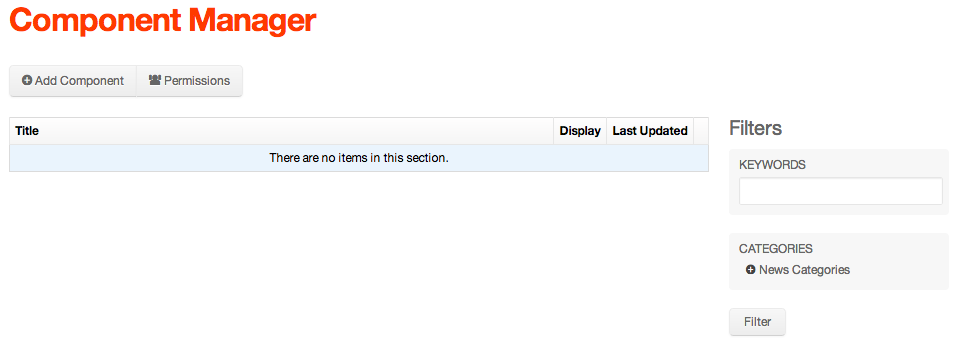
- You should be taken to the Component Manager screen.
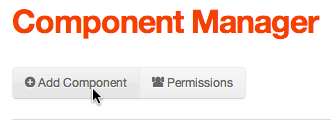
- From the Component Manager screen, click Add Component.
- The Edit Component screen should appear.
 ?
? - This screen is quite similar to the Edit Content Page found within the Site Manager, with a few minor differences.
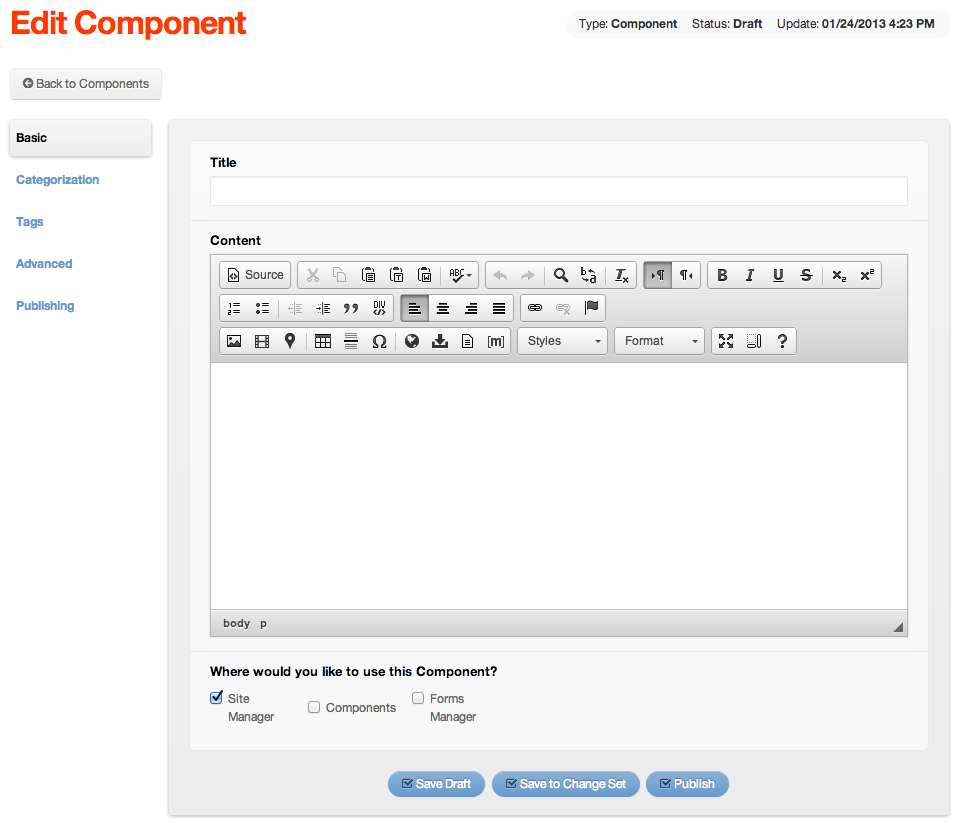
- Basic Tab
- Title: This is the title of your component. It is used to identify the component within the back-end admin area and is not displayed on the front end.
- Content: Here you can enter the content of your component, identical to the content area of the Edit Content page.
- Where would you like to use this Component? Check the appropriate boxes for each section you would like to use the component in. For example, if you wish to put a component on a content page (within a sidebar or in the main content area), select Site Manager. This will make the component available in the Site Manager as a Content Object.
- Publishing Tab
- Display: The display field offers a select menu of display options:
- Yes: This option allows the display of your component.
- No: This option will make the component hidden.
- Per Start/Stop Dates: This option allows you to set a specific display date for your component. It will remain hidden until the selected start date, and remain active or visible until the selected stop date.
- Notify for Review: Selecting this option will notify desired Mura users to review any changes made to the component. The email message may be personalized as well.
- Add Notes: A text area to keep track of any notes that content administrators wish to enter. By default, these notes are not visible by site visitors.
- Display: The display field offers a select menu of display options:
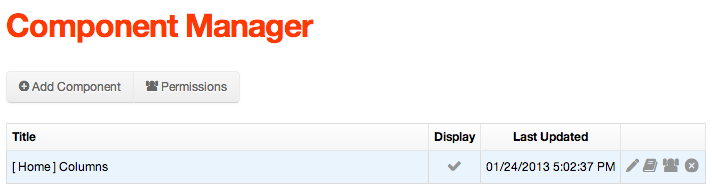
- In the Title field, enter [ Home ] Columns

Tip: Because components are sorted alphabetically, try adding a prefix to any page- and/or section-specific components with the page or section name so that those components will be grouped together. This can make it easier to locate and edit components from the back-end administration area.
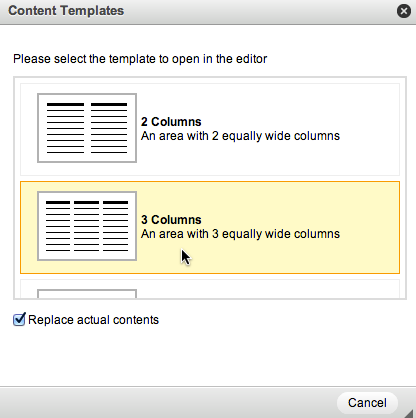
- In the Content area, click the Templates icon
 on the editor toolbar to launch the Content Templates dialog window.
 - Leave Replace actual contents checked, and click on 3 columns.
- The Content window should now look similar to the following (with Show Blocks turned on):
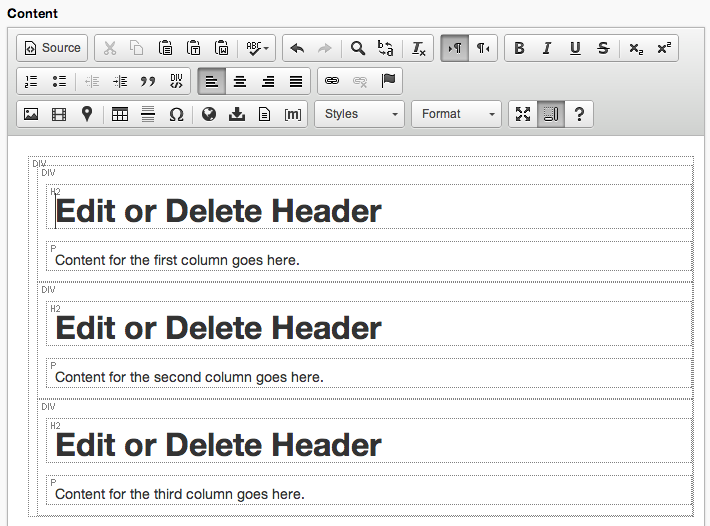
- Enter some headings and placeholder text for each column.
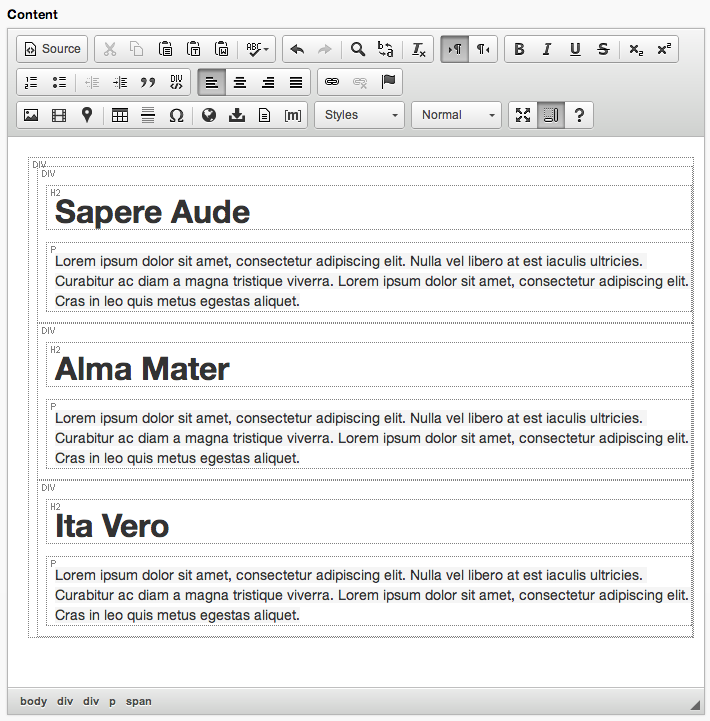
- Leave the other form fields at their default settings, then click Publish.