Placing Components
There are two primary ways to use components within Mura from a Content Manager's perspective; as a content object, and as a starter content template.
Adding A Component As A Content Object
By adding a component as a content object, the content remains linked to the original component. This way, edits to either the original component or any instance of that component will update all instances where the component was used as a content object.
To add a component as a content object, follow these steps:
- Select any content node within the site to edit (e.g., Home page).
- Select the Layout & Objects tab.
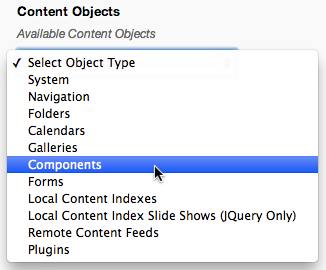
- Select Components from the Available Content Objects drop-down menu.
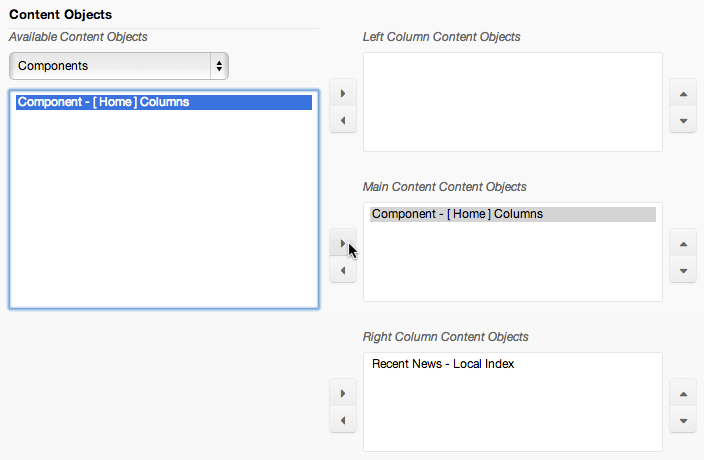
- Select the desired component from the list and assign it to the desired content object display region (e.g., Component - [ Home ] Columns assigned to the Main ContentC ontent Objects display region).
- Click Publish.
- Preview the site.
Adding A Component As A Starter Content Template
Similar to using the Templates feature of the content editor, you can insert a complete copy of the custom component's content directly into the Content area of a page. Any edits to content added via this method will not alter the original component's content. Conversely, any edits to the original component will not alter the content that has been added using this method.
To add a component as a starter content template, follow these steps:
- Select any content node within the site to edit (e.g., Members Only).
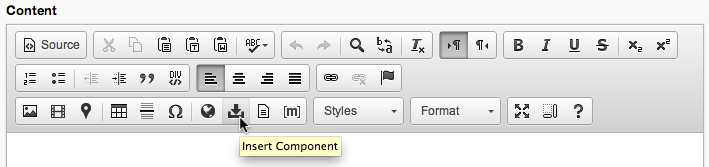
- Simply click the Insert Component icon
 on the editor toolbar.
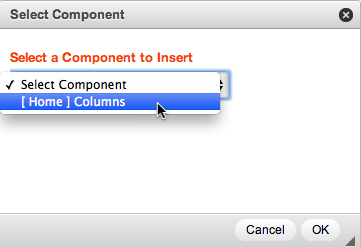
- This should launch the Select Component dialog window. Select the desired component, then click OK.
- The content of the component will then be placed into the Content editor window.
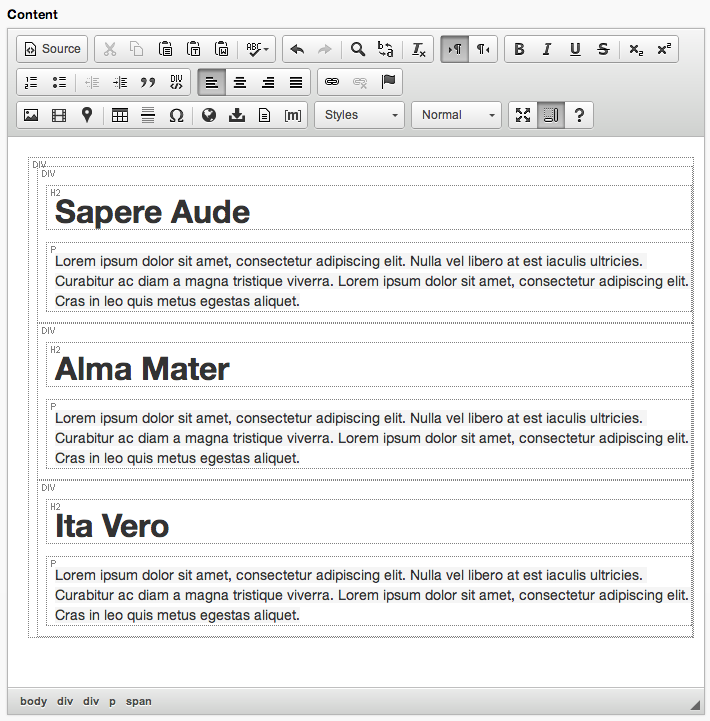
- The content can now be edited as desired.