Comments Permissions
If you allow comments to be posted to your website, you are definitely going to need someone to help manage those comments. By default, Super Admin Users, and members of the Admin group are automatically able to manage comments.
How to Enable/Disable Comments Manager
To enable or disable the Comments Manager, follow the steps below.
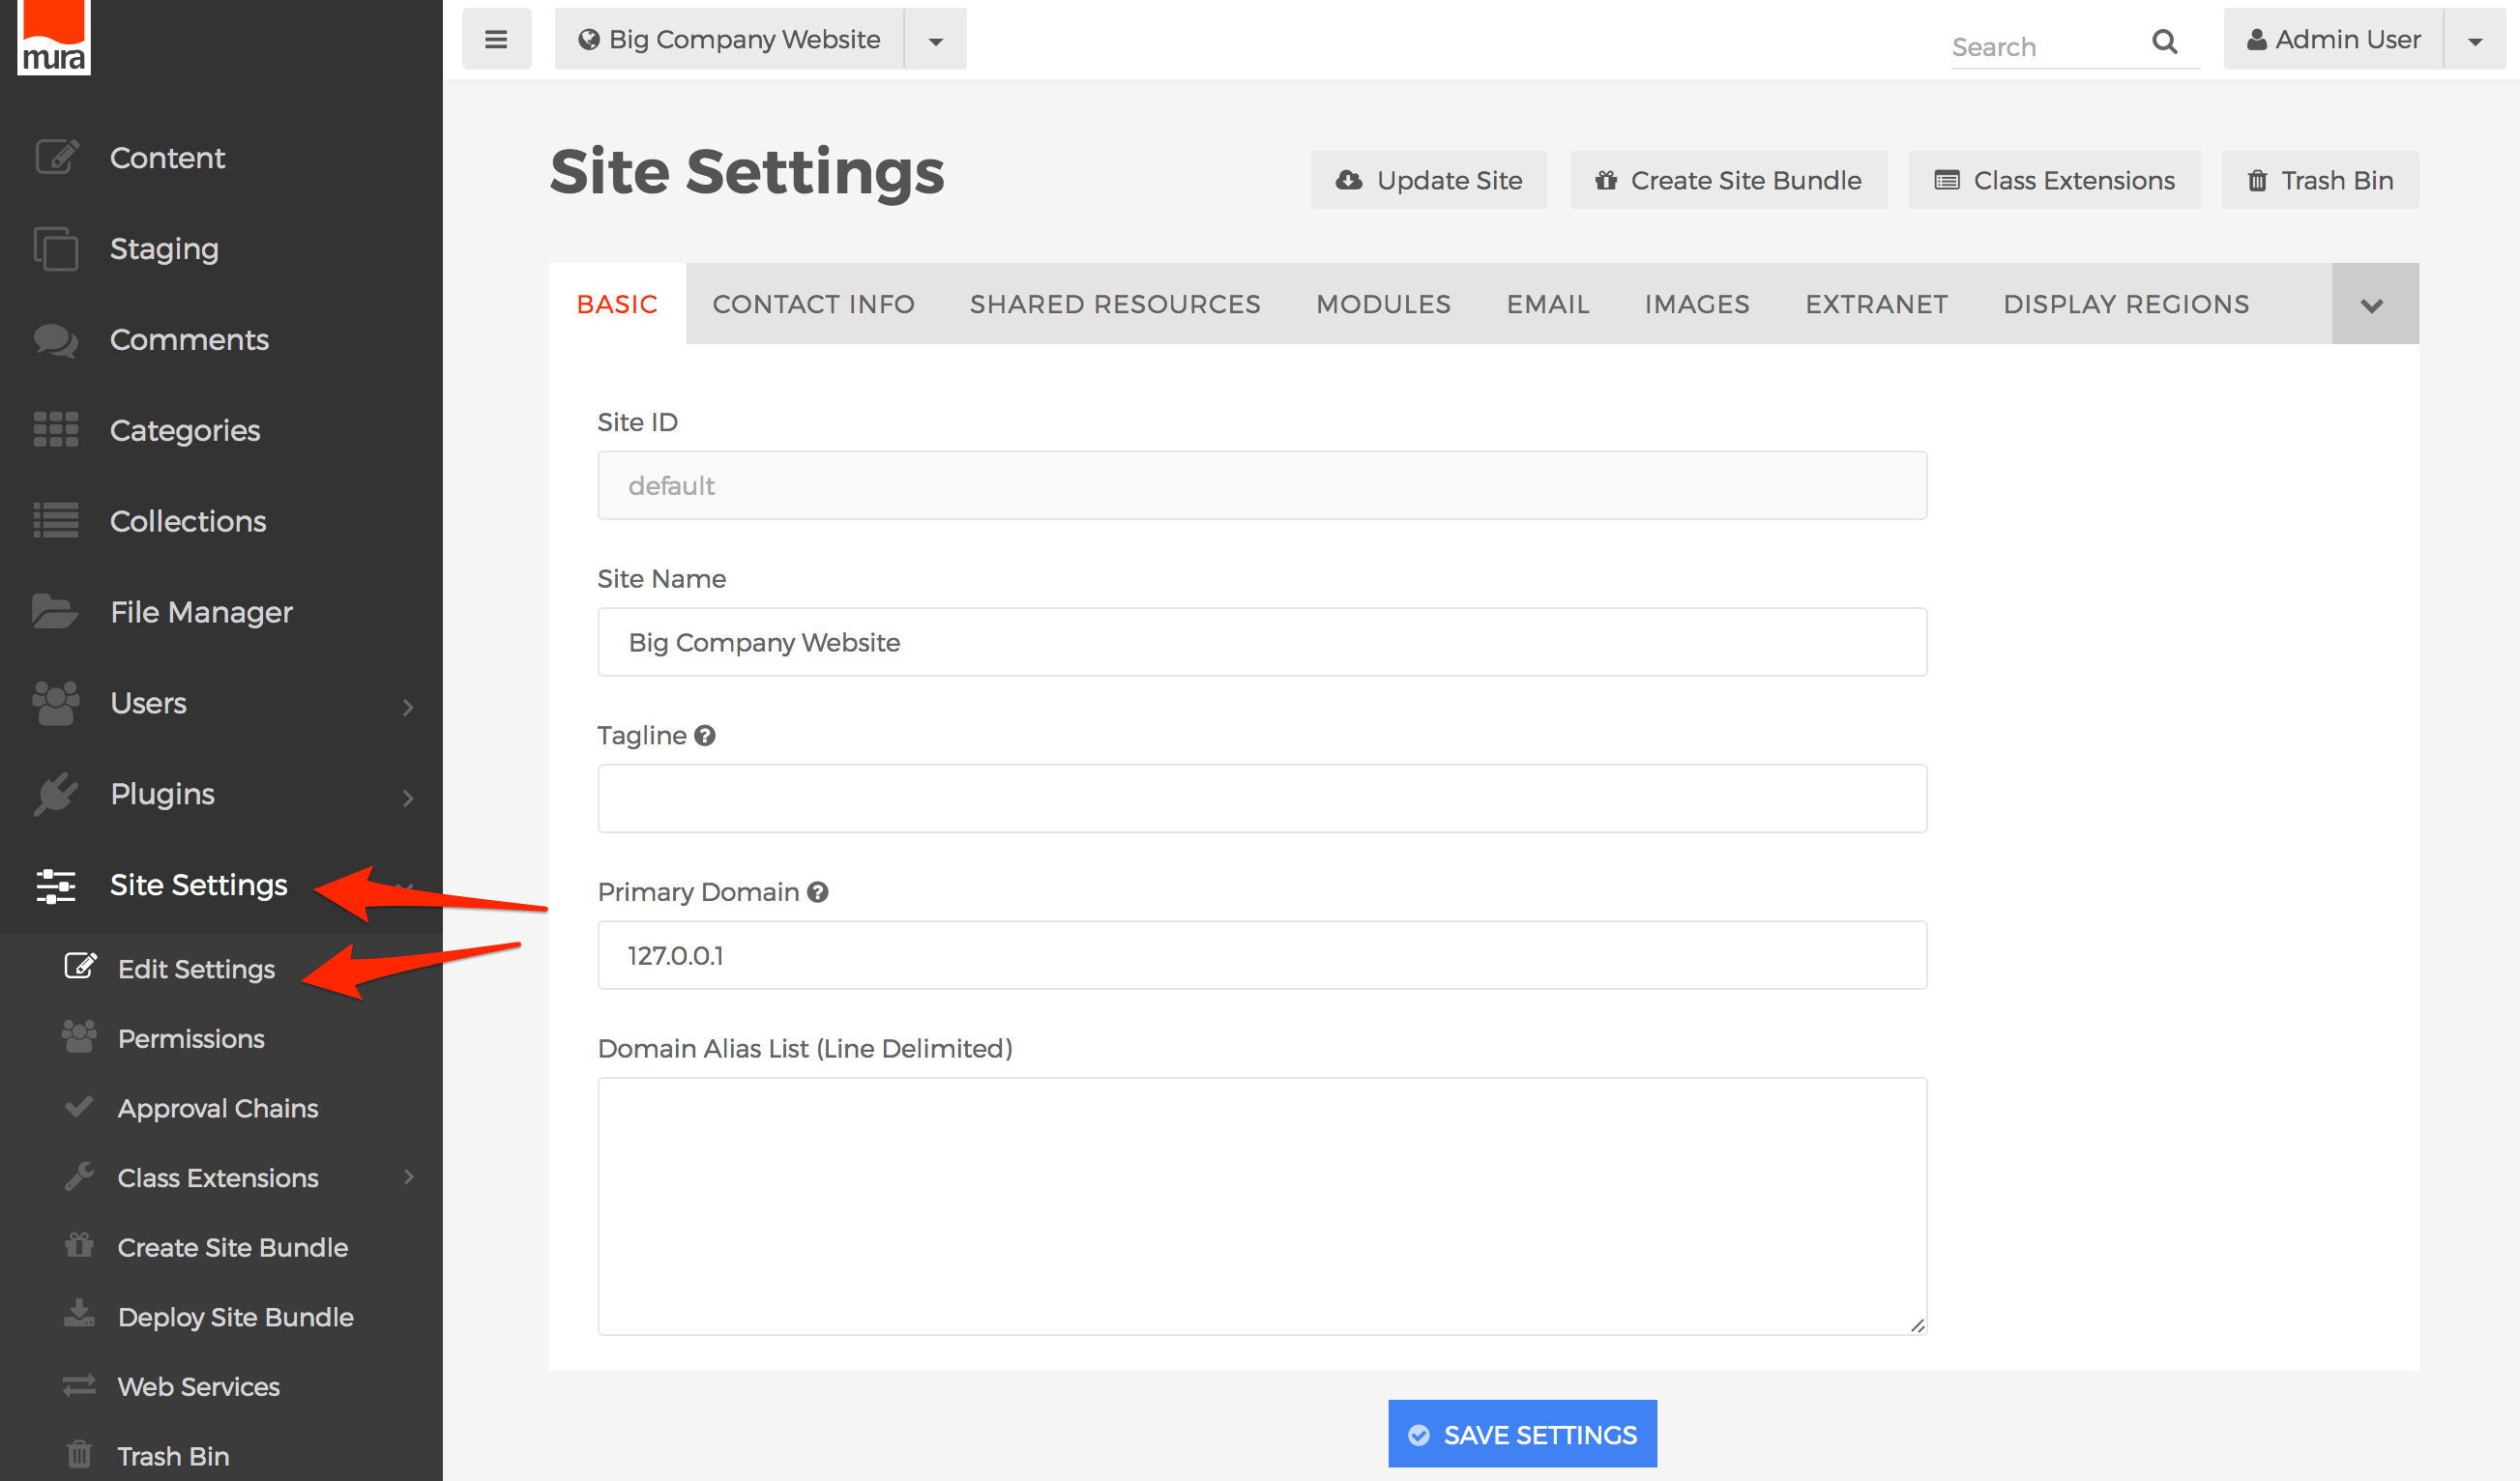
- From the back-end administration area of Mura, select Site Settings, then click Edit Settings.
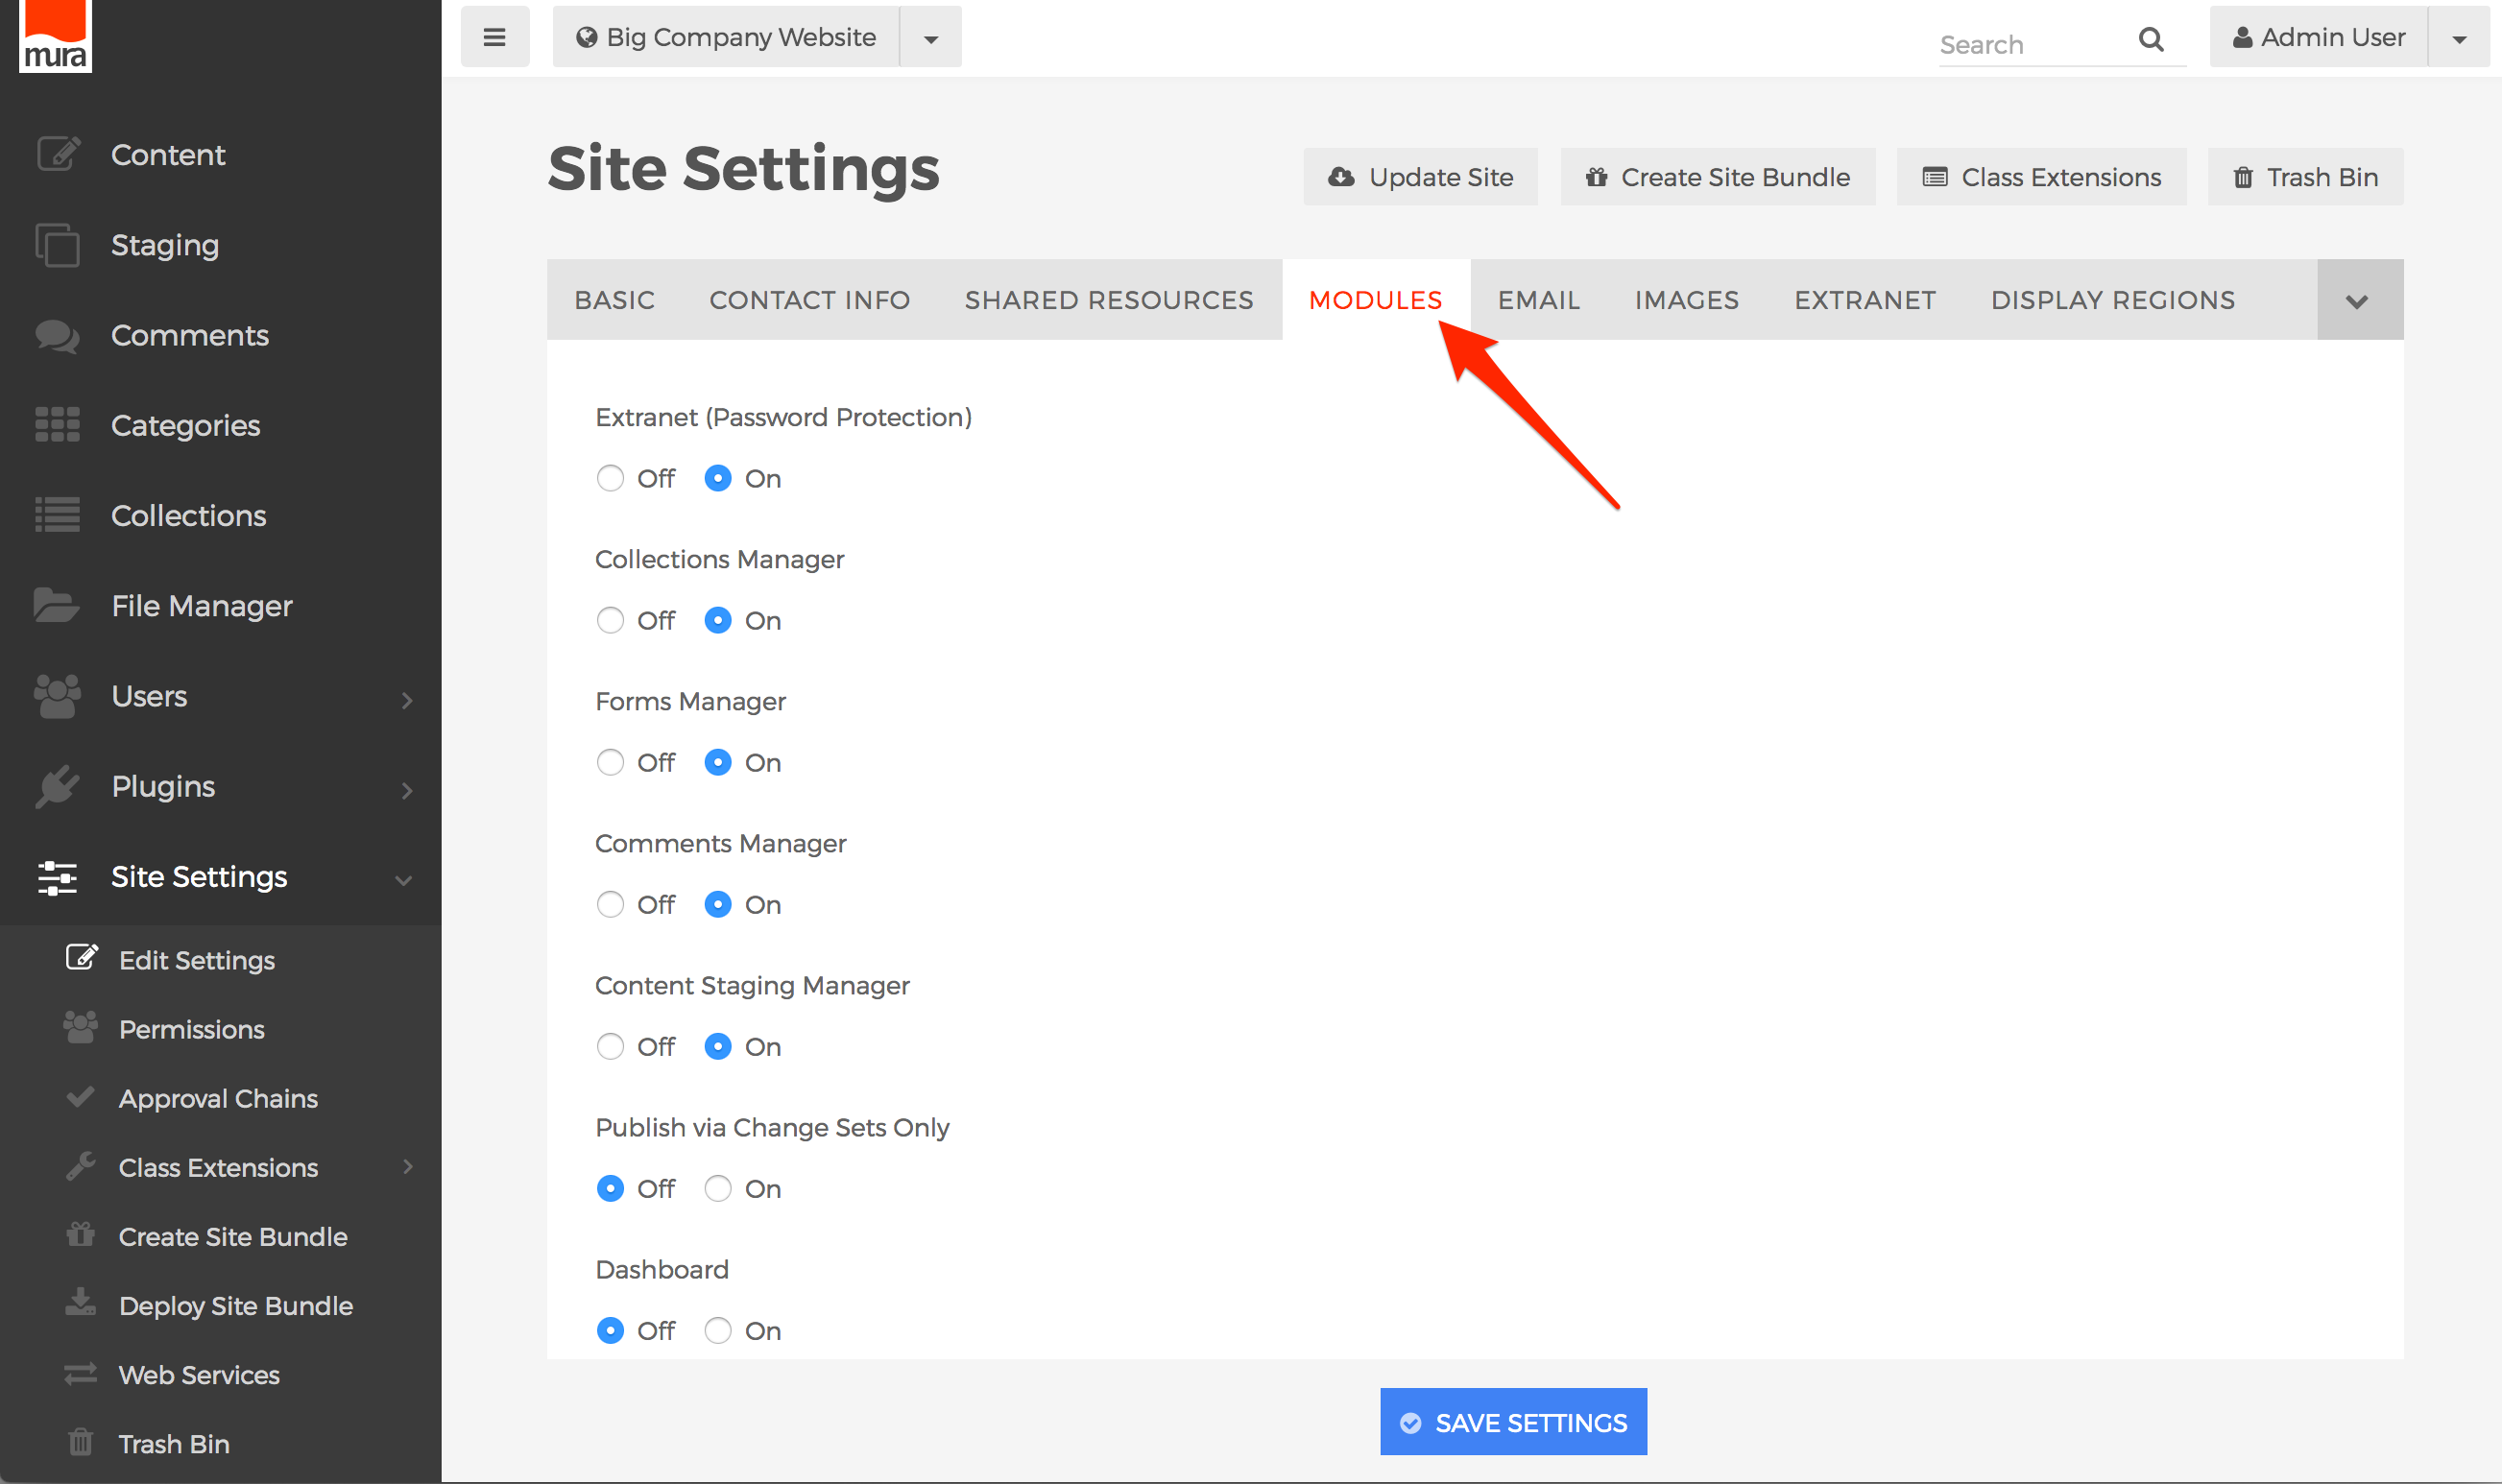
- Select the Modules tab.
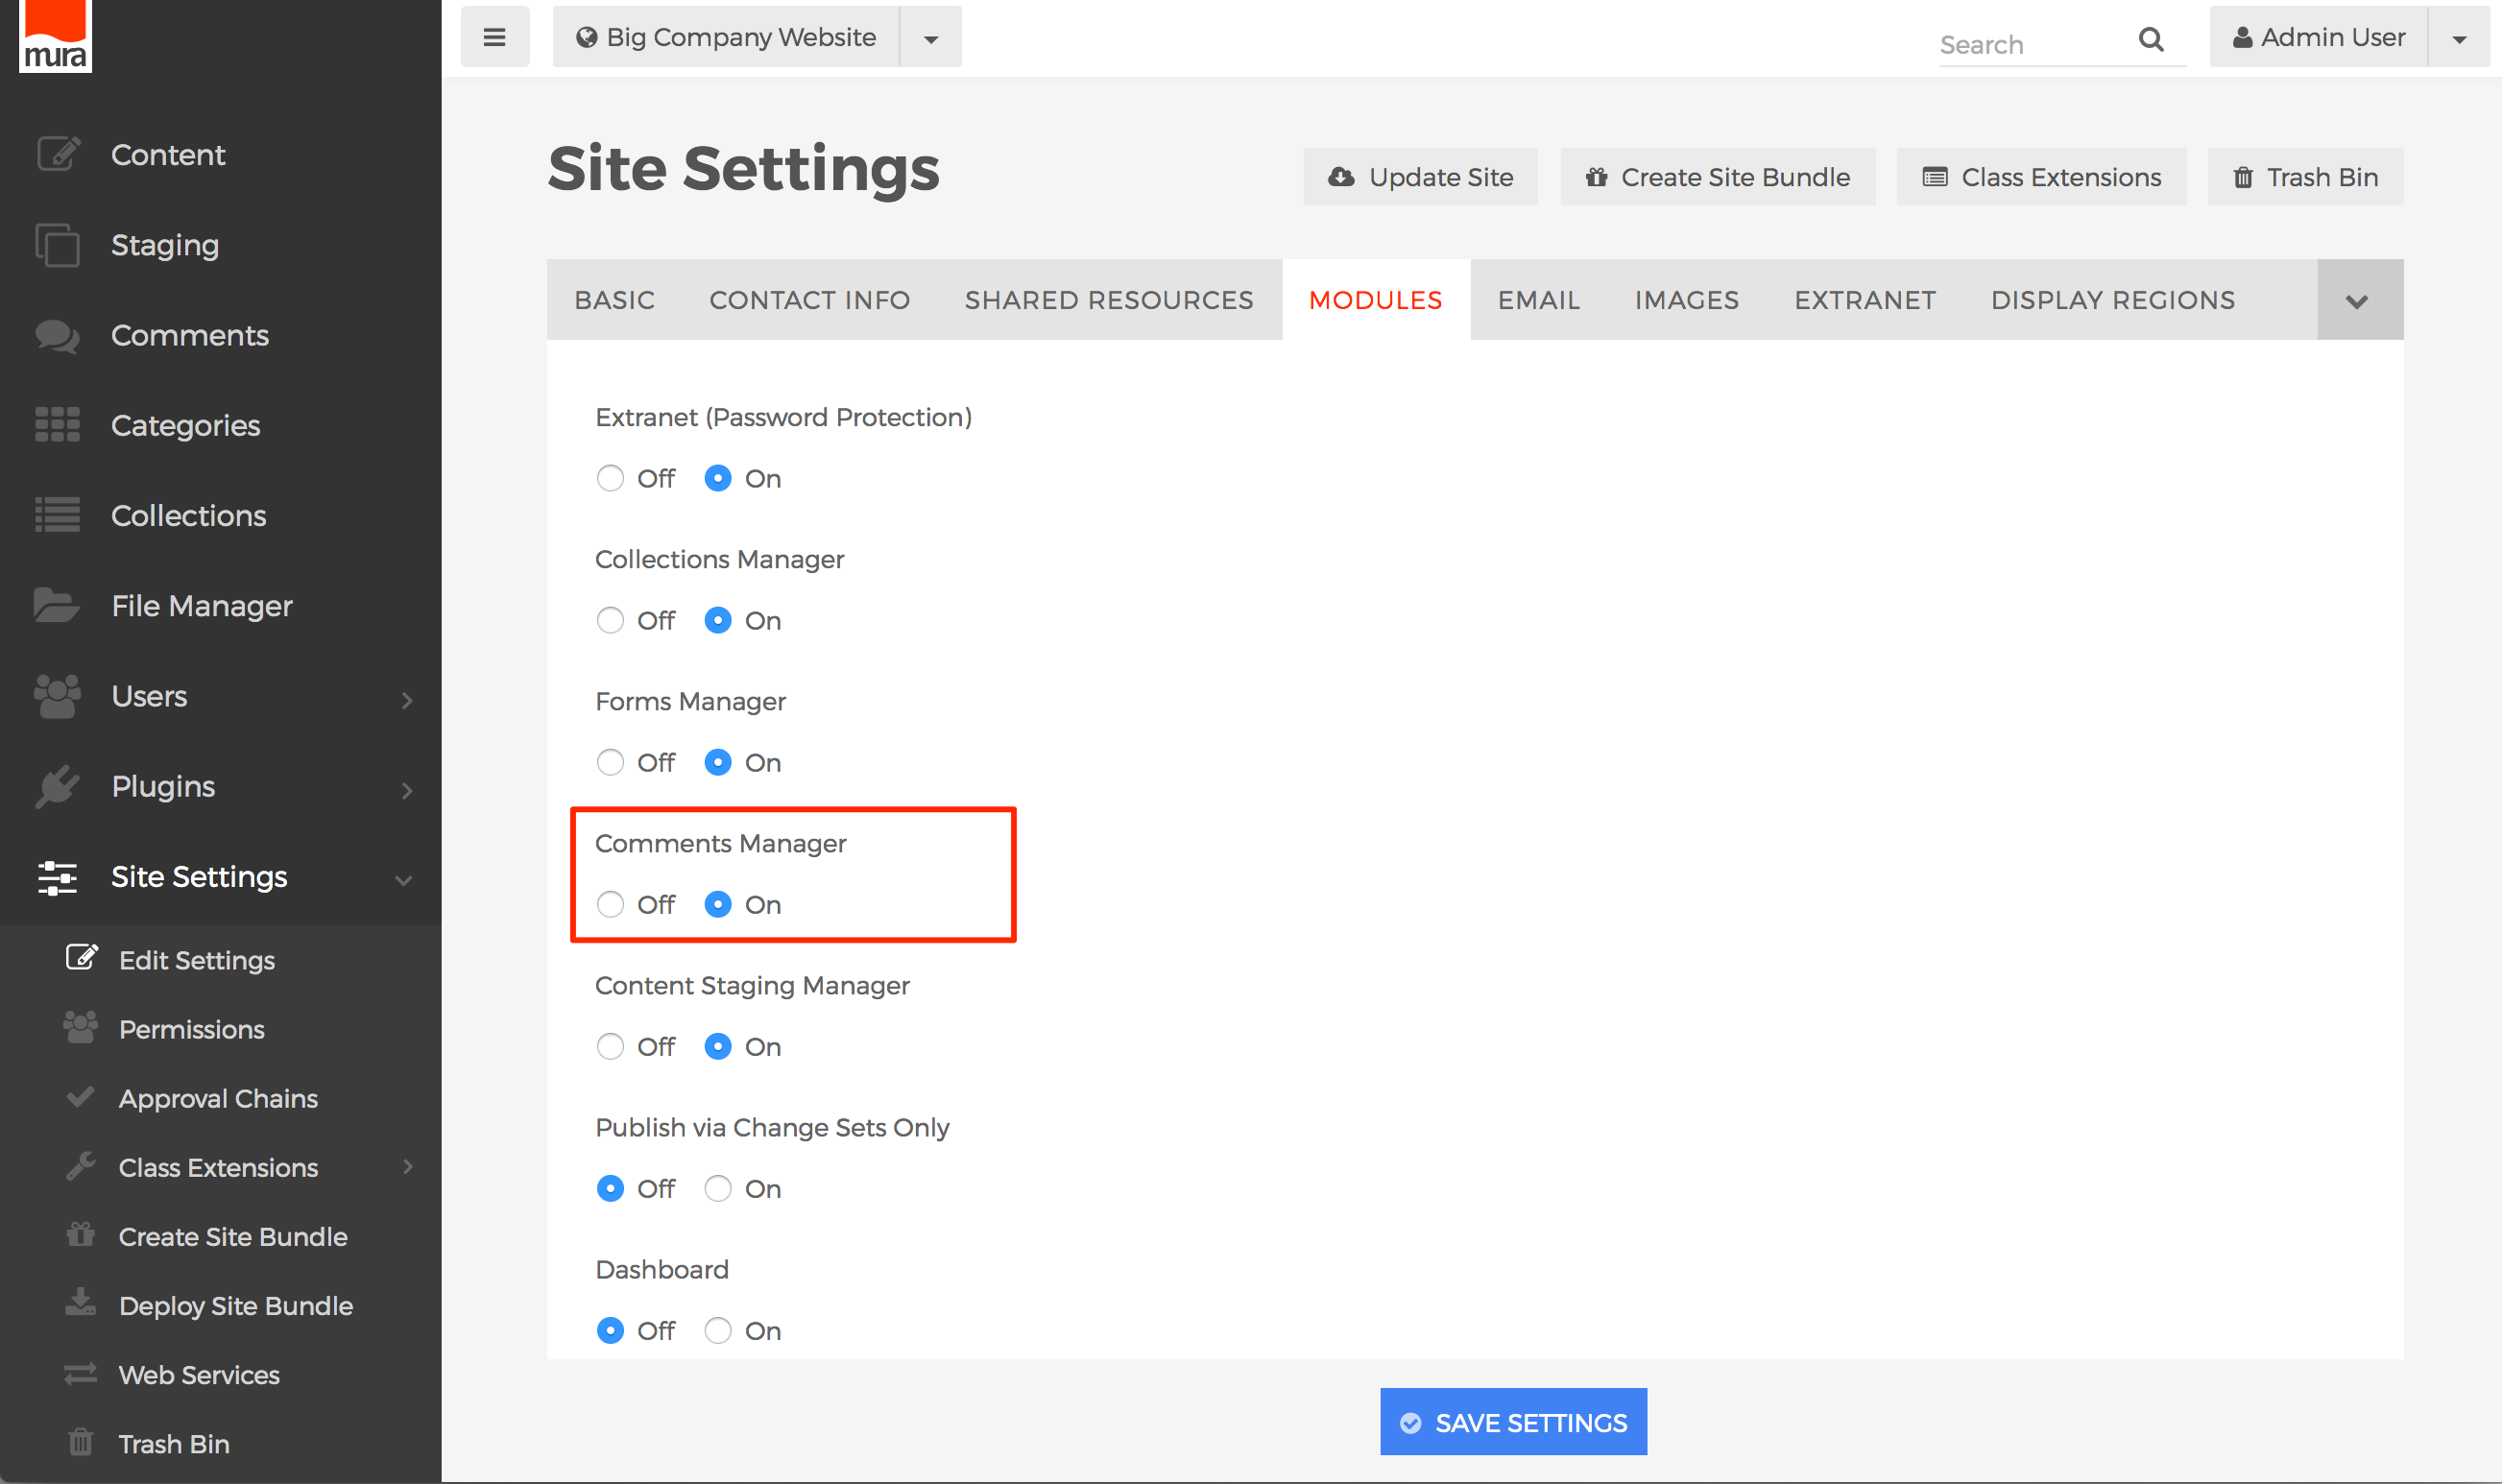
- Locate the field labeled Comments Manager, then select "On" to enable it, or "Off" if you wish to disable it.
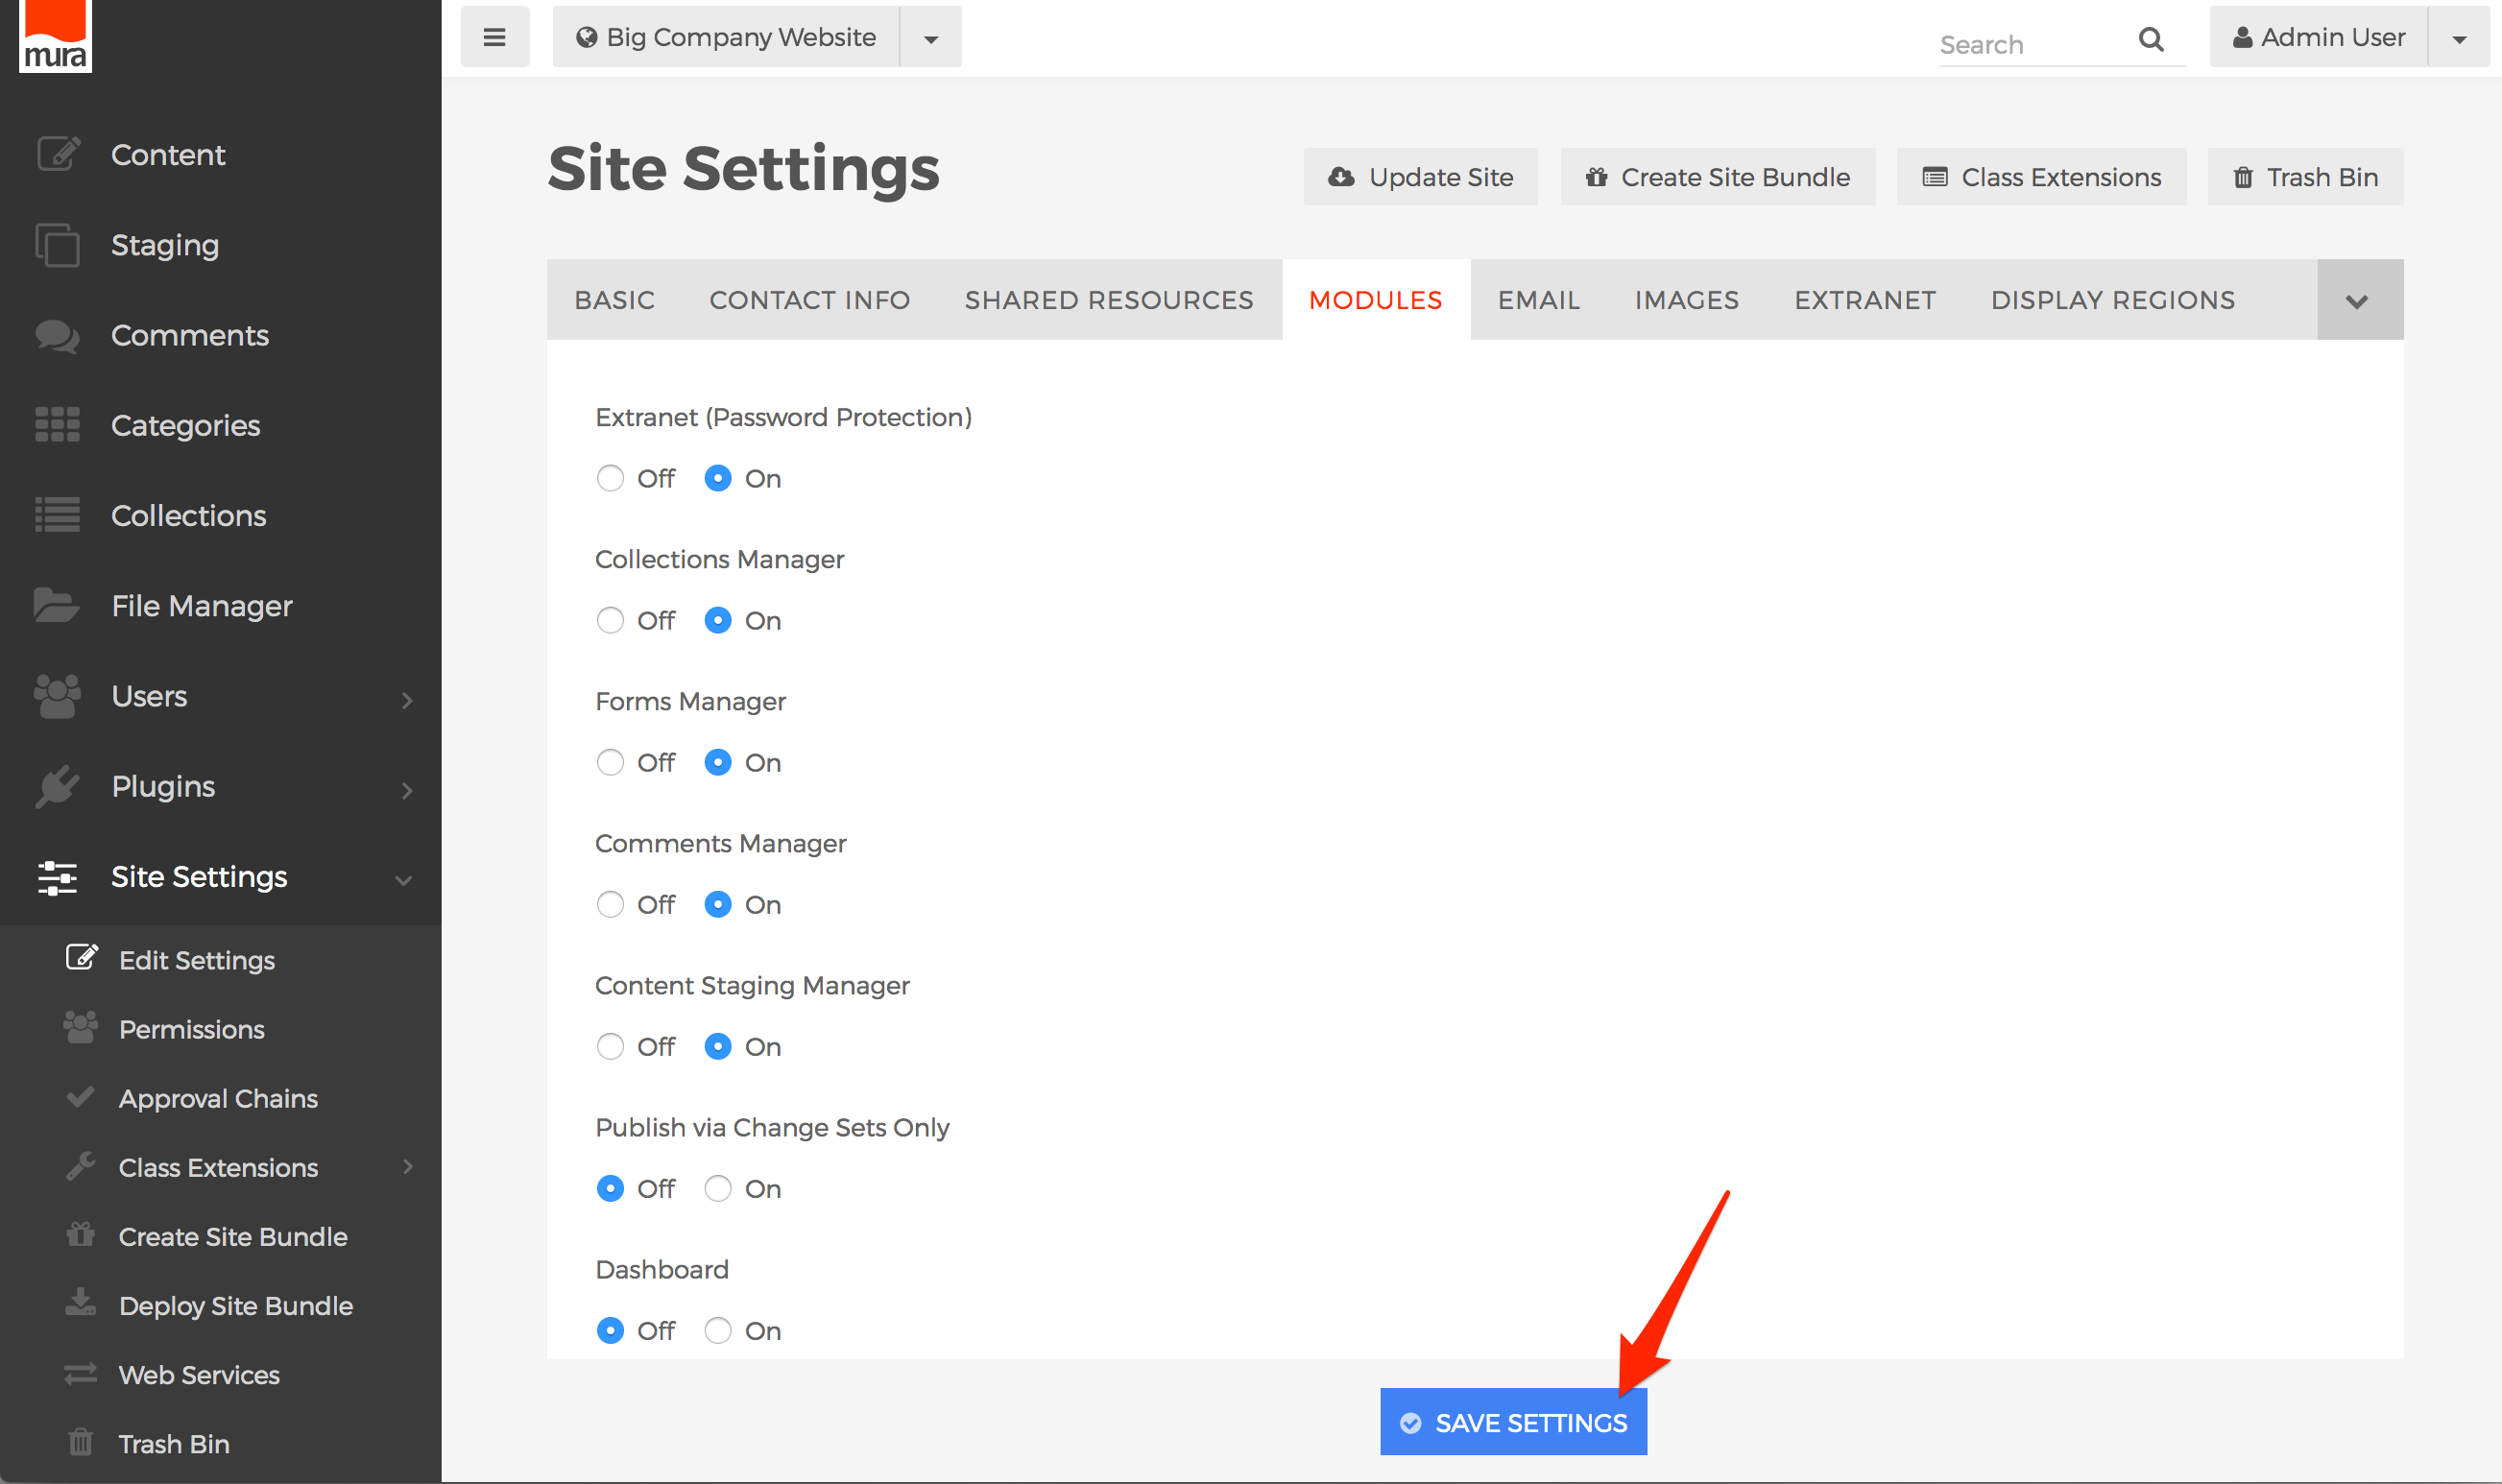
- Click Save Settings.
How to Require Approval of Comments
Some organizations prefer comments are moderated, or reviewed and "approved" before being posted for other visitors to the public-facing side of the site to see. To enforce this kind of process, follow the steps below.
- From the back-end administration area of Mura, select Site Settings, then click Edit Settings.
- Select the Basic tab.
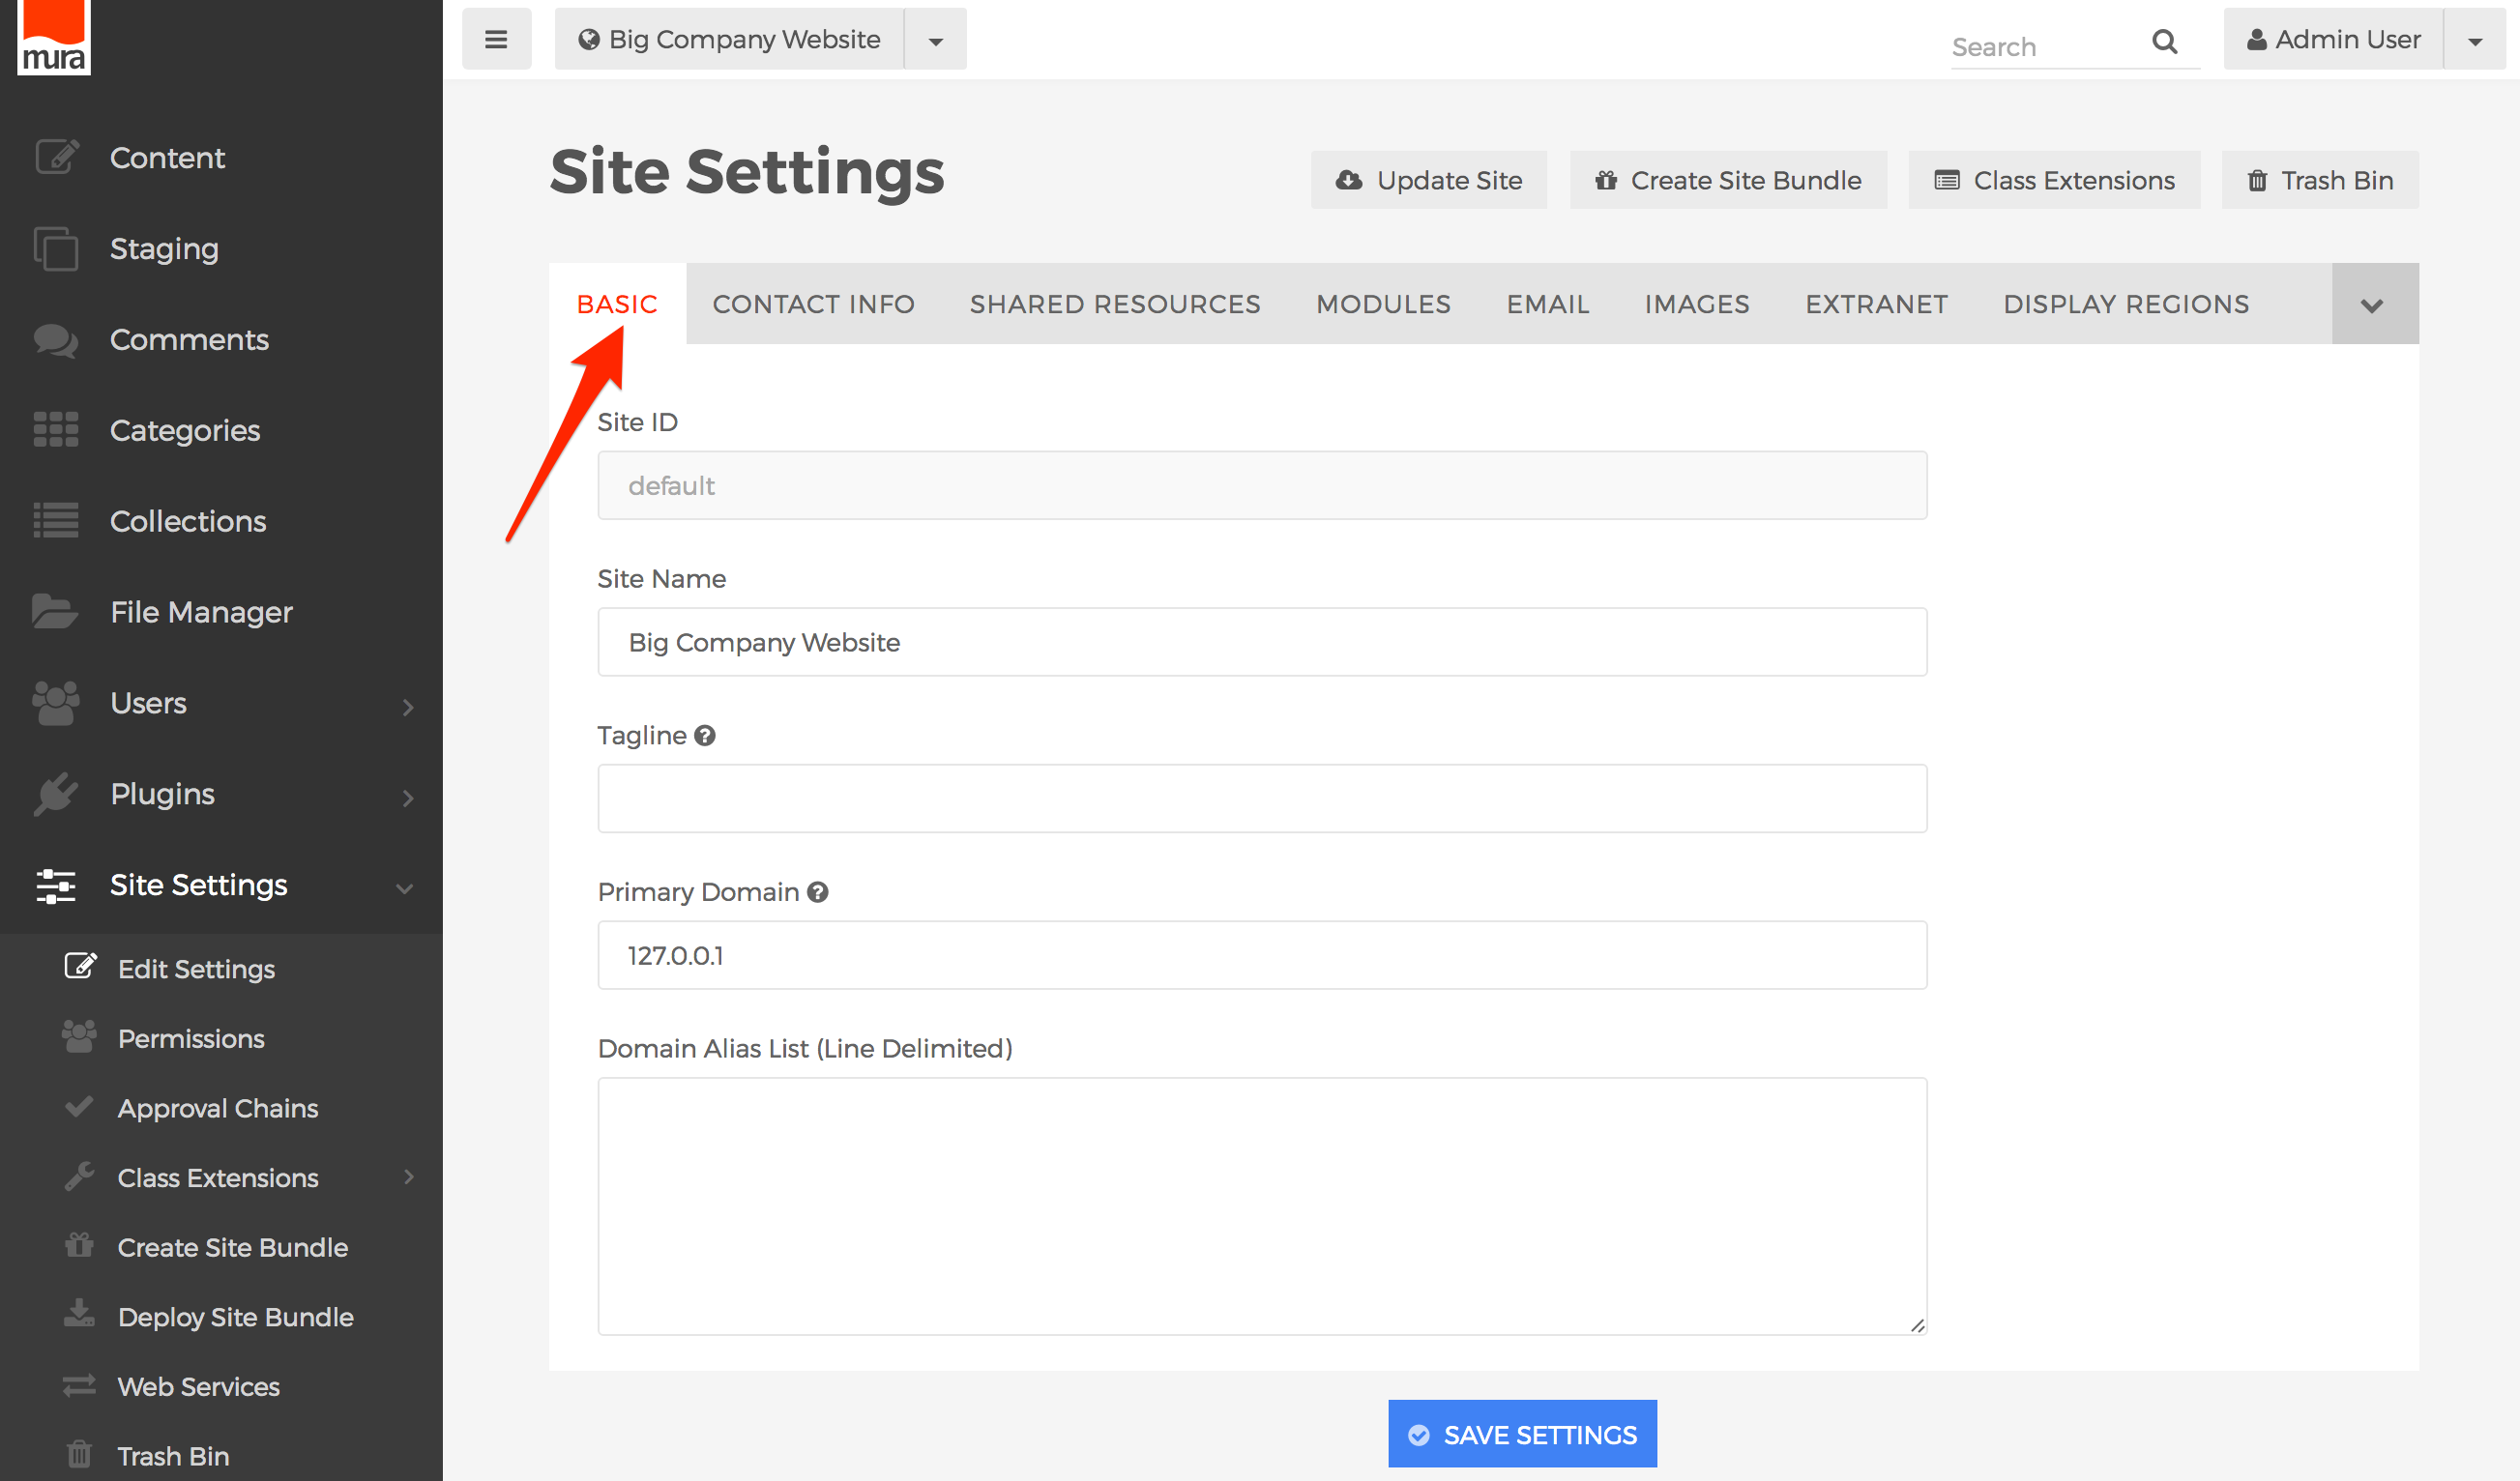
- Locate the field labeled "Allow Comments to be Posted Without Site Admin Approval."
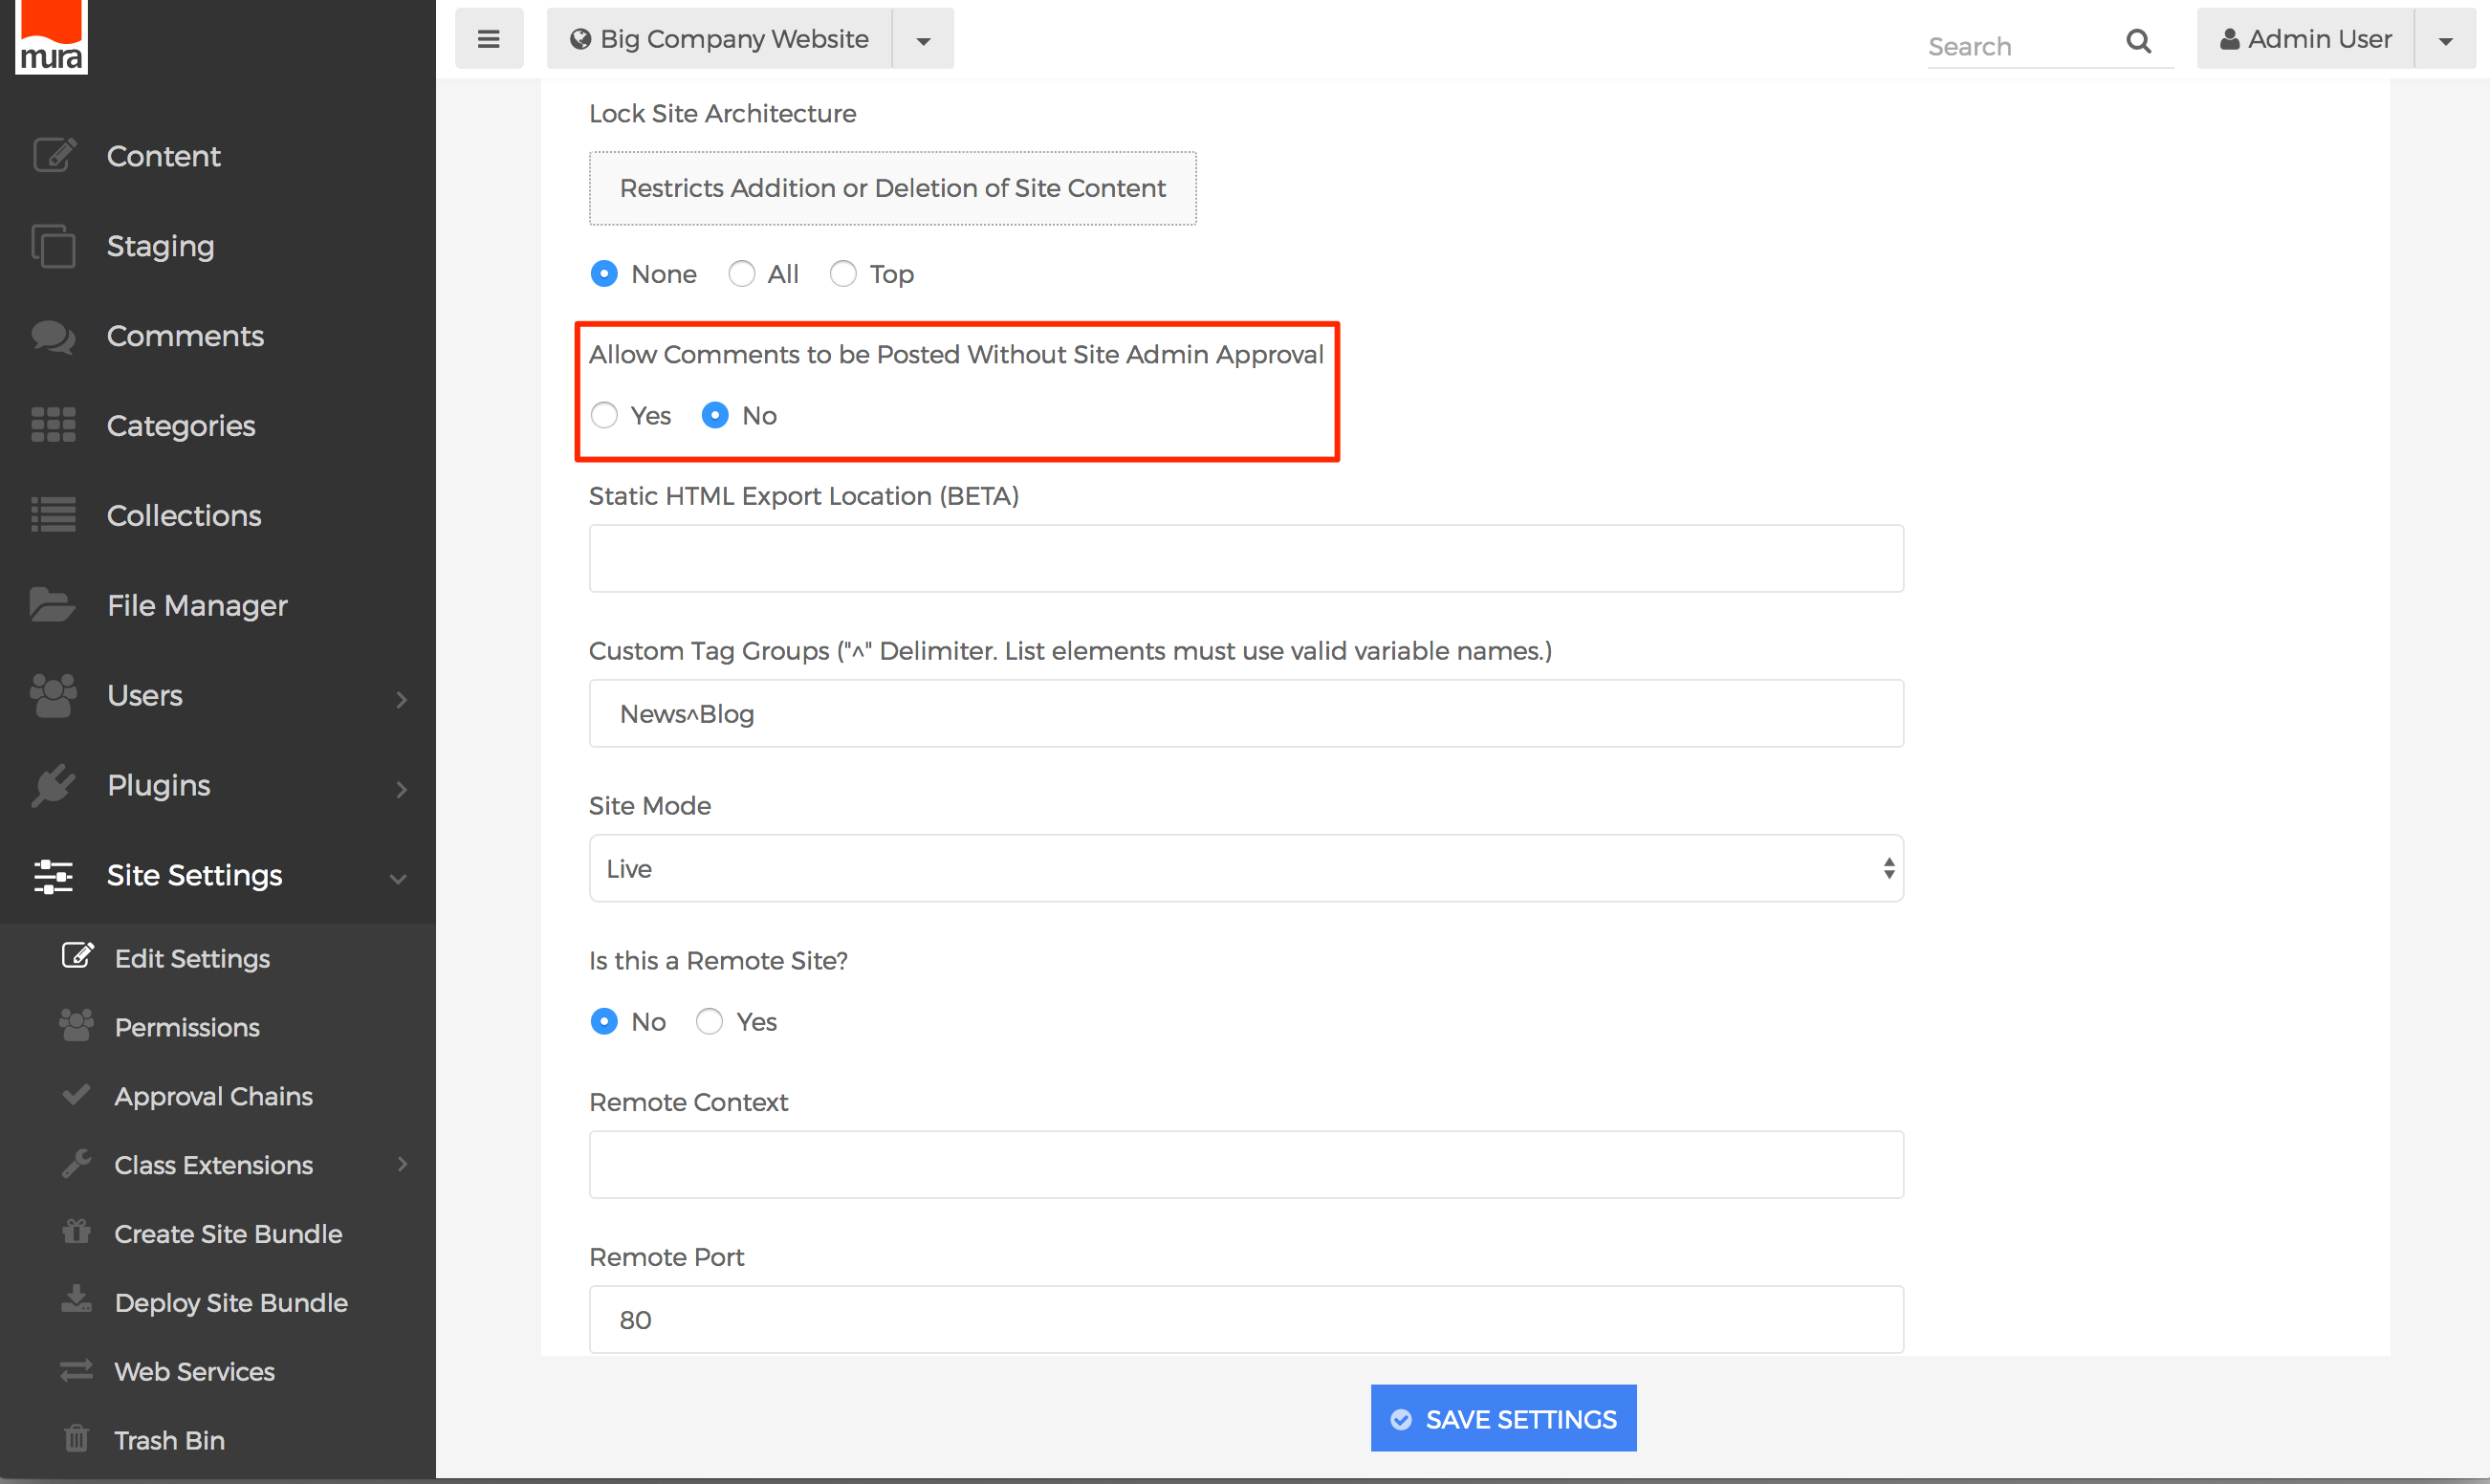
- Select "No" to require approval of all comments, or "Yes" if you don't wish to approve all comments before they are posted.
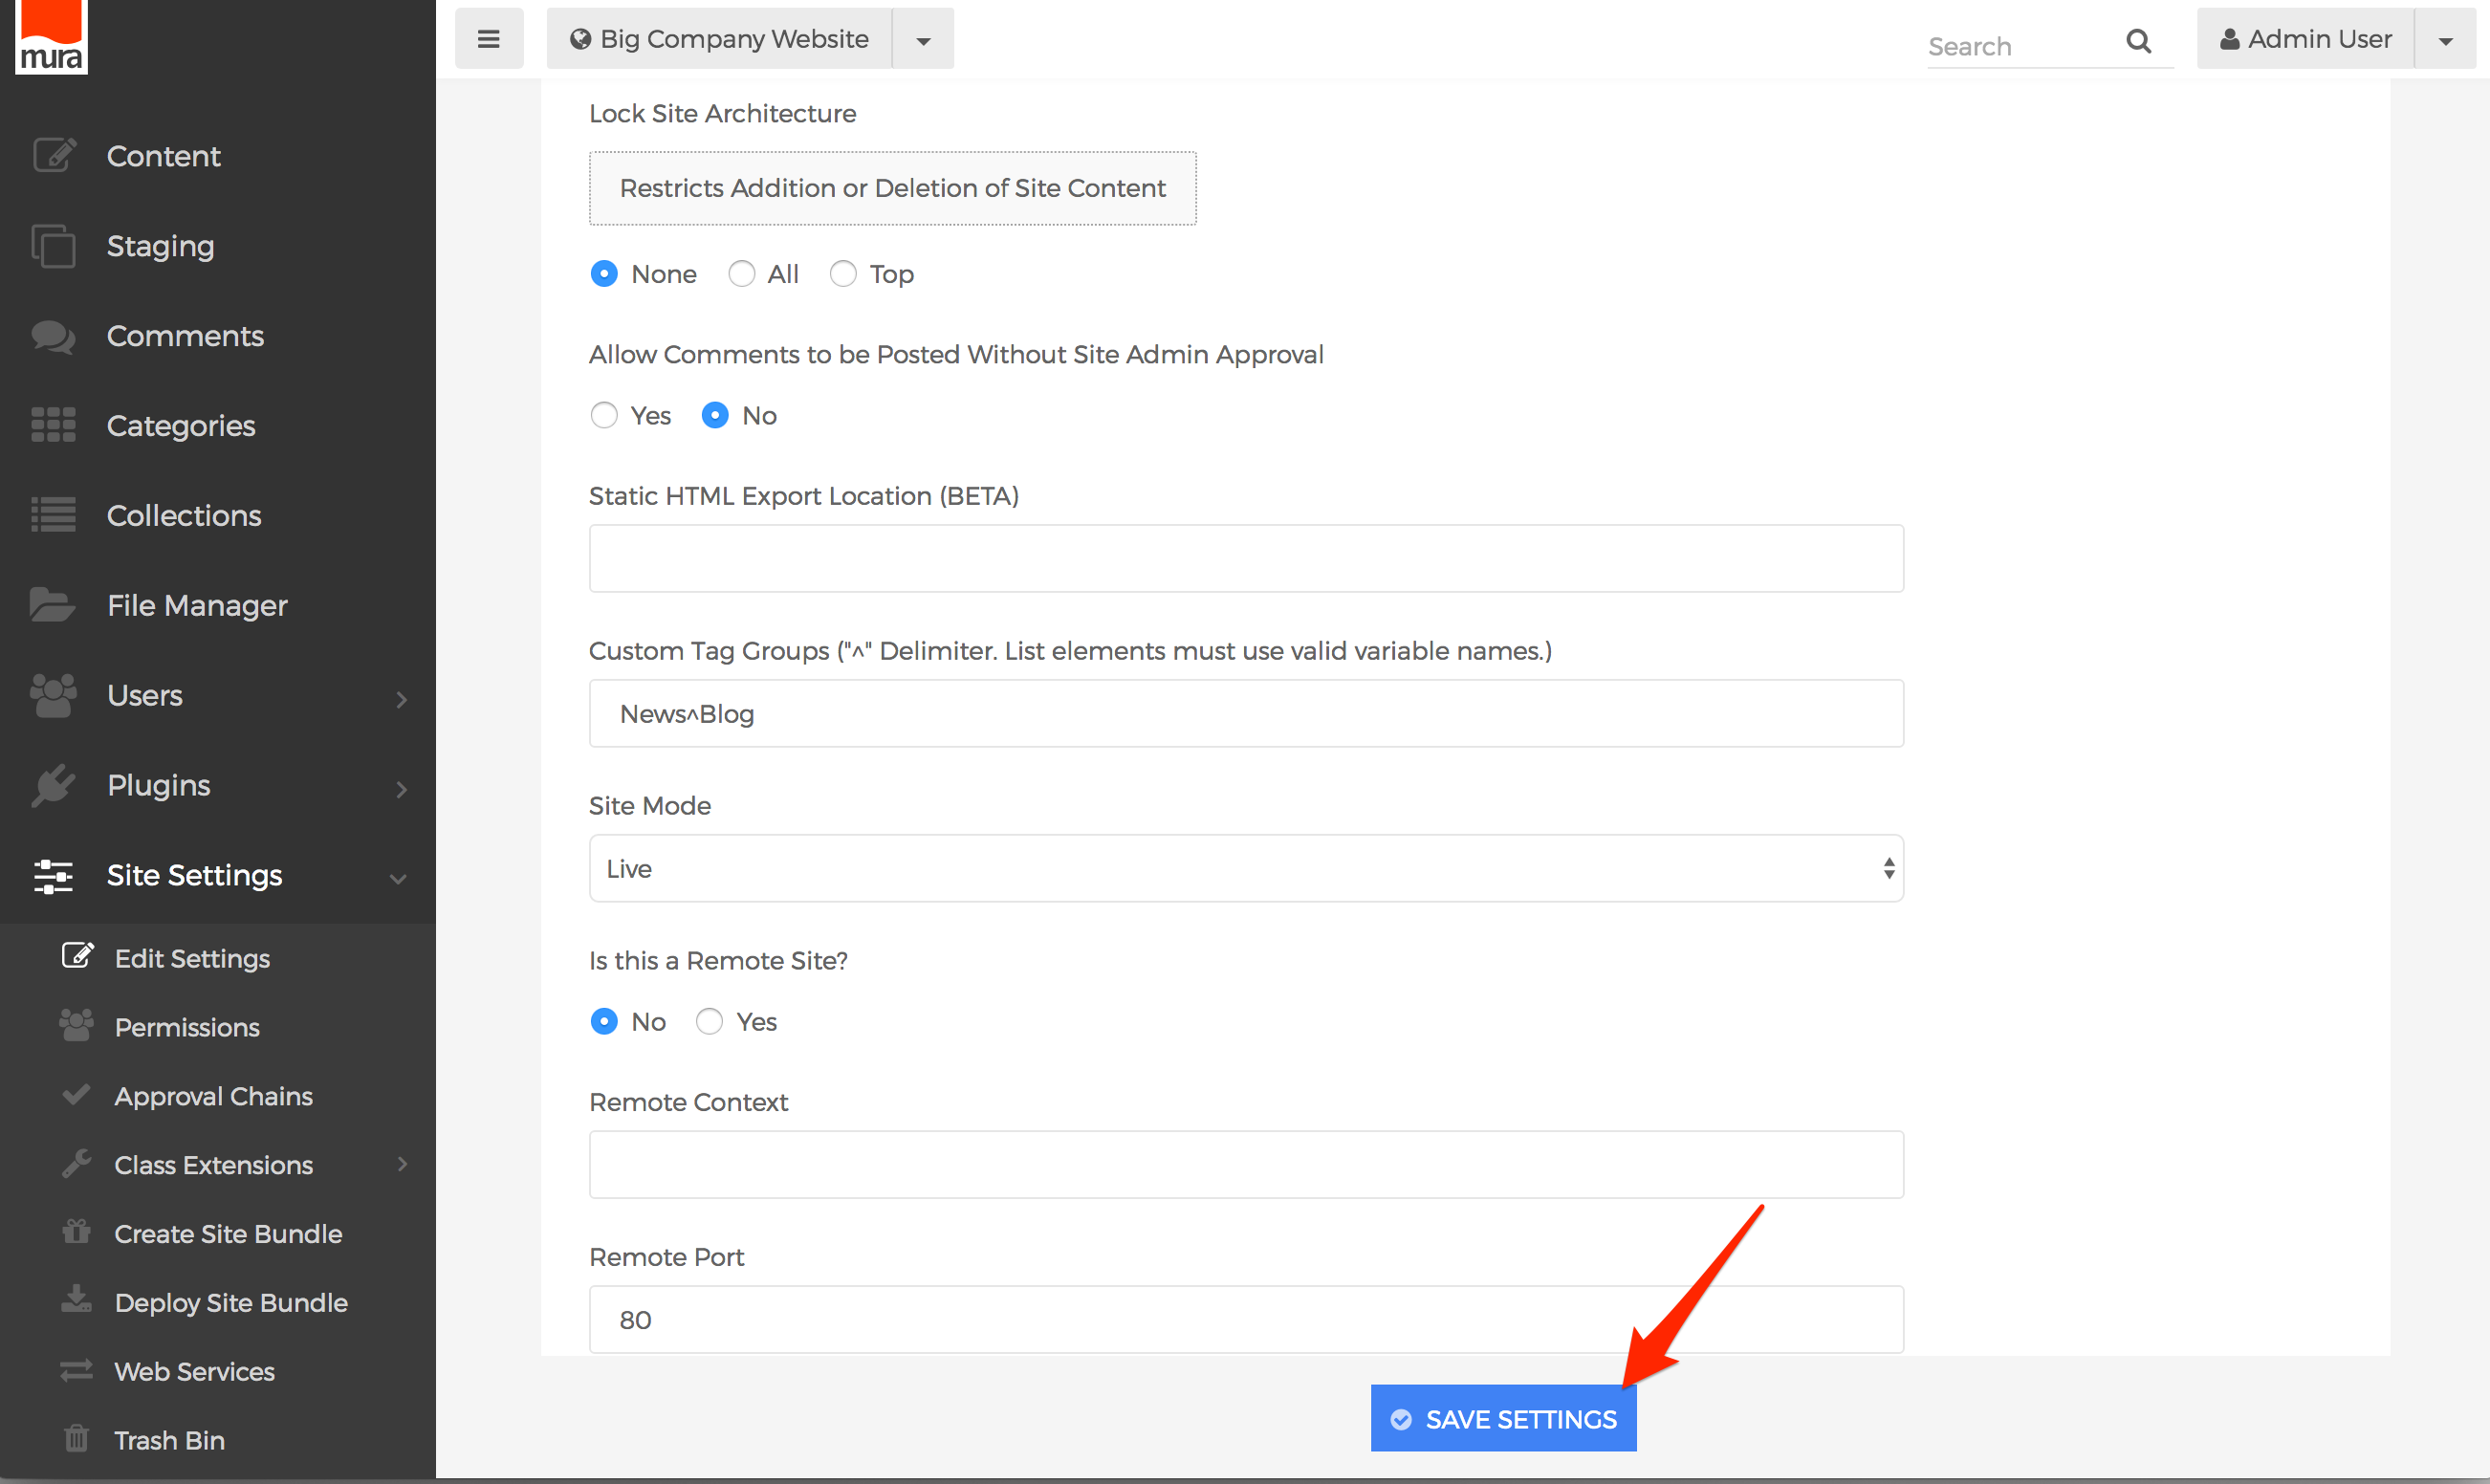
- Click Save Settings.
How to Apply Permissions to Comments Manager
To allow groups the ability to manage Comments, follow the steps outlined below.
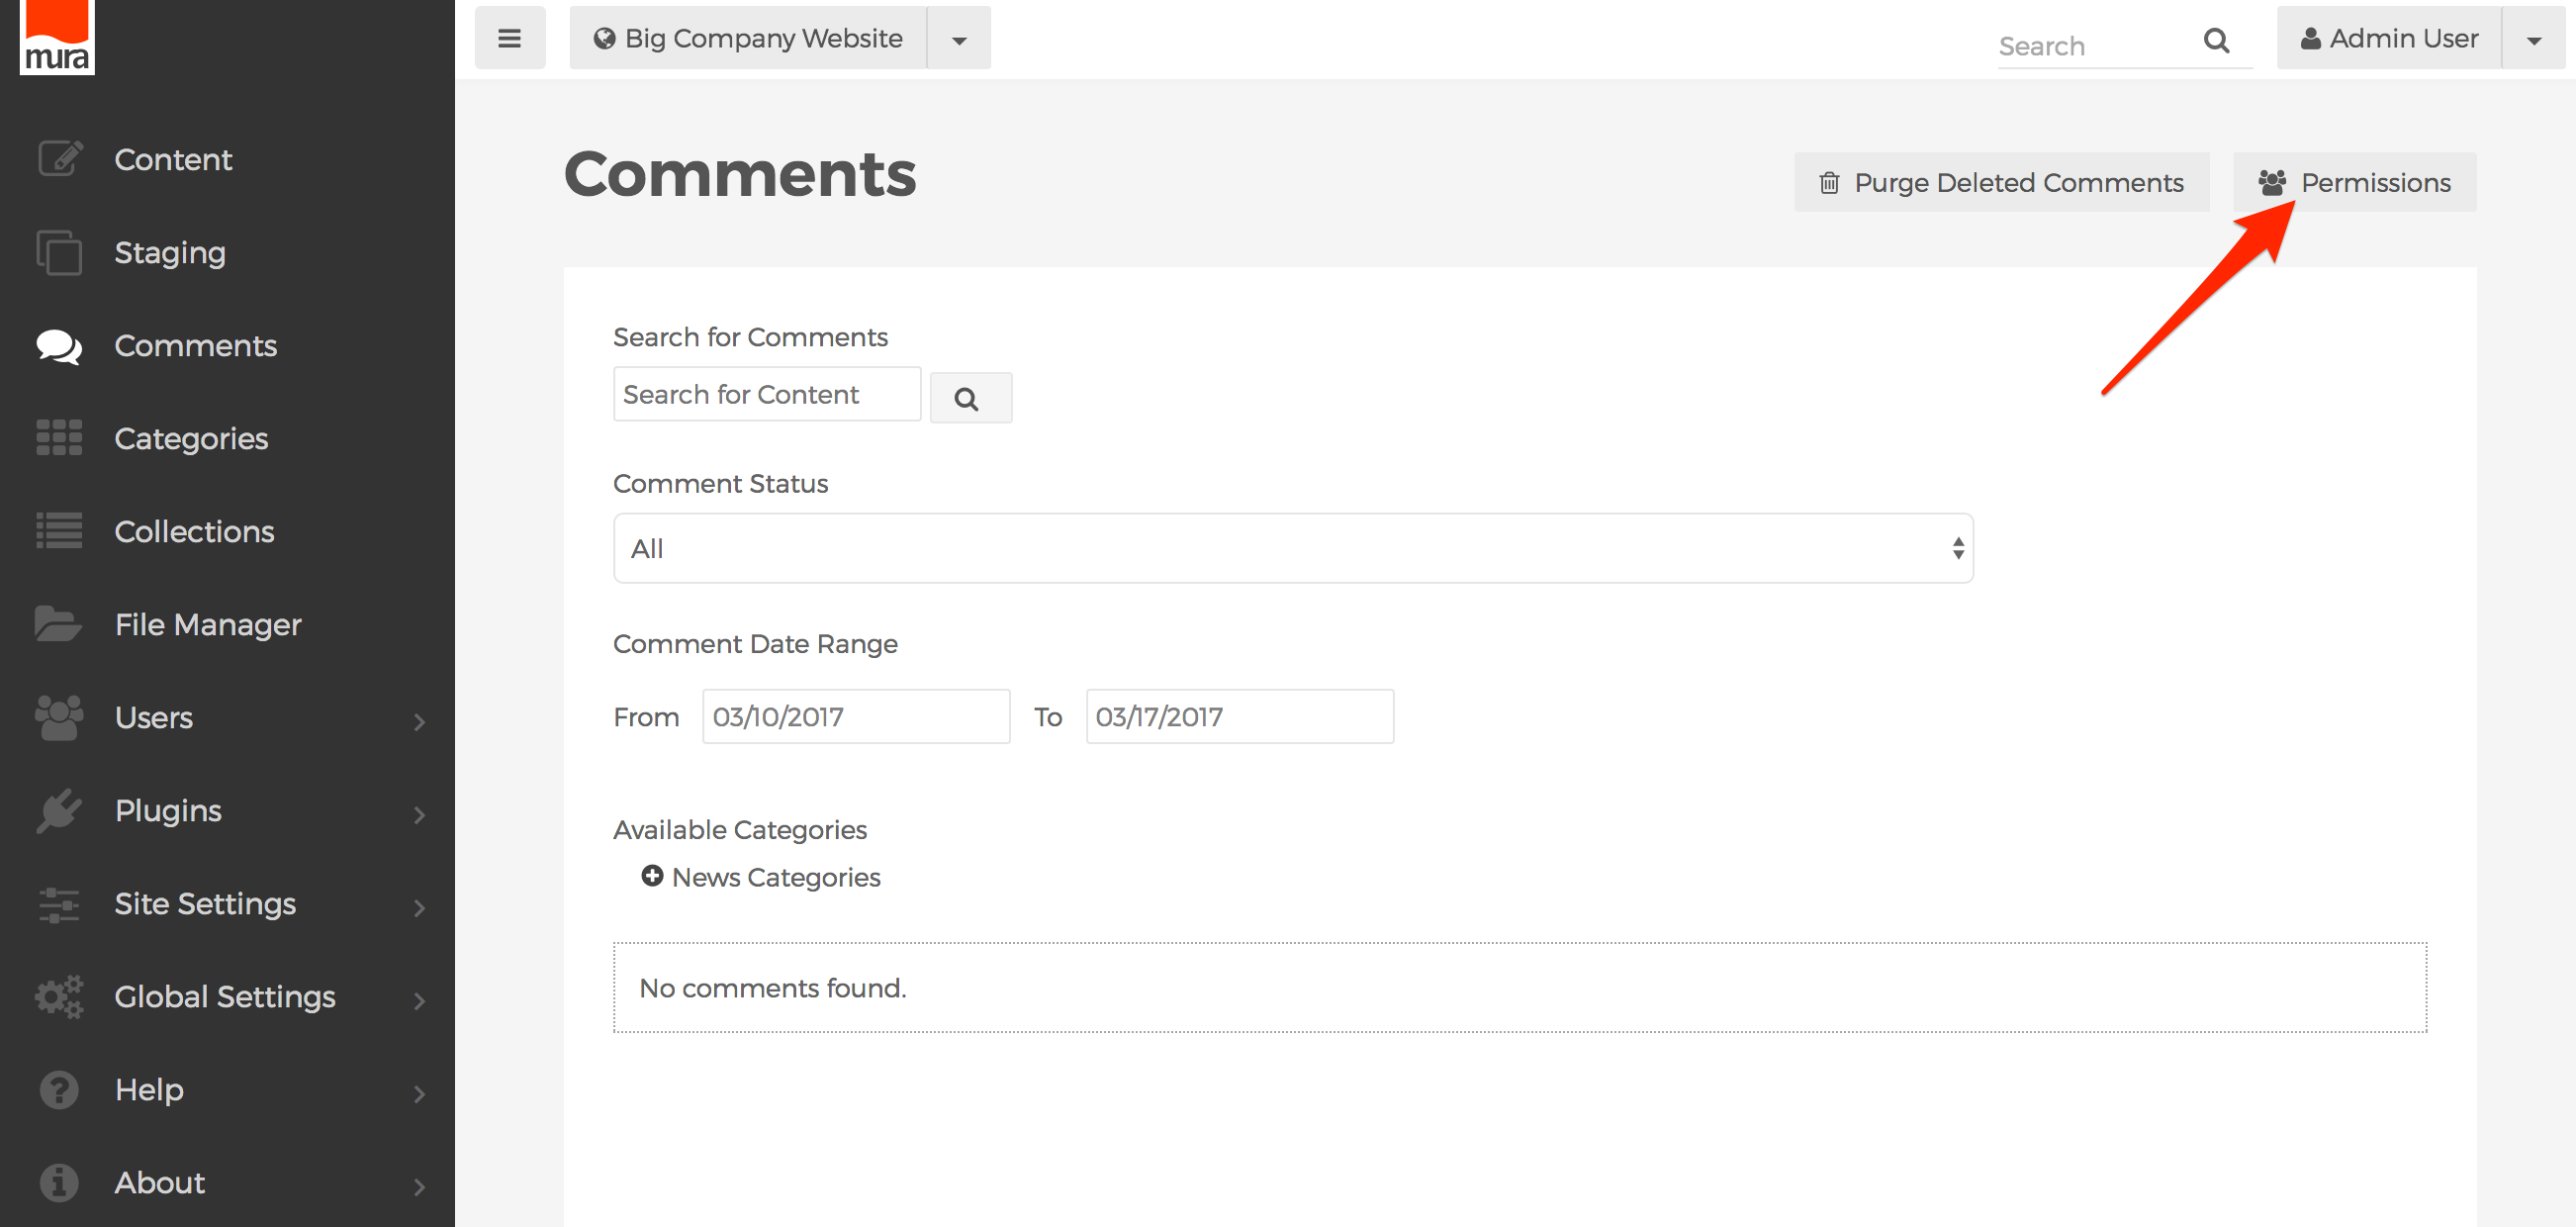
- From the back-end administration area of Mura, select Comments on the main navigation.
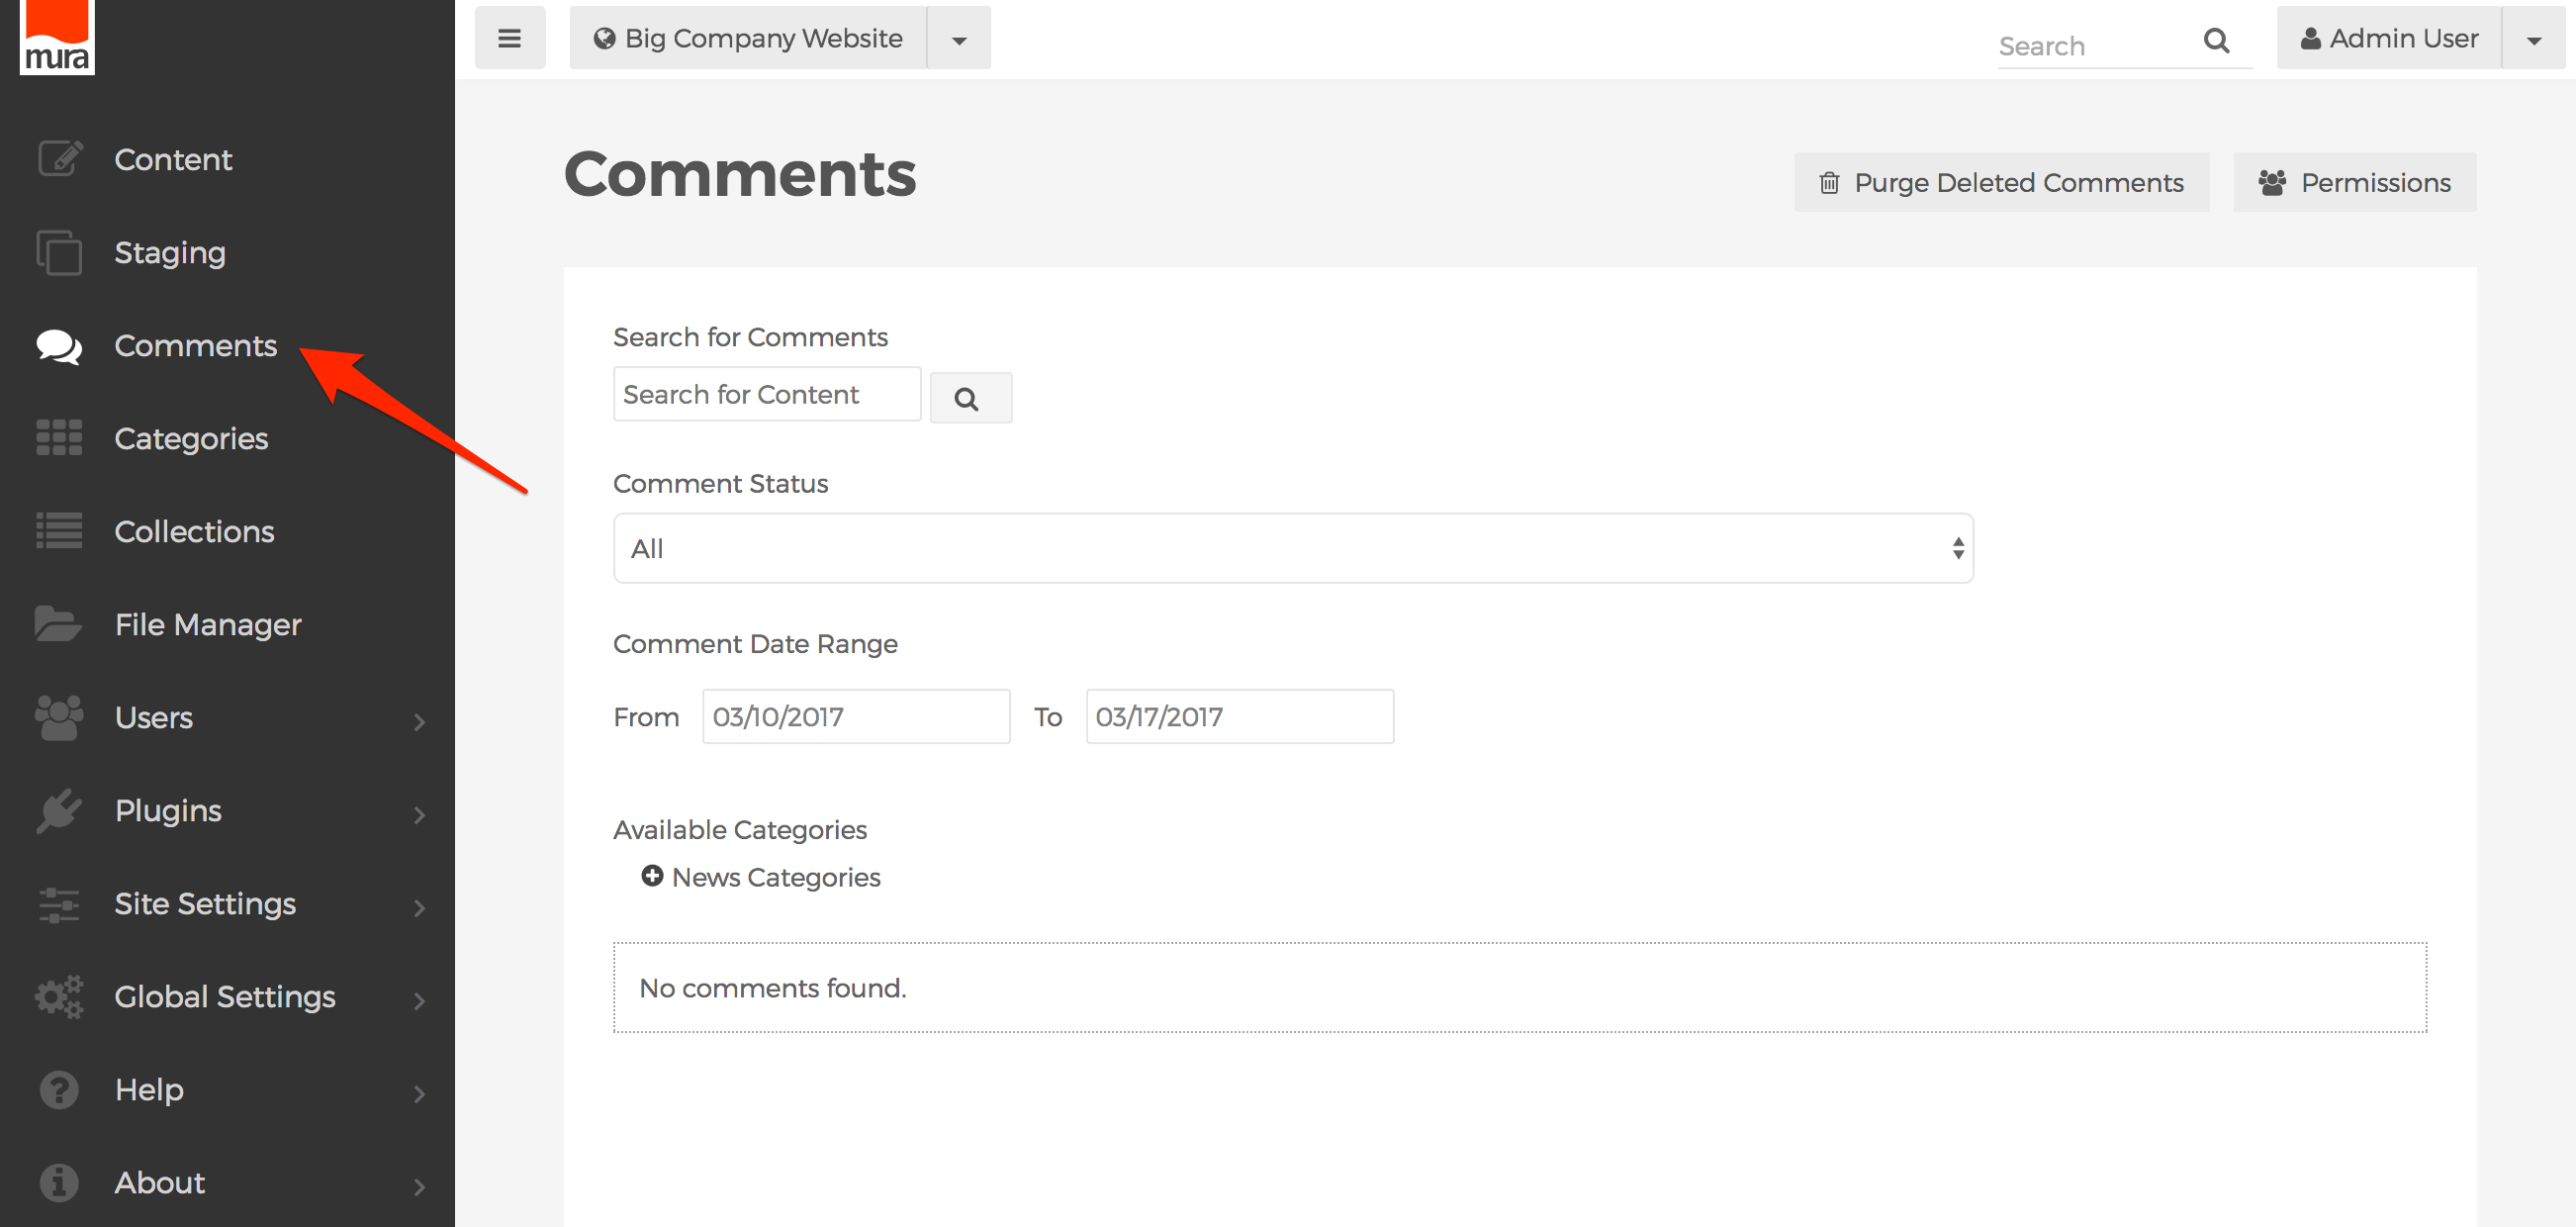
- From the Comments screen, click the Permissions button.
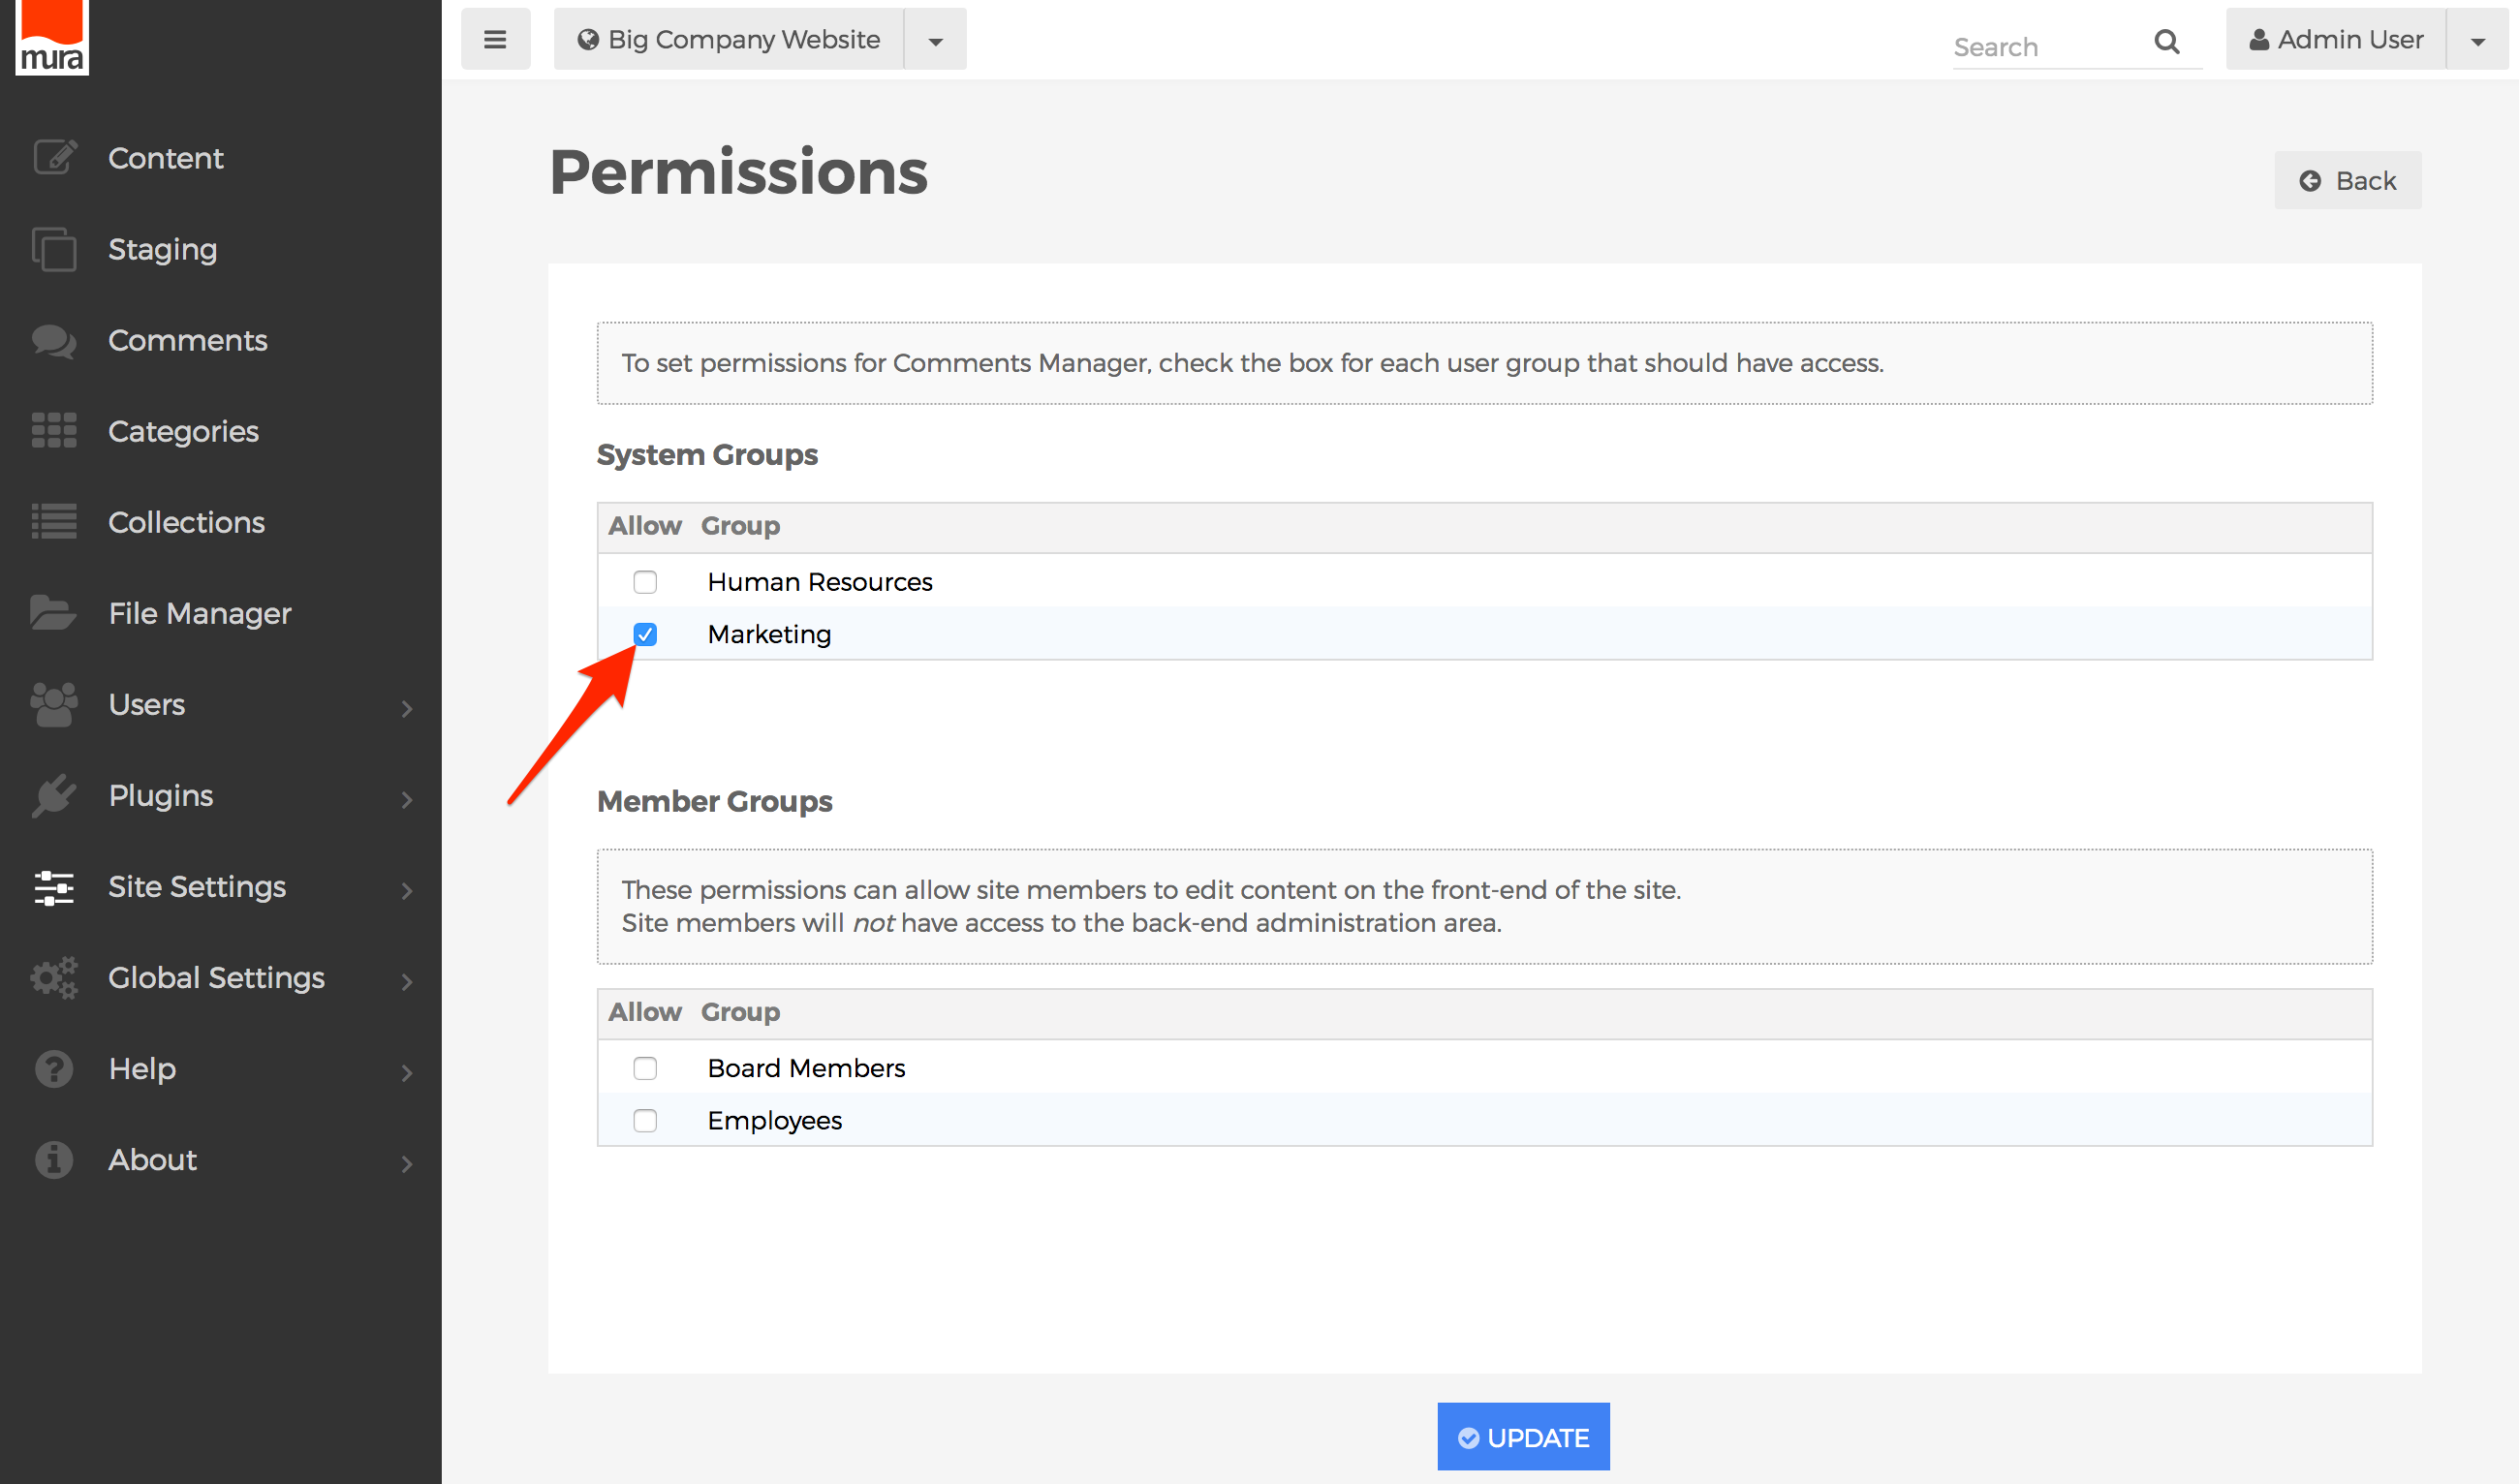
- Select the checkbox under "Allow" for each group you wish to enable access for.
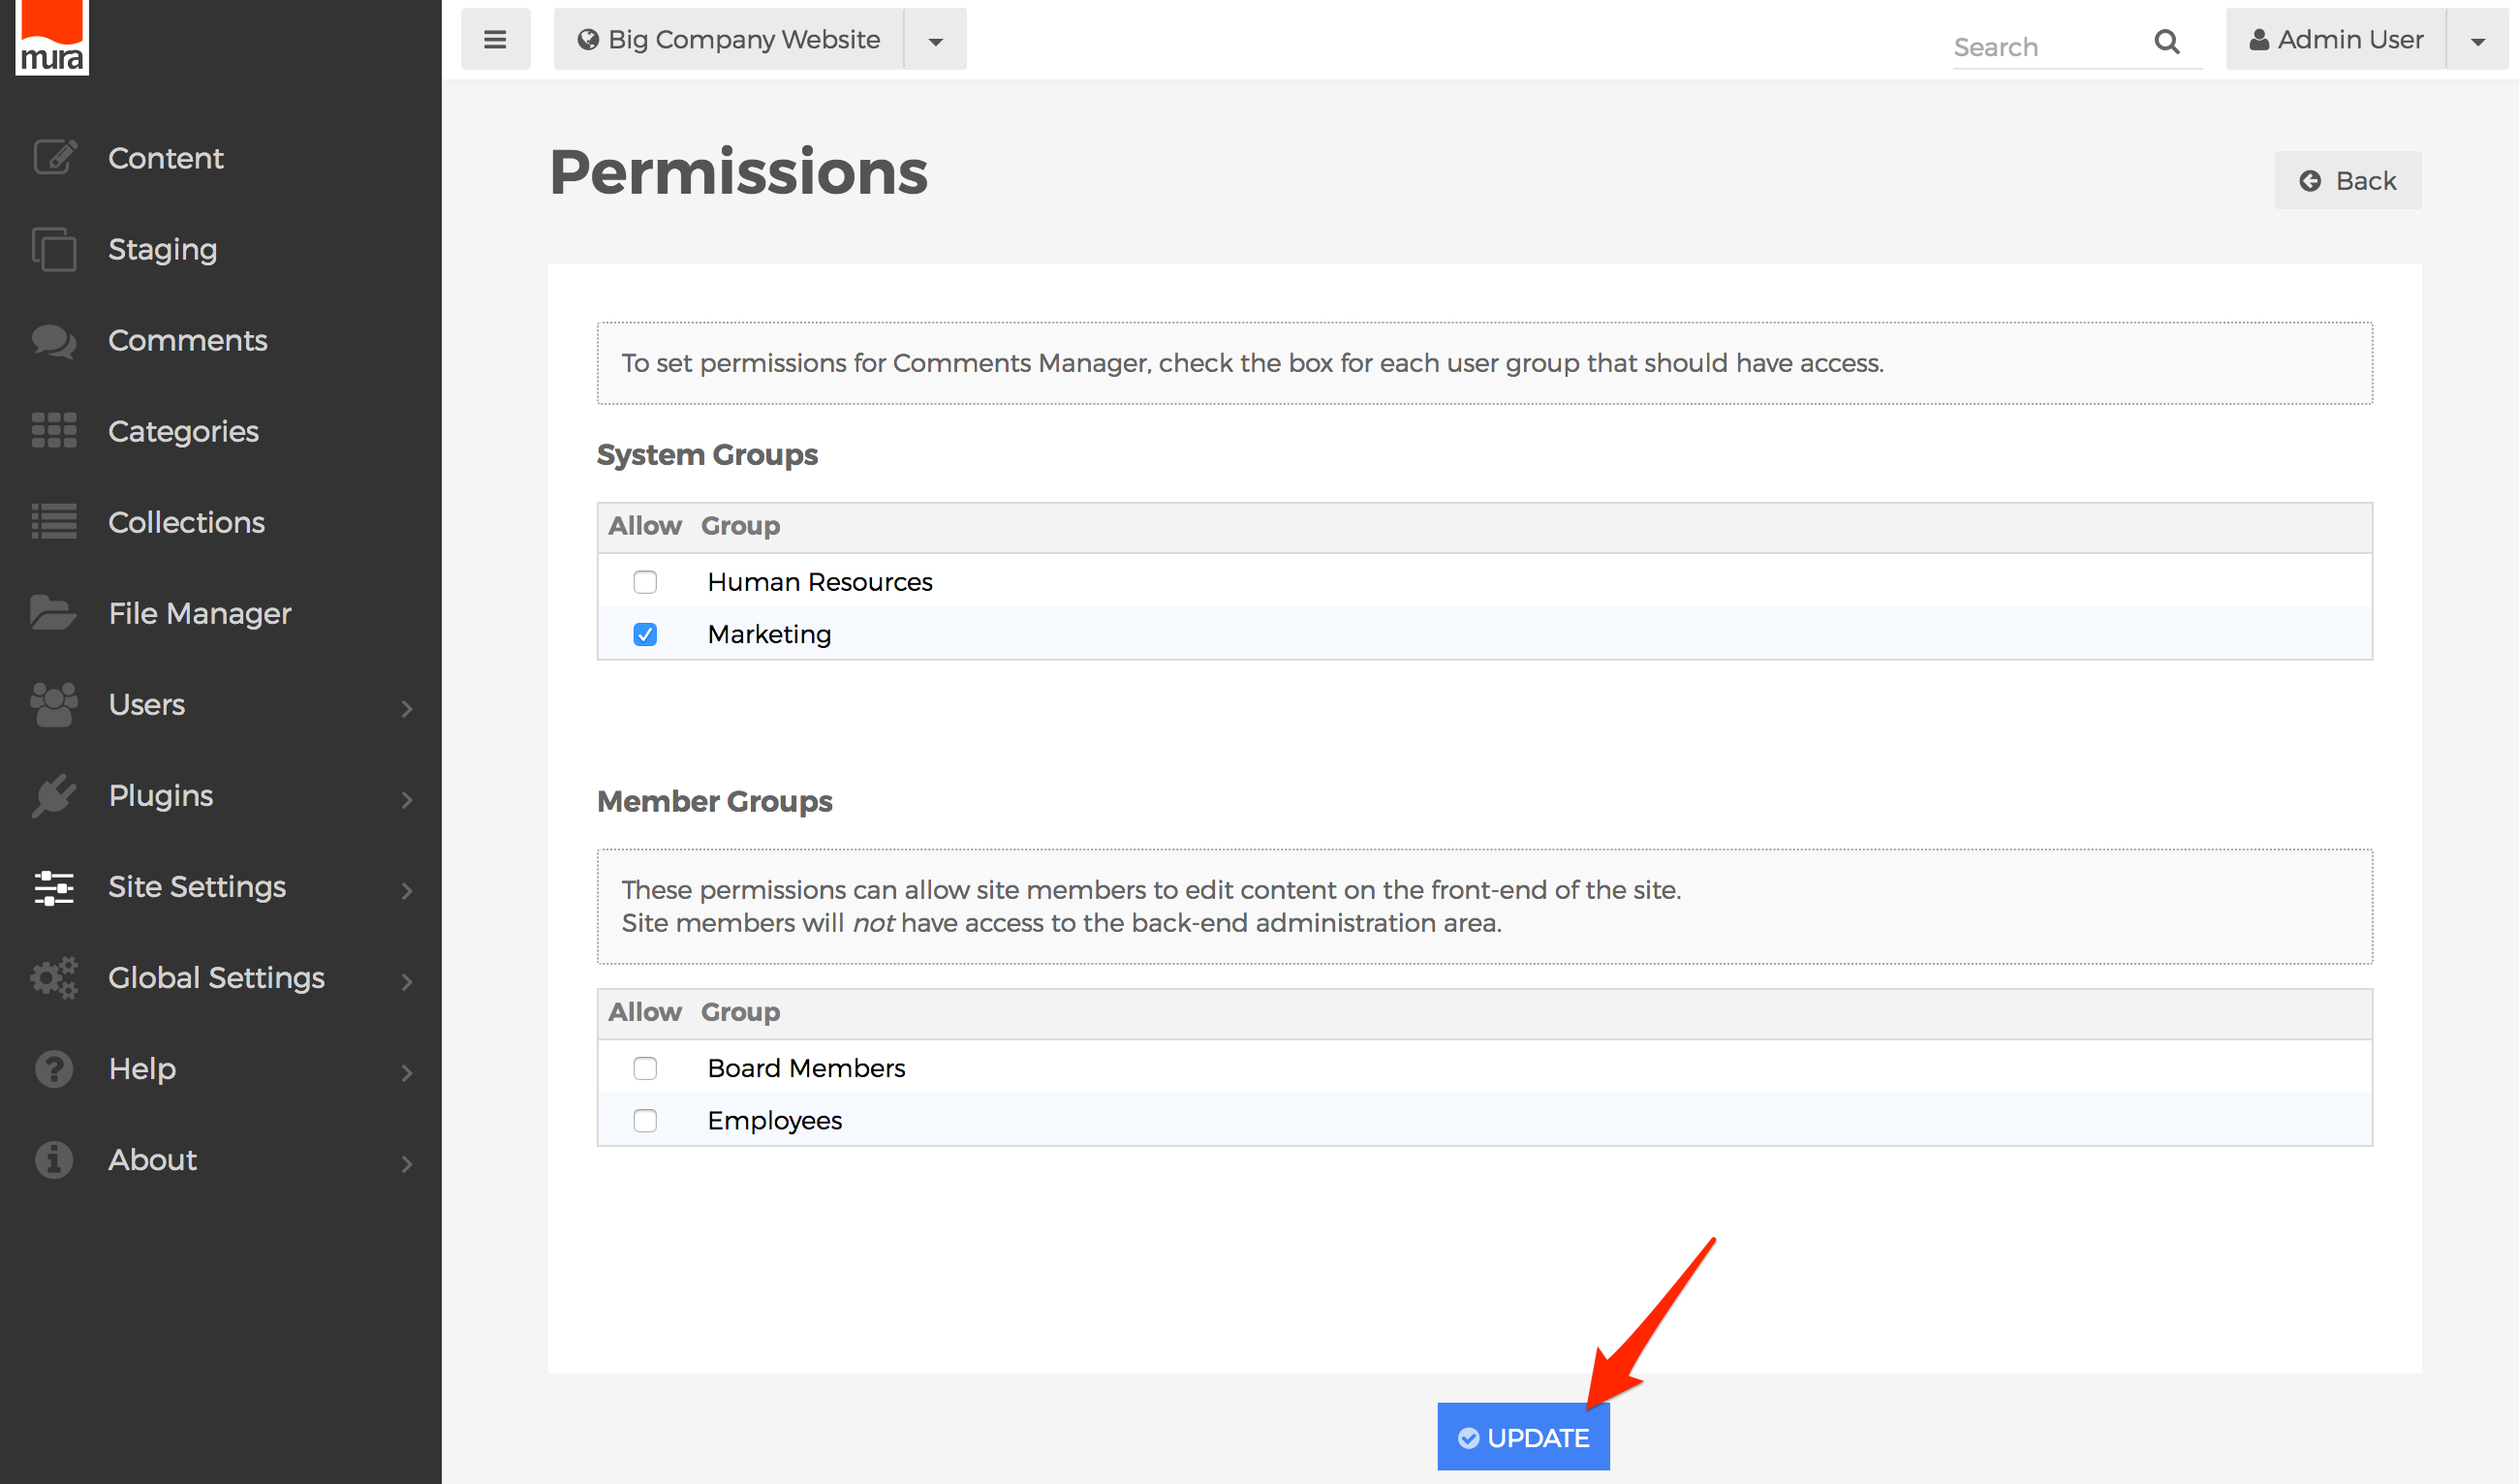
- Click Update, to save your changes.
- Users will obtain the new roles/privileges on their next successful login. So, if a user is logged in when the permissions were updated, they will have to log out, and then log back in, to see the changes.