User Pools
Mura allows for the possibility of having multiple websites under the same installation. In other words, out of the box, Mura is "multi-sited." Each website could have its own, unique domain name, subdomain name, or any combinations of unique domains and subdomains. Because of this, Mura allows you to share resources, including Member User Pools and System User Pools.
This is important to understand, because you could theoretically have all of your User Pools under one site, and share them across some, or even all, of the websites managed by Mura. Another reason this is important is, due to the "multi-sited" aspect of Mura, you will need to explicitly set the Permissions for each group on each site.
Because each organization has its own use cases and needs, there's not one, singular "best practice" to promote when it comes to User Pools.
That said, a common scenario might be where an organization is hosting both their public-facing website for their customers, as well as a completely separate intranet, designed specifically for the employees. In this scenario, you might want to be able to share the user groups for both sites, so those users will not have to maintain two separate login accounts. If so, you could easily share the "User Pools" of one site, with the other.
Note: When sharing System User Pools, all users in the "Admin" group will have full administrator privileges on each site that is using its pool of System Users.
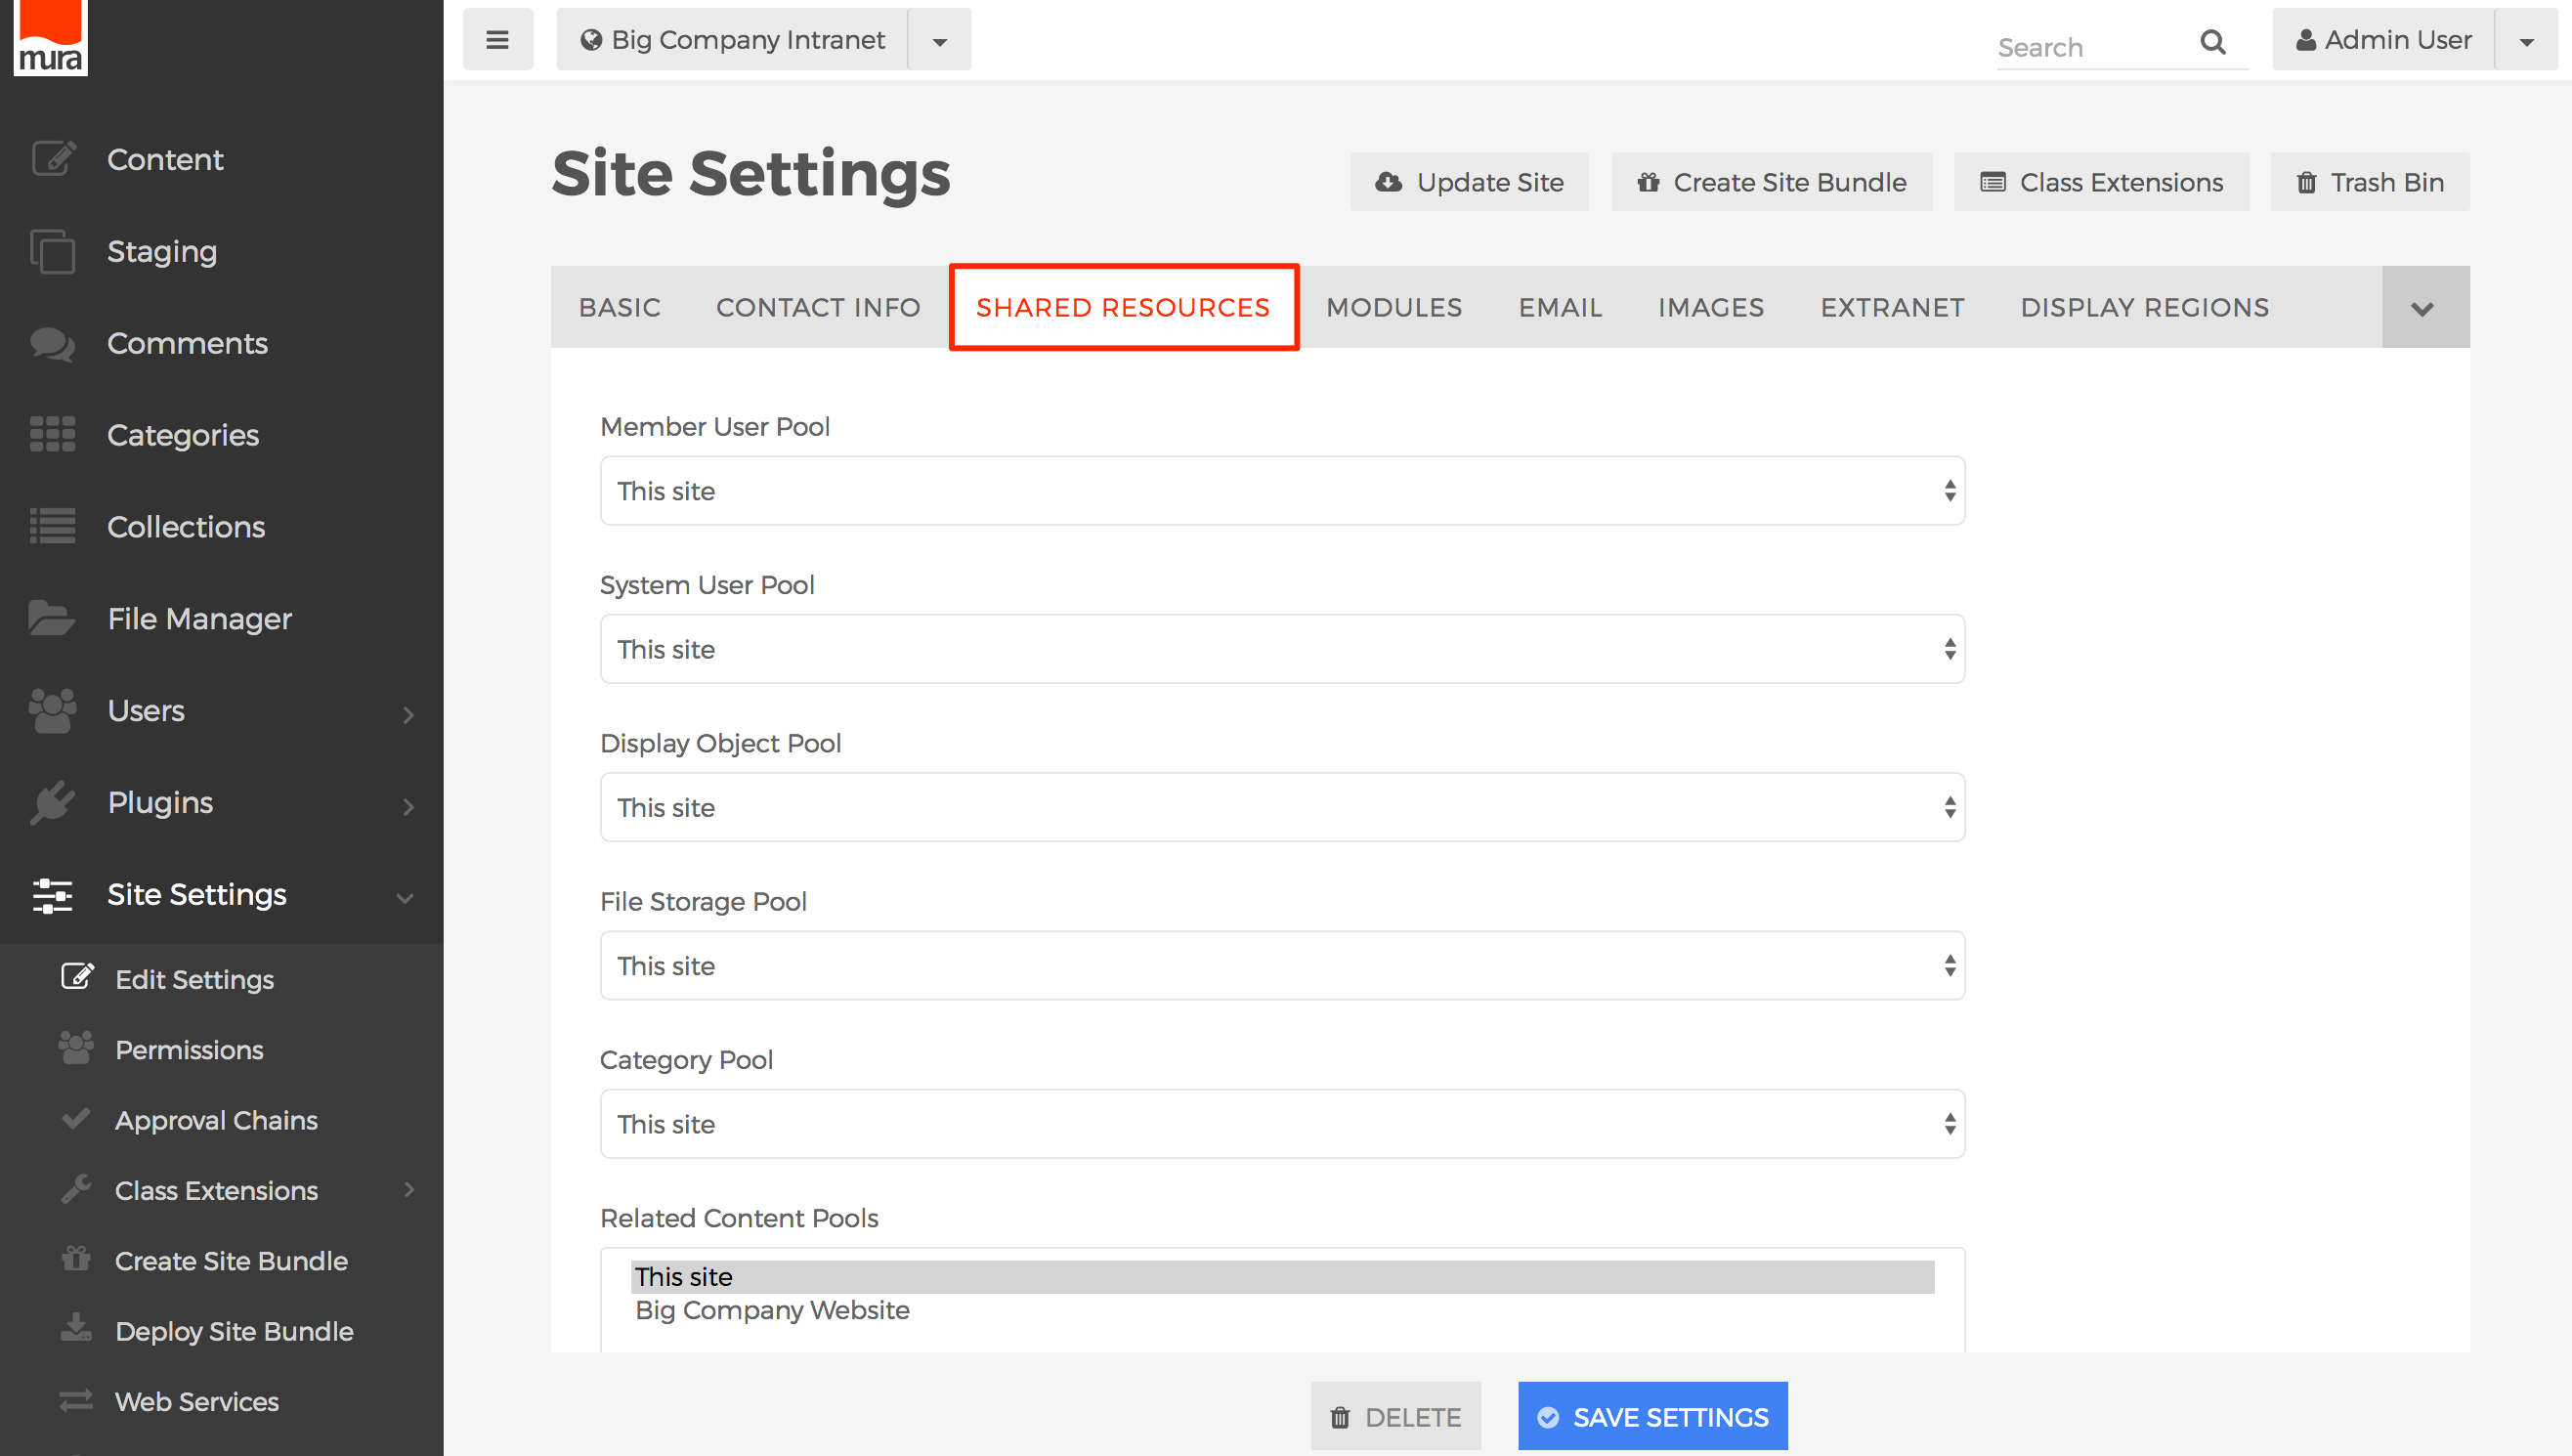
How to Share User Pools
To share User Pools, follow the steps below:
- From the back-end administration area of Mura, go to the site you wish to change the User Pool for.

- Select Site Settings from the main navigation, and then click Edit Settings.

- Click the Shared Resources tab to reveal all of the available "pools" you can share.
- If you would like to use the Member User Pool of another site, select it from the dropdown menu.
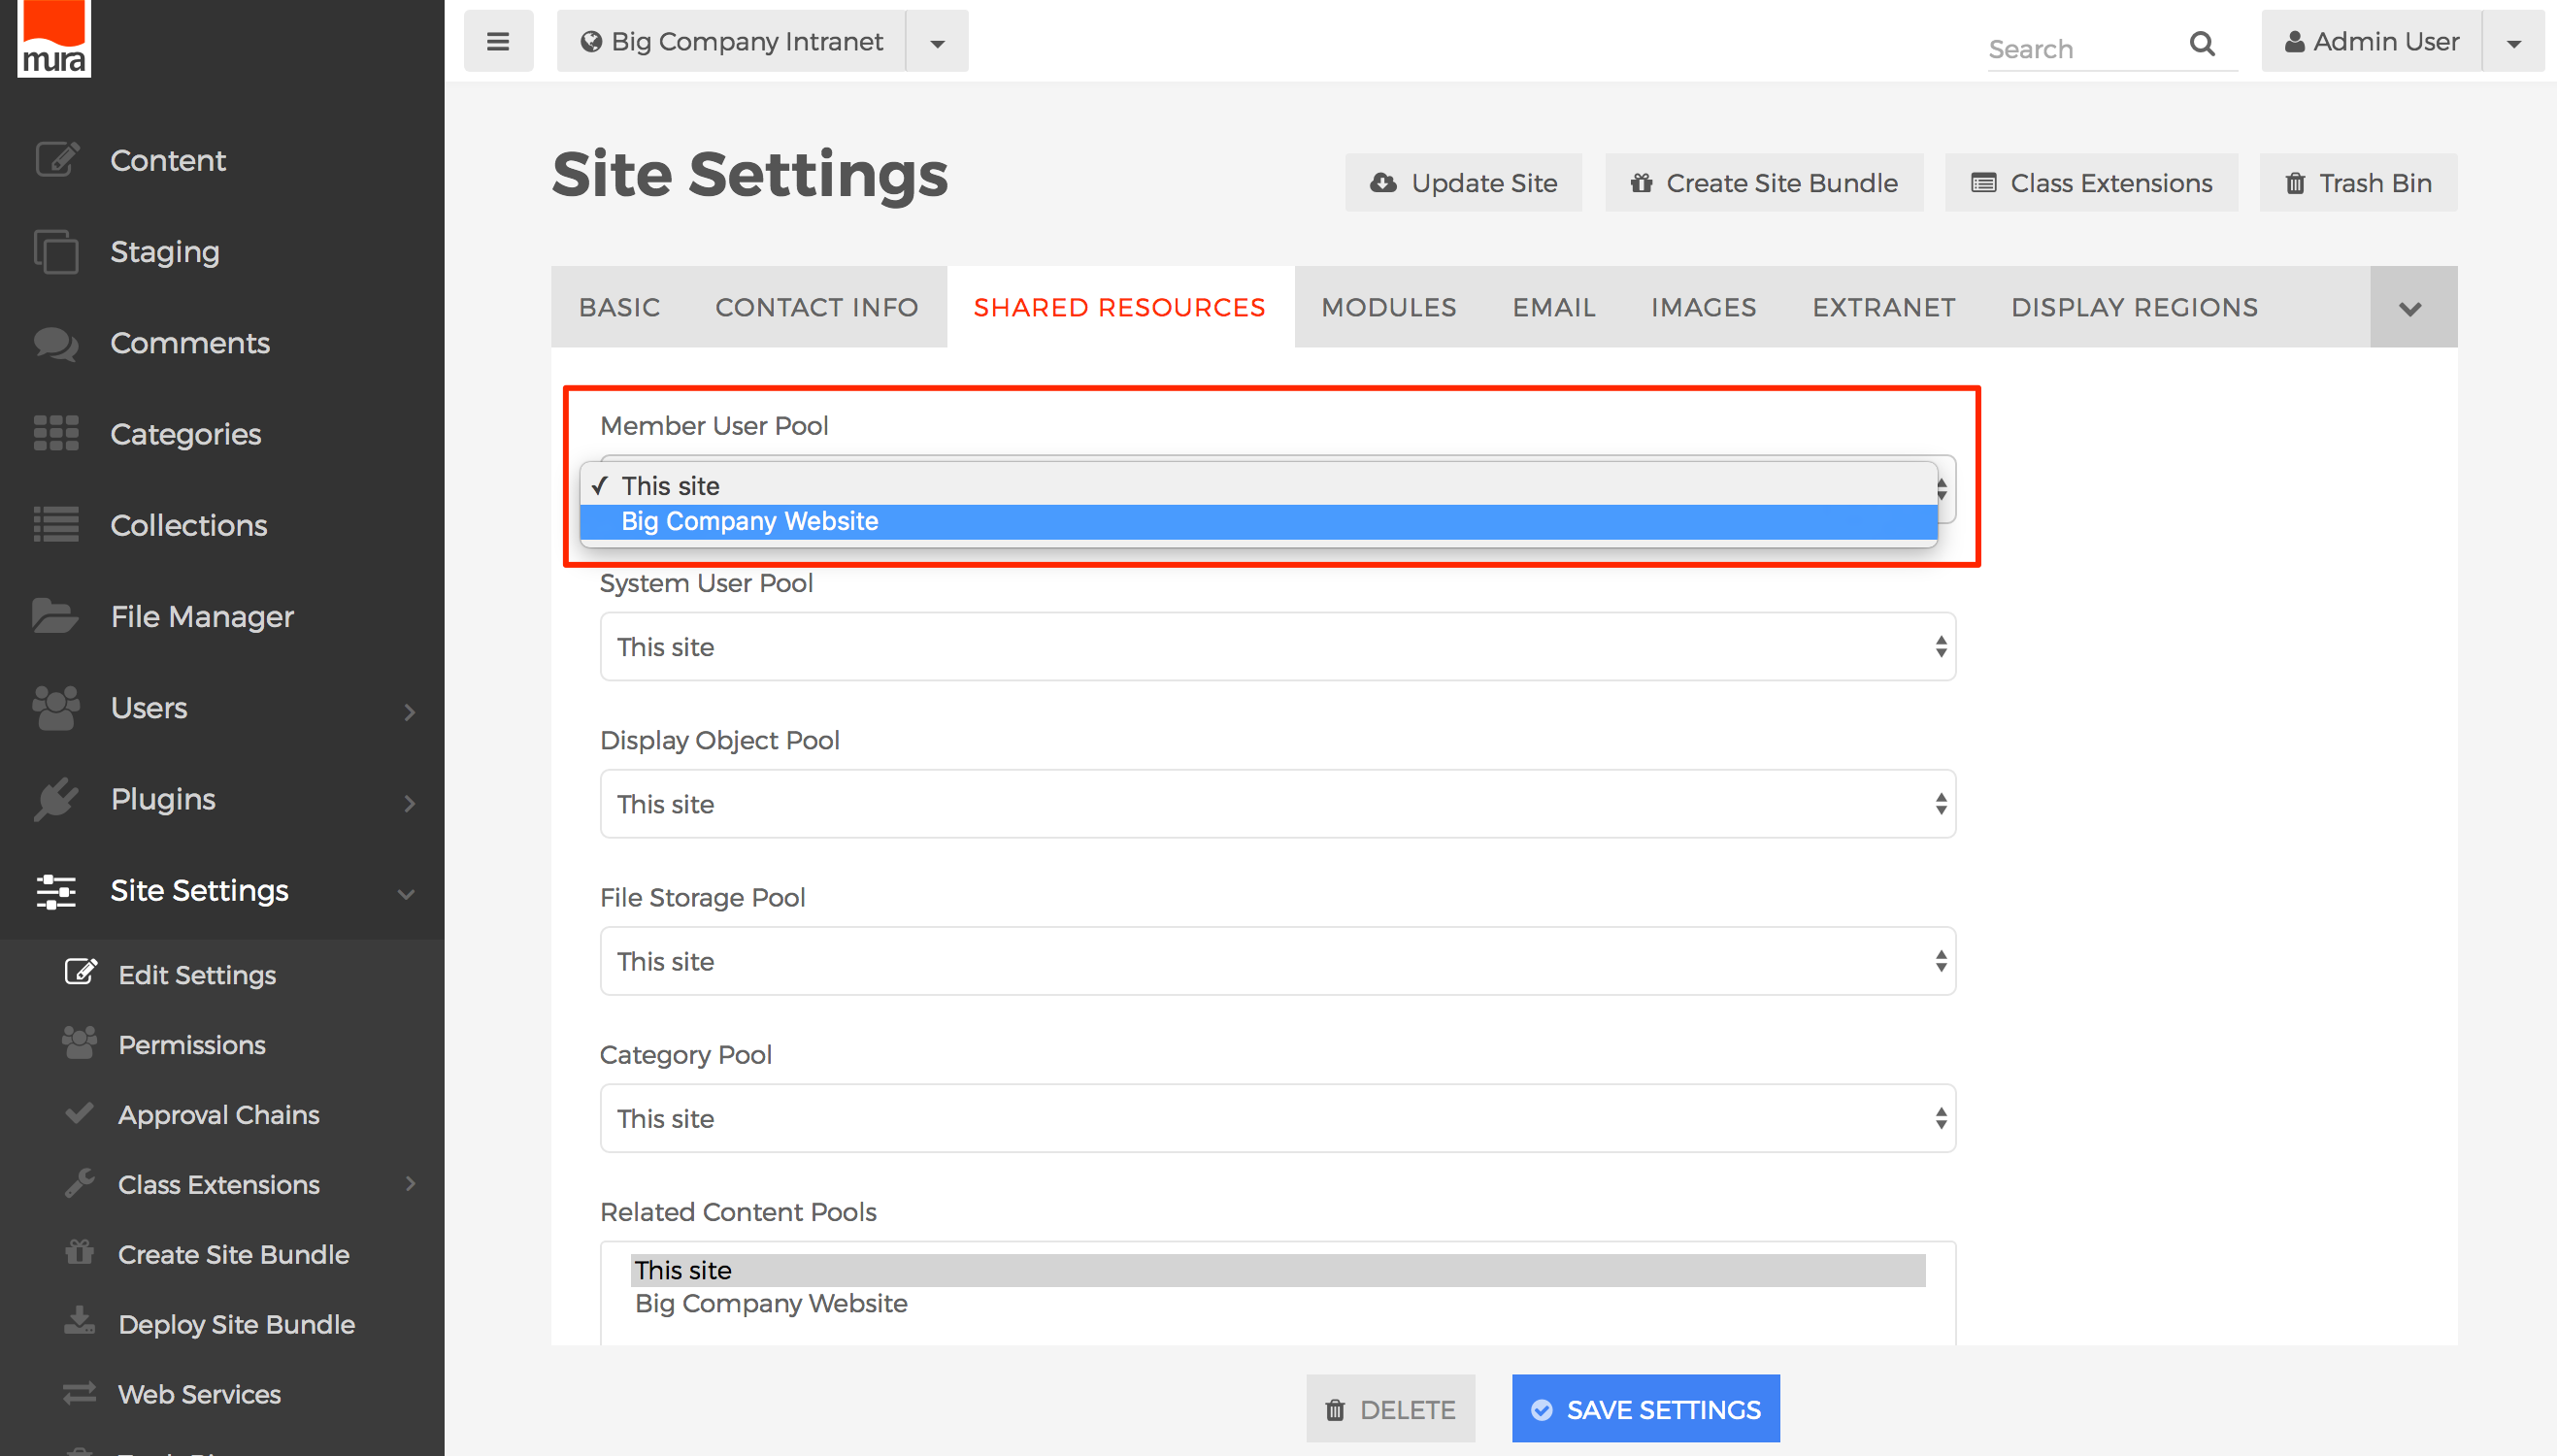
- If you would like to use the System User Pool of another site, select the desired site from the dropdown menu.

- Click the Save Settings button to save your changes.

- Next, you will need to establish the permissions for each group.